
How to Organize Keepsakes and Heirlooms. We all have treasured items that hold precious memories we want to hold onto…
Read More
Home Organization + Cleaning Tips
A clean and organized home is a happy home, I always say! Not only is an neat and tidy home nicer to live in (because everything looks so nice), but it also reduces stress (no searching frantically for something you need, no being grossed out by dirty areas). Having an organized home can even save you money (no buying something you already have but can't find). And cleaning and organizing your home doesn't have to cost a lot of money, or take a lot of time! To Organize Your Home on a Budget, plus learn some handy Cleaning Tips, take a look at the helpful posts below!

Don't forget to also check out our printable floral home management binder (it includes 40+ printables)!
Our Most Popular Cleaning/Organizing Posts
10 Mind Blowing Command Hook Hacks You Need To Know
10 Ways To Organize Your Entire Home From The Dollar Store
The Best Tips to Help You Clean Your Window Blinds
100 Things to Throw Away Today
How to Wash Pillows in Your Washing Machine
Our Most Recent Cleaning/Organizing Posts
We're always on the lookout for handy tips to help you clean and organize your home more efficiently, and cheaply! For our most recent discoveries, take a look at our newest cleaning and organizing posts below!
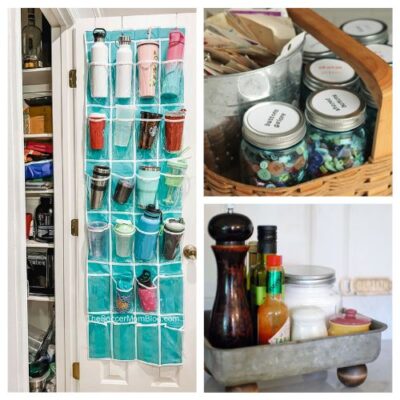
16 Clever Upcycled Organization Solutions
Repurposed Organizing Solution DIYs. Do you need a great idea or two for organizing your home? Before you spend a…
Read More
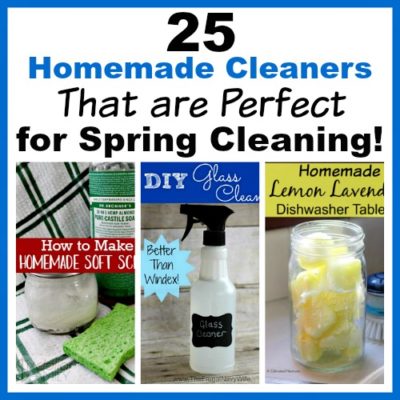
25 Homemade Cleaners That are Perfect for Spring Cleaning
25 DIY Cleaners to Help Get Your Home Spotless. We’ve now officially passed the first day of spring! Which means…
Read More
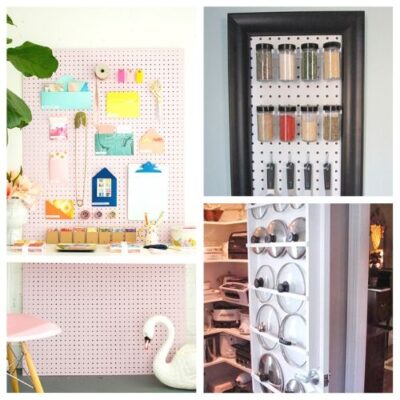
20 Clever Vertical Storage Solutions
Genius DIY Storage Solutions for Vertical Spaces. If you don’t have tons of storage space or it seems awkward, we…
Read More
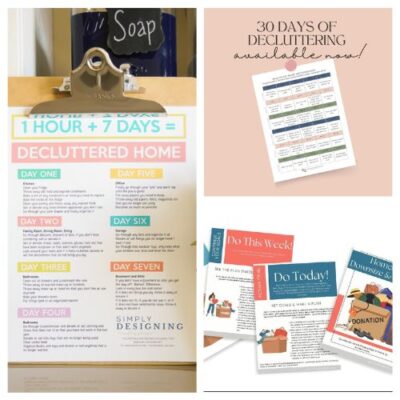
16 Helpful Spring Decluttering Guides
Decluttering Guides for Spring Cleaning. Streamline your spring cleaning routine by also doing spring decluttering! To help you out, we’ve…
Read More
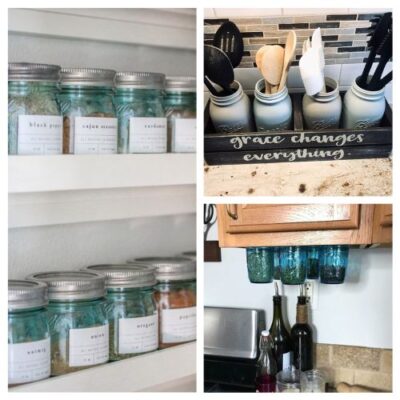
16 Genius Kitchen Mason Jar Organization Hacks
Easy Kitchen Organizing Tips Using Mason Jars. If you find yourself staring at a collection of Mason jars and wondering…
Read More
- 1
- 2
- 3
- …
- 34
- Next Page »