How to Make Apple Cider Vinegar from Scratch.
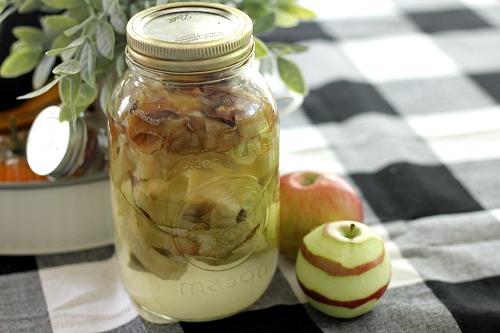
Apple cider vinegar is a pantry staple that you shouldn’t be without! It is a great base for recipes, makes a wonderful hair rinse, and is even used for weight loss. A spray bottle of apple cider vinegar can even make a good “no-no spray” to stop a puppy from chewing cords. But you don’t have to keep buying expensive jars of apple cider, you can just make it at home with your leftover apple parts and pieces. Making a pie? Peeling and slicing an apple for the kids’ afternoon snack? Use the leftovers to create your own endless batch of Homemade Apple Cider Vinegar!
Disclosure: This post may contain affiliate links to Amazon and/or Etsy, which means that I may earn a small commission from some of the links in this post. Please see our Disclosure Page for more information.
If you’re a frequent user of apple cider vinegar (AKA “ACV”), then you know that many people think that the best apple cider vinegar comes with the “mother” in it. Whether or not that’s 100% true is still up for debate, but as many unrefined foods are now being found to be more beneficial than refined versions, I choose to leave my ACV unfiltered. If the mother grosses you out, feel free to strain it out. But do know that if you keep the mother, it’ll help you start your second batch of homemade apple cider vinegar faster.
Homemade Apple Cider Vinegar
Ingredients
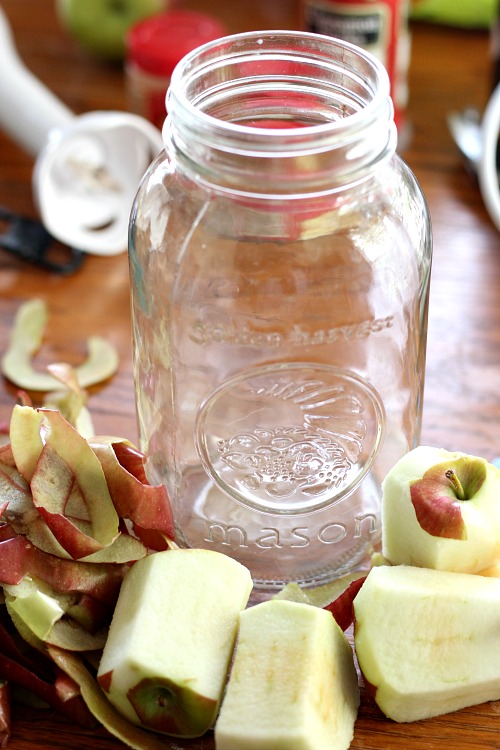
Organic apple peels, cores, and pieces (obviously you could use conventional apples, but know that rinsing them with water won’t get all the pesticides off)
Filtered water (we used water from our Brita pitcher)
White granulated sugar
Quart Mason jar with lid and ring
Extra Mason jar lid
Cheesecloth
Directions
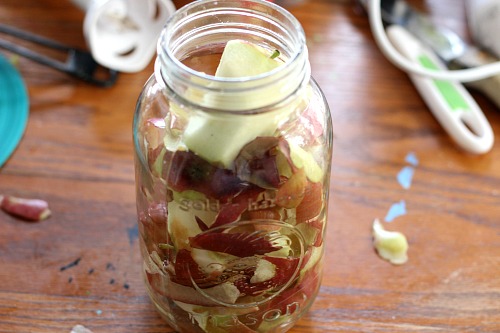
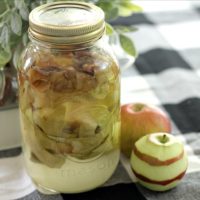
1. Begin by filling your jar with your apple peels, cores, and pieces. If you just have few, use them and add apple skins and cores daily as you get them.
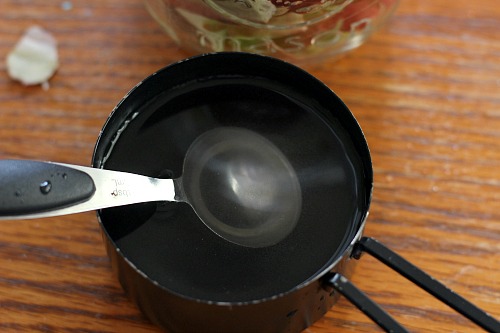
2. Stir 1 T. granulated sugar into filtered water.
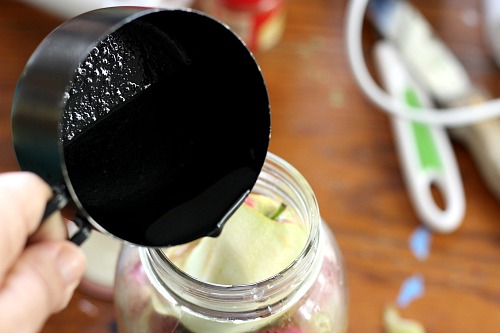
3. Pour the sugar water over the top of your apple pieces until they are covered completely. Add water each time you add apples. You want to keep your apple pieces down below the waterline to prevent mold, so add something to weigh them down. I simply used a lid from a smaller Mason jar to help keep them down.
4. Cover the top of your jar with cheesecloth and place the ring on the neck of the jar.
5. Place the jar in a cool dark place, and make a note of the date on the jar or somewhere else. A printable label could help with this.
6. Stir once a day with a wooden or plastic spoon. Your apples will eventually settle closer to the bottom, and then you’ll no longer need to stir.
7. After a few days you might notice your mixture is bubbling, this is good!
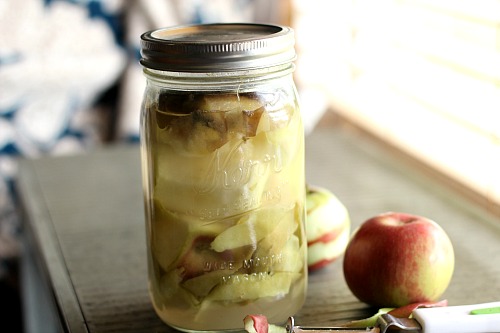
8. Within a week the “mother” will form, a whitish foam on top. This is the vinegar fermenting as it should. Once it ferments you don’t want to add any more scraps, just start a new jar.
9. About a month after you started it your vinegar should be ready, give it a little taste to test the strength and make sure it is as you like it.
10. Strain the liquid out, preserving or removing the mother if you like, then toss the scraps out (or add them to your compost pile).
11. Store in a cool dry place, your vinegar will last for years.
When you start a new batch use 1 cup of the last batch of vinegar with the mother in it to help the homemade apple cider vinegar get started.
Benefits of Apple Cider Vinegar
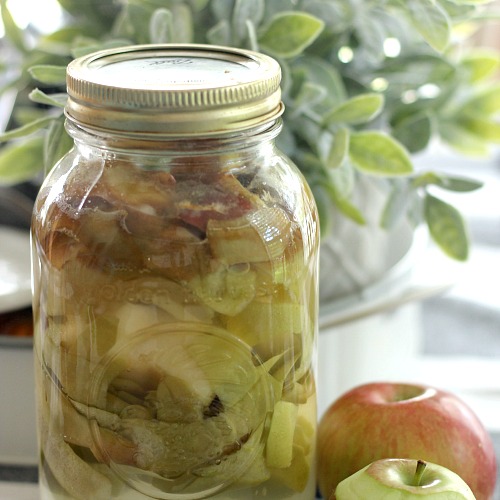
I mainly use my homemade apple cider vinegar to cook and make drinks. But I know that some people like to drink it daily (diluted and undiluted) for the health benefits. In fact, science has proven that apple cider vinegar helps to lower blood sugar levels, aids weight loss, and lowers cholesterol. And those are just the things science has been able to prove so far! I’m sure with time, even more apple cider vinegar health claims will be proven true. So while the taste is a little strong and tangy at first, it’s worth it to try to get used to it. And with this homemade apple cider vinegar recipe you can get all those great health benefits for much less cost!
Do you like apple cider vinegar? How do you use it?
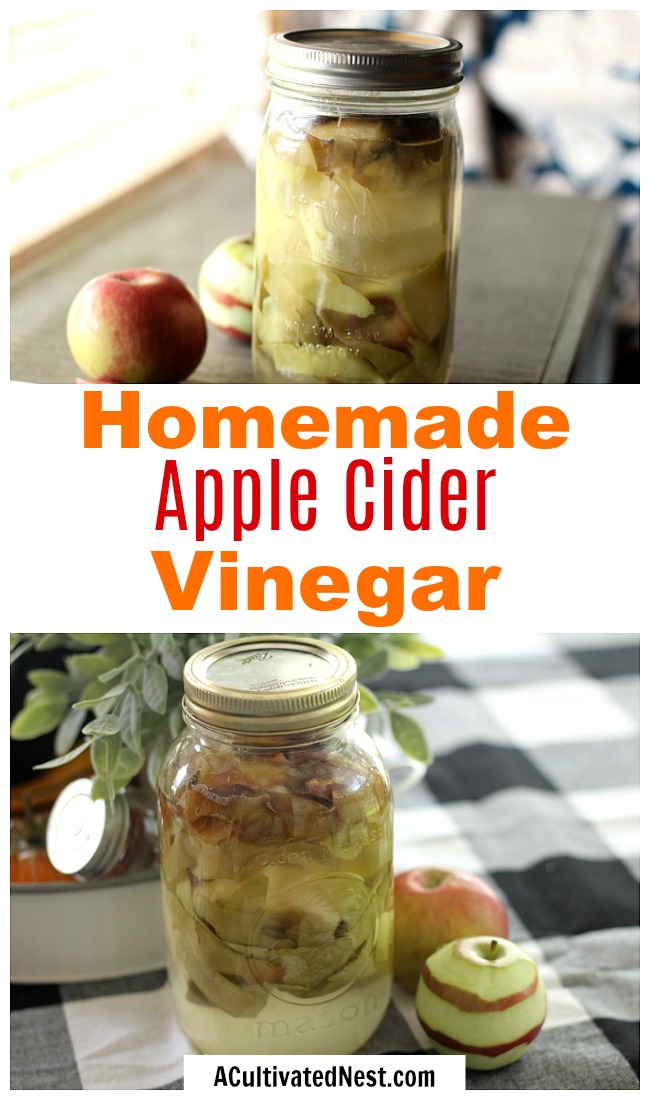
Homemade Apple Cider Vinegar
Ingredients
- Organic apple peels, cores, and pieces (obviously you could use conventional apples, but know that rinsing them with water won’t get all the pesticides off)
- Filtered water (we used water from our Brita pitcher)
- White granulated sugar
- Quart Mason jar with lid and ring
- Extra Mason jar lid
- Cheesecloth
Instructions
- Begin by filling your jar with your apple peels, cores, and pieces. If you just have few, use them and add apple skins and cores daily as you get them.
- Stir 1 T. granulated sugar into filtered water.
- Pour the sugar water over the top of your apple pieces until they are covered completely. Add water each time you add apples. You want to keep your apple pieces down below the waterline to prevent mold, so add something to weigh them down. I simply used a lid from a smaller Mason jar to help keep them down.
- Cover the top of your jar with cheesecloth and place the ring on the neck of the jar.
- Place the jar in a cool dark place, and make a note of the date on the jar or somewhere else. A printable label could help with this.
- Stir once a day with a wooden or plastic spoon. Your apples will eventually settle closer to the bottom, and then you’ll no longer need to stir.
- After a few days you might notice your mixture is bubbling, this is good!
- Within a week the “mother” will form, a whitish foam on top. This is the vinegar fermenting as it should. Once it ferments you don’t want to add any more scraps, just start a new jar.
- About a month after you started it your vinegar should be ready, give it a little taste to test the strength and make sure it is as you like it.
- Strain the liquid out, preserving or removing the mother if you like, then toss the scraps out (or add them to your compost pile).
- Store in a cool dry place, your vinegar will last for years.
About Jody: I am a Florida girl through and through living the semi-country, small town life. I am making my way through it with my amazing hubby, 2 beautiful kids, 2 of the best Dachshunds to ever walk the face of the earth, massive amounts of coffee and a whole lot of Jesus. I homeschool, craft, cook, scrapbook, garden, raid the thrift shops, snap 1,000’s of photos, and read when I can grab a spare minute (which is rare). You can find me blogging at Simply Southern Sunshine.
You might also be interested in: Homemade Sauerkraut
