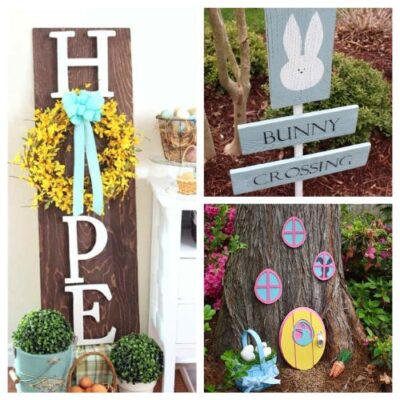
Adorable DIY Outdoor Easter Décor Ideas. Spruce up your outdoor space with stunning DIY Easter decorations! From charming wreaths to…
Read More
Budget Decorating
Just because you're on a budget doesn't mean you can't have a beautiful home! You can Decorate Your Home on a Budget with DIY decor, printable wall art, or by upcycling! If you're on a tight budget, take a look at my Budget Decorating tips!

Our Most Popular Budget Decorating Posts
15 Charming DIY Farmhouse Decor Ideas
11 DIY Dollar Store Home Decorating Projects
DIY Chalky Paint Clock Makeover
15 DIY Beach Inspired Home Decor Projects
10 Easy DIY Drop Cloth Projects
Our Most Recent Budget Decorating Posts
I'm always redecorating my home! Partly because I just think it's fun, but also because there are always new seasons and holidays to decorate for. Never mind all the fun new decorating styles that are always coming out! If you want to update your home's decor without spending a ton, check out my newest decorating posts below!
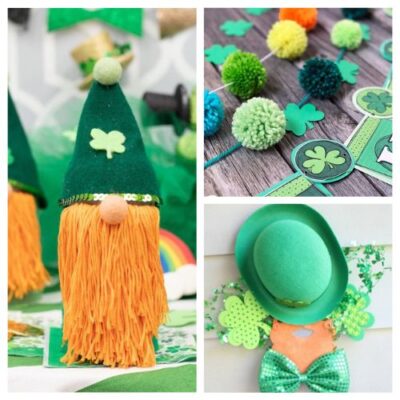
12 Cute DIY St. Patrick’s Day Decorations
Fun St. Patrick’s Day Craft Ideas. Add a bit of the spirit of St. Patrick’s Day to your home with…
Read More
10 Beautiful Minimalist DIY Projects
Gorgeous DIY Décor for Minimalist Homes. Are you looking for minimalist-style decorating ideas for your house or office but have…
Read More

16 Beautiful DIY Easter Tablescape Ideas
Gorgeous Ways to Decorate Your Table for Easter. Easter is coming quickly. Do you have an idea of how you…
Read More

40 Fun Free St. Patrick’s Day Printables
St. Patrick’s Day Free Printables for Kids. Celebrate St. Patrick’s Day with a touch of whimsy and fun using free…
Read More
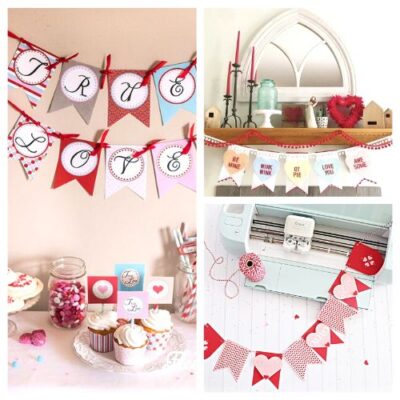
16 Lovely DIY Valentine’s Day Banners
Easy DIY Banners for Valentine’s Day. Is your mantel begging for a festive makeover? With Valentine’s Day just around the…
Read More
- 1
- 2
- 3
- …
- 95
- Next Page »