Easy Poured Paint Votives Decor Craft.
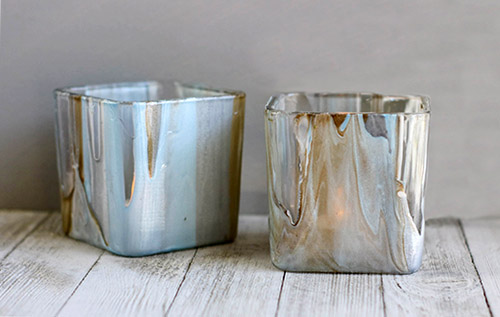
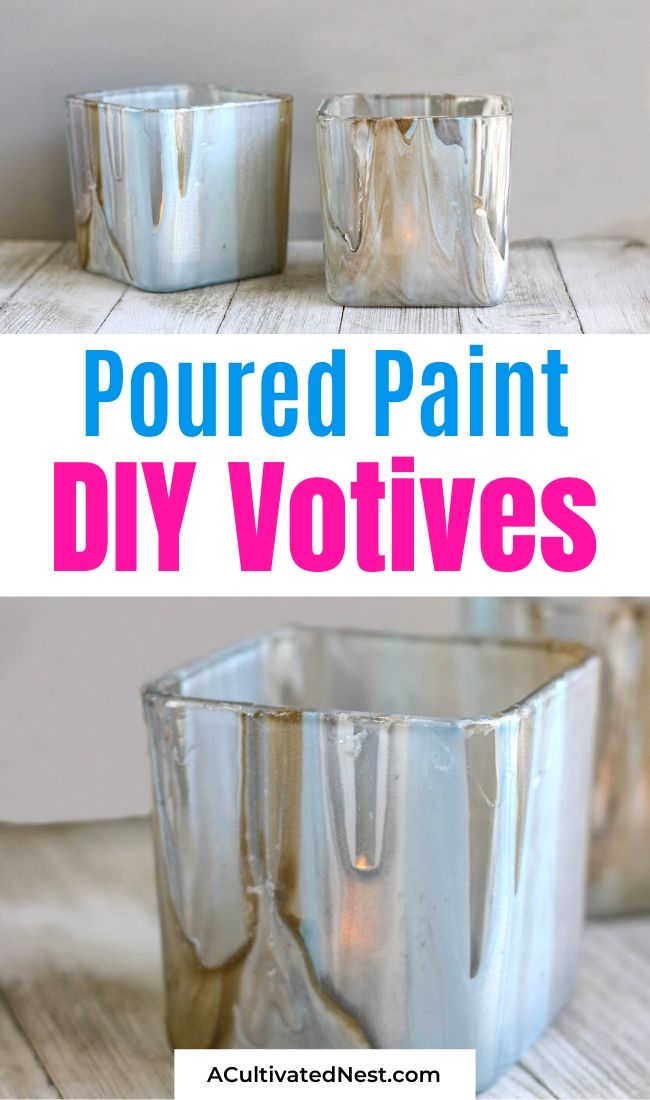
Am I the only one who walks through home decorating stores and a lot of things I see I think I could easily make myself? Don’t get me wrong; I love that you can walk into a department store and find items that would look gorgeous in your home, and you don’t have to put in any effort. But, you know how much I love to craft and make things (and save money)! I can’t help myself sometimes, it’s just so fun and relaxing. These Stunning Poured Paint Votives are gorgeous and so easy to customize to make them a perfect fit for your home’s decor!
Disclosure: This post may contain affiliate links to Amazon and/or Etsy, which means that I may earn a small commission from some of the links in this post. Please see our Disclosure Page for more information.
There are many color themes that look gorgeous, but I can’t get enough of whites and silvers. They’re perfect for decorating at any time of year because they go with everything. These votives are shimmery and look amazing on a mantle or as a centerpiece on your dining room table. Does your home have a different color scheme? It’s easy to customize the colors of these to match whatever style you like!
Stunning DIY Poured Paint Votives
Materials
Inexpensive glass votive holders
Pouring medium
Clear pouring topcoat
Acrylic paint
Bamboo skewer or another straight edge
Cookie sheet or paint tray (to catch leftover paint)
Cooling rack
Disposable cups or bowls (for mixing)
Directions
1. Place cooling rack over a cookie sheet or paint tray.
2. Clean votive holders and dry completely. Place votive holders upside down on cooling rack.
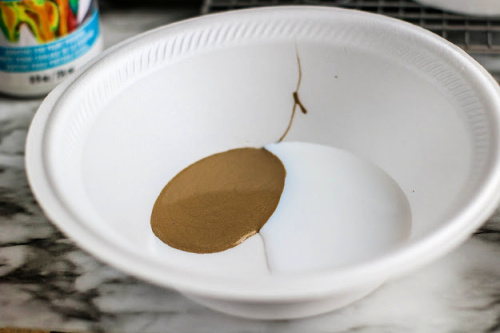
3. With one color in each cup or bowl, mix the pouring medium with acrylic paint in a one to one ratio. Stir to blend well.
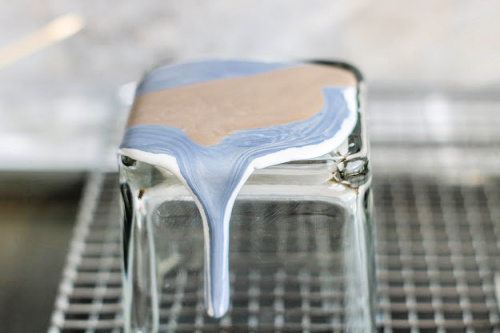
4. Pour paint over votives allowing it to run down the sides. Add additional colors as desired.
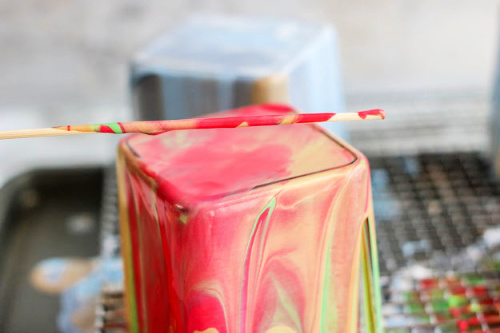
5. To keep paint from pooling on the bottom of the votive holder, use a straight edge to push the paint down the sides.
6. Allow votives to dry completely.
7. Once the votives are completely dry, remove from the cooling rack and check the edges. Some of the paint may stick to the cooling rack. If the paint has accumulated around the edge in an unattractive way, use a sharp, flat edge (like scissors) or an emery board to buff away the remaining paint. For best results, scrape from the painted side to the inside of the votive to keep the paint from peeling.
8. Return the votives to the cooling rack in the upside-down position. Pour topcoat over the votives allowing it to run down the sides. If the topcoat does not pour evenly, use a flat edge to push the paint from the bottom towards the sides.
9. Allow to dry completely before putting out for display.
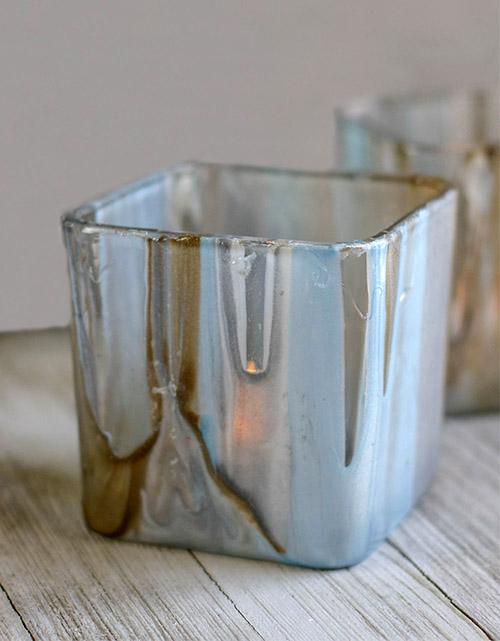
What colors are you excited to try for your DIY poured paint votives?
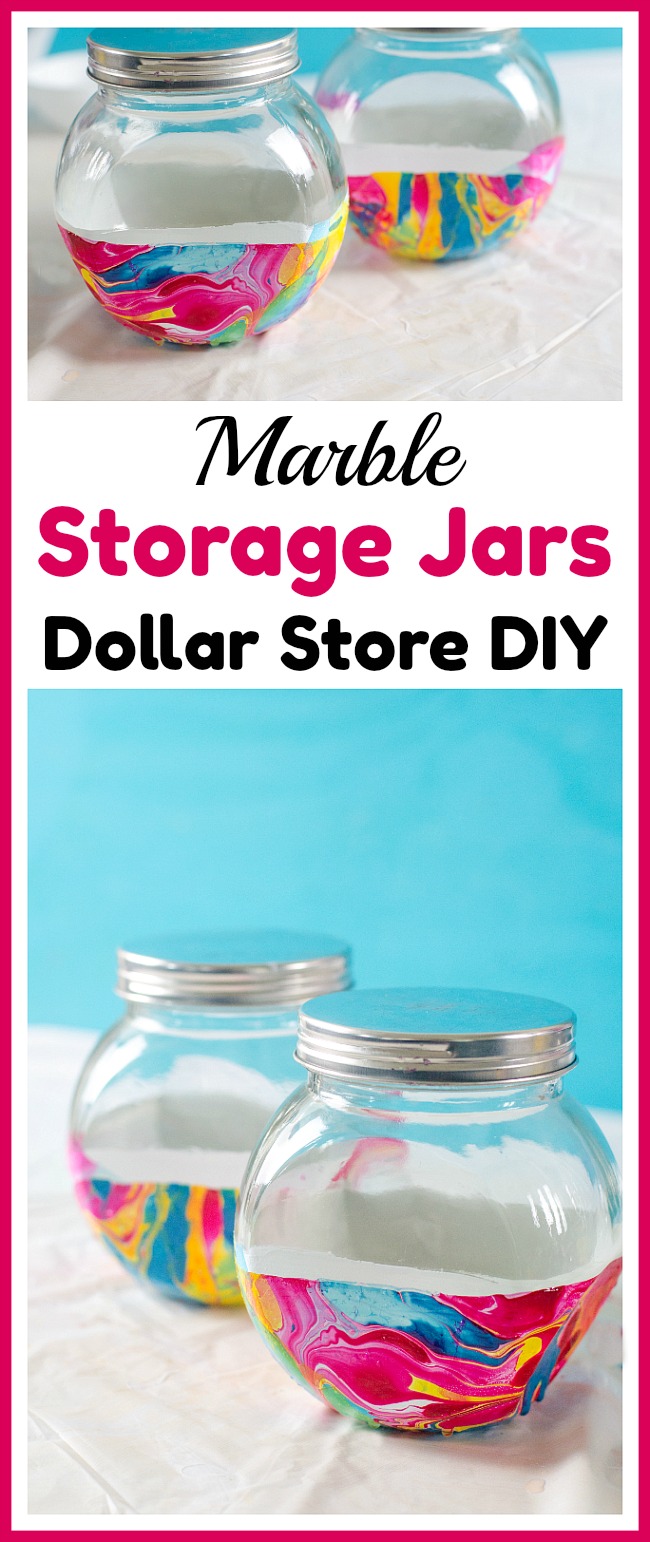
You might also be interested in: Marble Storage Jars Dollar Store DIY
I would pick all sorts of shades of blue! These are so pretty. Pinned.