Stunning DIY Christmas Farmhouse Books.
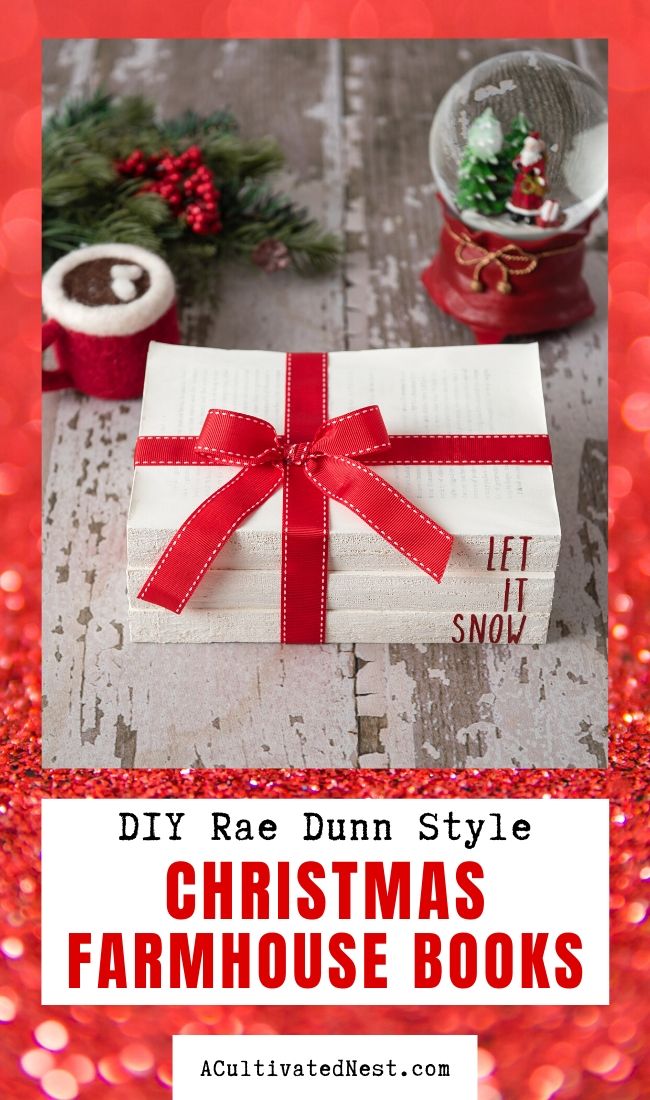
Getting out all the Christmas decorations each year always makes me happy. I love that warm and cozy feeling you get when you put up the tree and listen to Christmas music. When I get to bake some cookies and sip on some apple cider while decorating, I know it’s a great day! Throw some crafts in there, and I am in heaven. If you love the look of the farmhouse or rustic style, I have the perfect craft idea for you. These DIY Rae Dunn Christmas Farmhouse Books are a stunning focal point to any room! And they’re so easy to make with the help of your Cricut or Silhouette!

Disclosure: This post may contain affiliate links to Amazon and/or Etsy, which means that I may earn a small commission from some of the links in this post. Please see our Disclosure Page for more information.
When it comes to my decorating style, I love things that make a huge impact but aren’t tons of work. Simple, beautiful, and charming are basically my motto when it comes to crafting. As you can see from these DIY Christmas farmhouse books, they meet all of those requirements.
DIY Rae Dunn Christmas Farmhouse Books
Materials
3 thrift store or dollar store books (hard or soft with a 1” spine)
Cutting machine – Cricut or Silhouette
Blue light grip mat
Oracle 651 permanent vinyl (green, red or color of your choice)
Vinyl transfer paper (I’m using Cricut brand, but dollar store brand works fine)
A weeding tool
A scraper tool or old gift card
Scissors and/or cutter tool
Ribbon of your choice
White chalk paint
Sandpaper (optional)
Sponge brush
Hot glue gun and glue sticks
iPad or computer with access to a design program
Directions
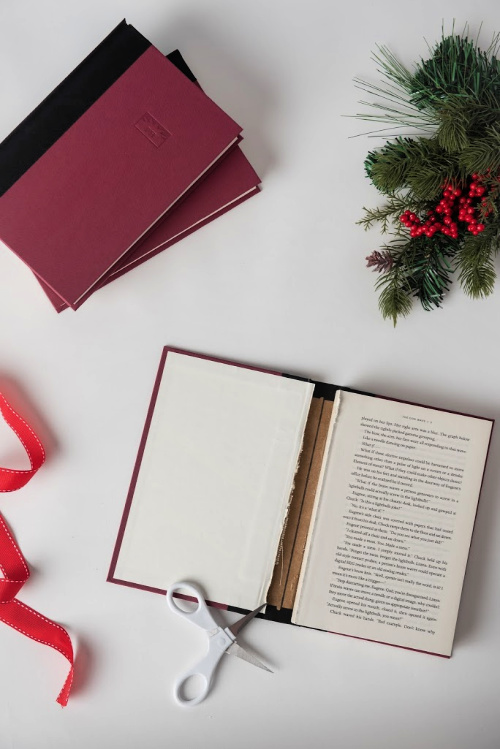
1. First, find an old book from the thrift store or dollar store (I’m using dollar store books). Start by removing the cover from the books. To do this, run scissors along the inside spine of the books before the first page and after the last page and pull the cover off completely.
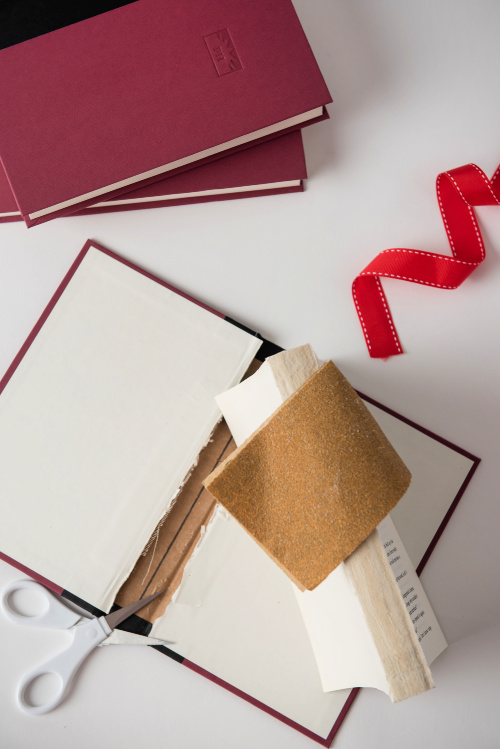
2. This next step is optional, but you can rub sandpaper over the spine to help smooth and remove any paper or glue residue. If you like a more rustic look, feel free to skip this step.
3. Remove the first few pages from the front and back of the books to reveal a full page of words.
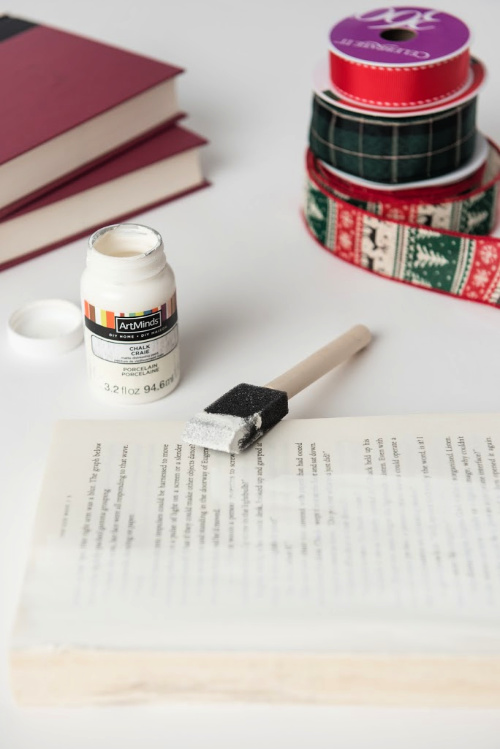
4. Use a sponge brush with white chalk paint to begin painting the spine of the books, the top of the books, and the sides of the books.
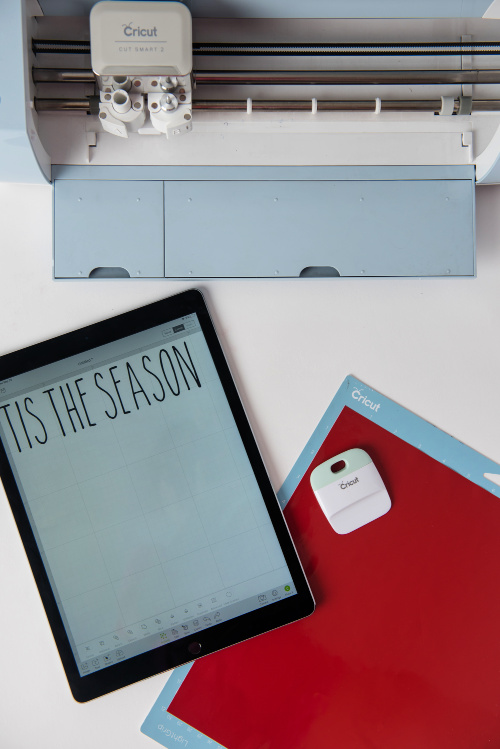
5. Once the paint has completely dried, begin working on the vinyl that will be placed on the side of the books.
6. Be sure to download and import the font titled “the skinny” to the design program. This is a free Rae Dunn inspired font from dafont.com. Find it here.
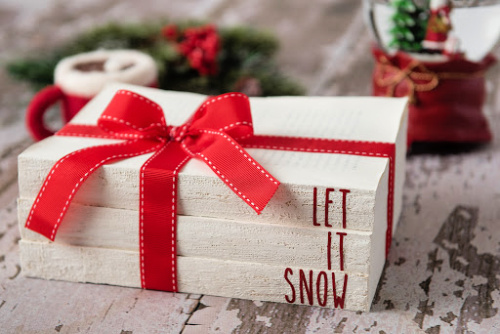
7. In your design program, type the phrases you would like to use to display on the spine of your books. For this project, we will be using a phrase with 3 words (1 word per book). For example, “let it snow.”
8. Measure the words to be 1-inch high. The width will vary depending on the word chosen. The spine of your books should be approximately 1 inch. If your books are smaller or larger, adjust the height of your phrases according to the spine height.
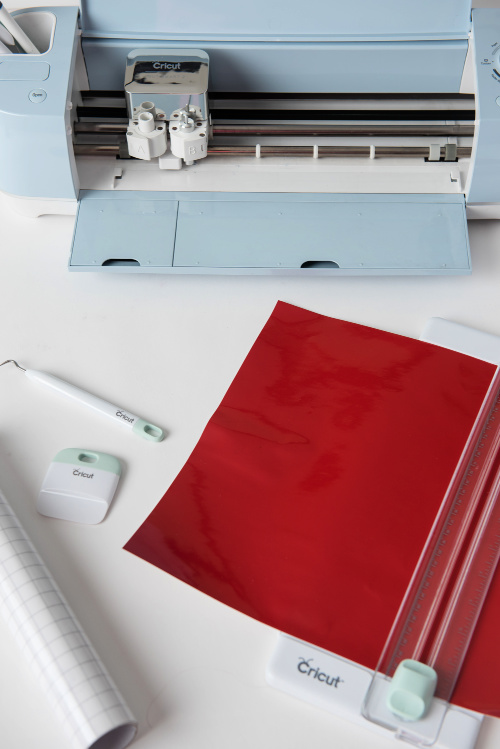
9. Align and press the vinyl onto the light, blue grip mat, and load into the machine. Be sure to adjust the material dial to vinyl before hitting cut.
NOTE: for this step and the next few steps, you will repeat the process x 3. Each vinyl word will be transferred separately (1 word per 1 book).
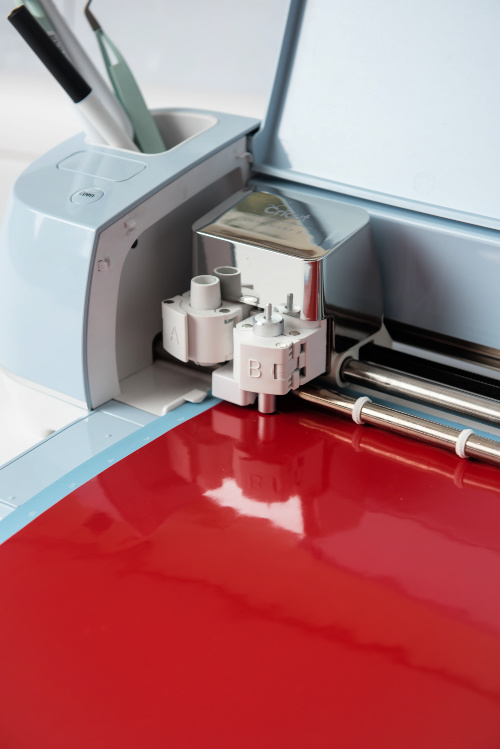
10. After the cut is complete, unload the mat and remove the cut vinyl. Using the weeding tool (looks like a dentist pick) begin to weed around the letters along with the spaces within the letters. For example, the circle shape inside of the letter O will need to be removed.
11. Next, measure and cut the transfer paper to cover the vinyl. Slowly and carefully apply it on top of the cut and weeded vinyl. Apply pressure with the scraper tool (or an old gift card if you don’t have a scraper tool) over the vinyl to relieve any air bubbles and help it adhere to the transfer paper.
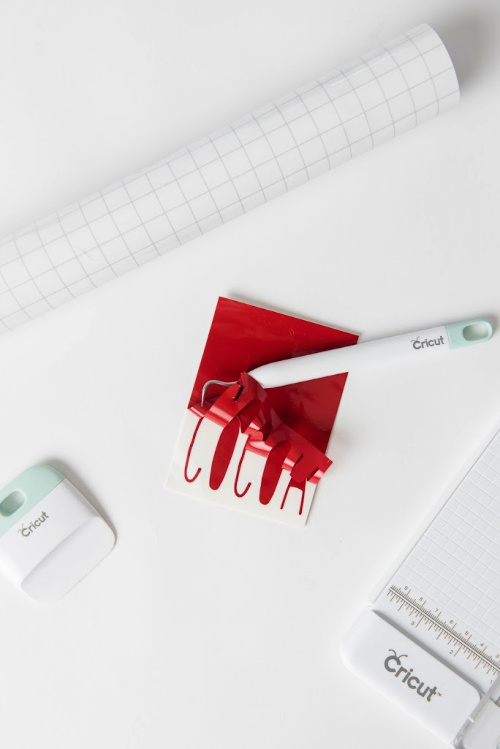
12. Flip the vinyl with the attached transfer paper (vinyl should be letters down). Carefully roll the backing from the vinyl away, leaving the cut vinyl letters only on the transfer paper (you will be able to see through the transfer paper).
13. Line the transfer tape with vinyl attached to the spine (about a quarter of an inch indentation from the right).
14. Once you have the word placed the way you like it, use the scraper tool to smooth and apply pressure for the vinyl to transfer to the book. Repeat the process for the next two words.
15. Very slowly roll the transfer paper away with pressure and down off the spine of the books. Doing this will leave the vinyl behind.
NOTE: You may need to help the vinyl along with your fingers at times.
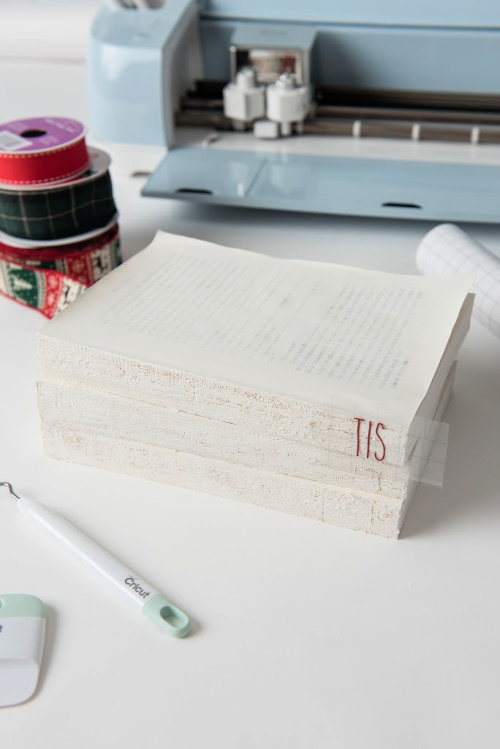
16. Lastly, use your fingers and press down on the vinyl to ensure it properly adheres to the books.
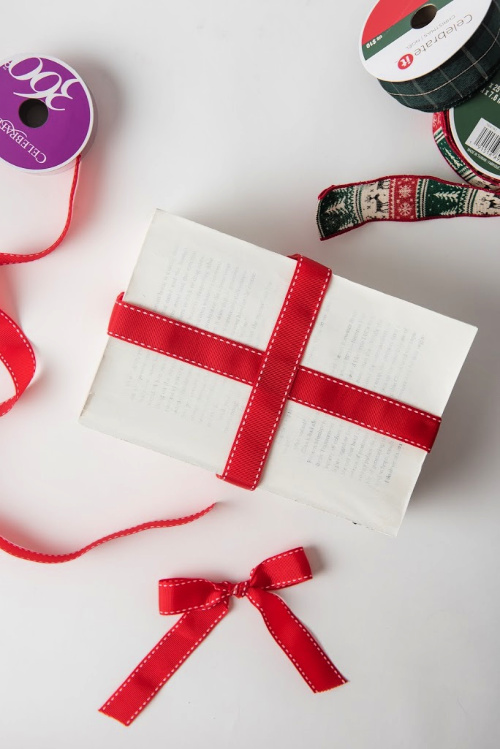
17. Tie the ribbon around the width and height of the books like a present. Cut about 8 inches of ribbon to tie a bow and hot glue the tied ribbon to the top of the ribbon binding the books. Then you can put your pretty DIY Rae Dunn Christmas farmhouse books out to display!
Are you a big Rae Dunn fan? What’s your favorite piece in your Rae Dunn collection?
You might also be interested in: Insanely Easy DIY Mini Cake Stand
