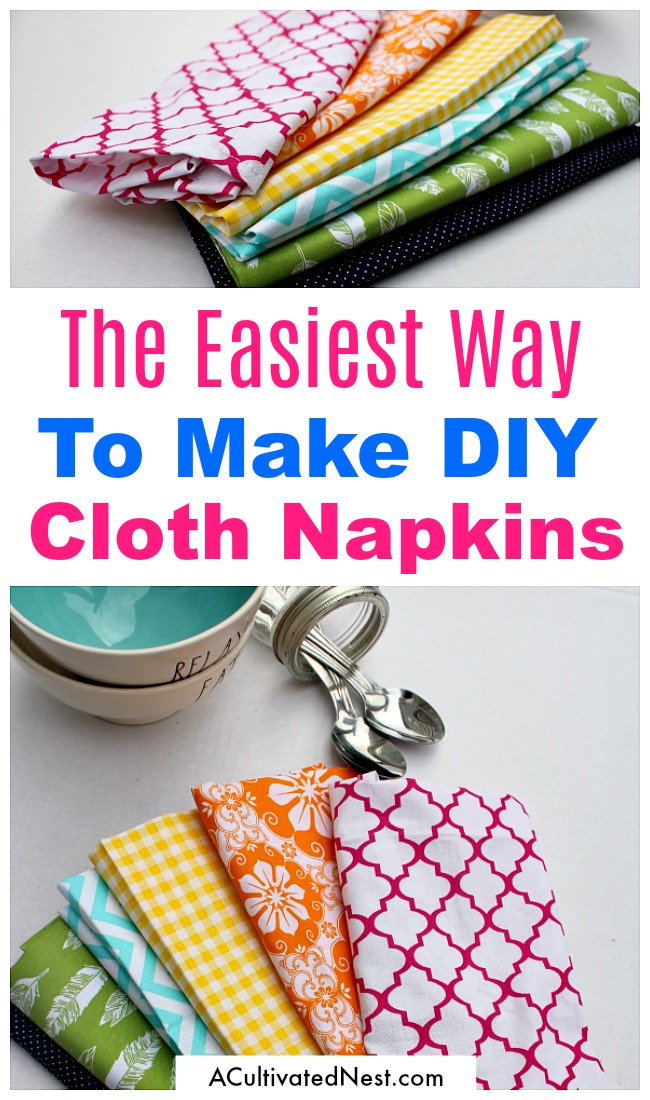
I’ve mentioned before that a great way to save money on paper products is to use cloth napkins. But did you know you can save even more- by making your own cloth napkins! While plain white cloth napkins aren’t pricey, if you want ones with colors or patterns, the price starts to rise. You could easily spend $100 building your collection of cloth napkins if you like to have differently styled napkins for each holiday and season! So instead of spending all of that, just make your own Homemade Cloth Napkins! This is a really easy sewing project, and completely customizable!
Disclosure: This post may contain affiliate links to Amazon and/or Etsy, which means that I may earn a small commission from some of the links in this post. Please see our Disclosure Page for more information.
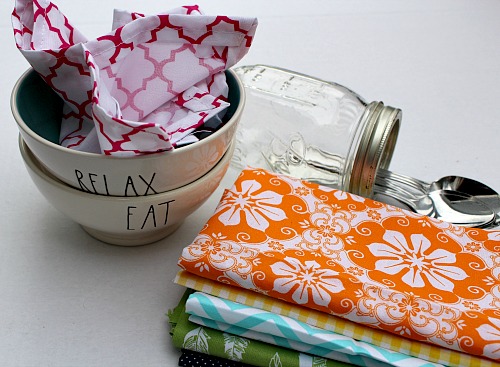
You can make these DIY cloth napkins by hand or even easier with a sewing machine. You don’t have to be a sewing expert as they are so simple to do! They are a great beginners sewing project, or even a sewing project for children. Choose a cotton fabric pattern to match your decor, for a special event, or in pretty seasonal colors like these bright ones I chose for spring and summer.
Homemade Cloth Napkins
Materials
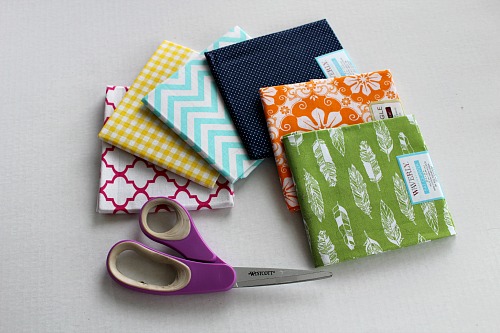
Cotton fabric (I used fat quarters)
Iron and ironing board
Scissors
Measuring tape/ruler
Sewing machine (you could also use needle and thread if you don’t have a machine)
Directions
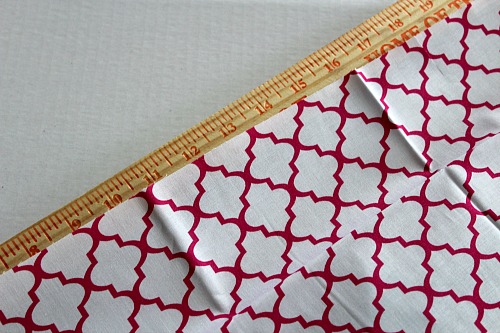
1. I prefer to grab pre-cut fat quarters, they are pretty inexpensive and easy to work with. But you can also use yardage of any cotton fabric you like. A fat quarter is 18 x 22”, trim it to 18 x 18” so that your finished napkin hemmed up equals 17 x 17”. If you are using yardage simply cut your napkins to 18 x 18”.
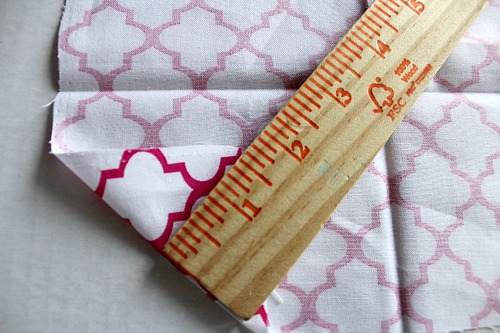
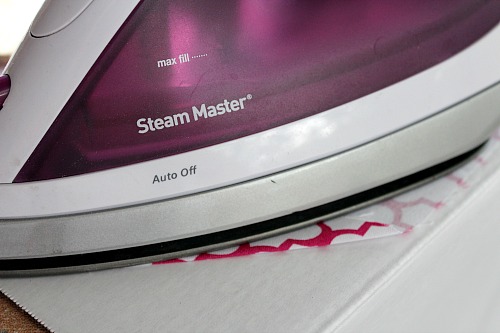
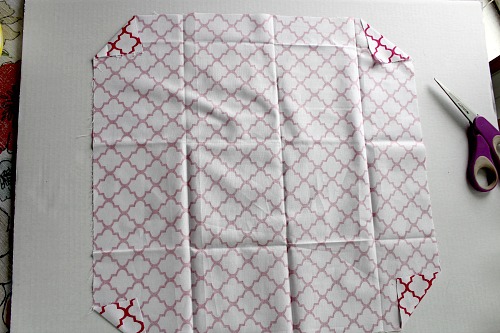
2. To create a neat and mitered corner, fold each corner over 1 ½” onto the “wrong” side and press flat with a hot iron. Fold over the tip inward until it just touches the crease you made, then press it with the iron. You could also simply just trim off 3/4″ of the corner straight across.
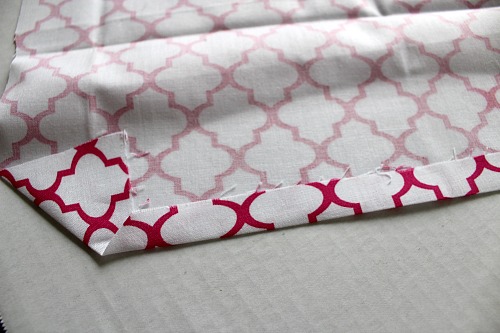
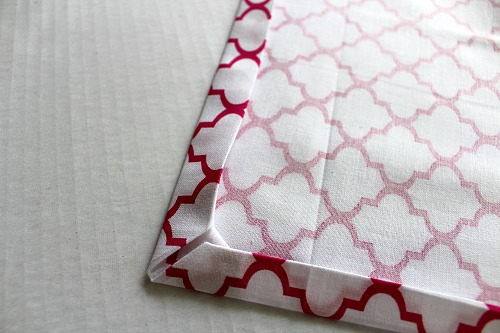
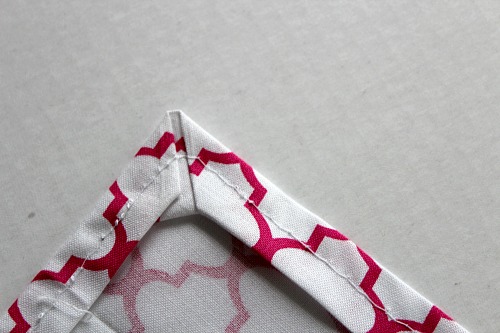
3. Then fold each side of the napkin down ½” and press with an iron. Fold over another ½” and press again. Your corners should be neat and meet the same way a mitered corner of wood does, and the rough edges of your fabric will be hidden.
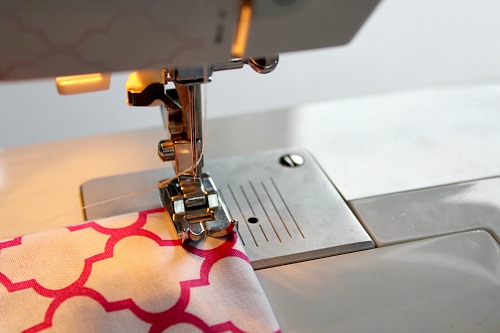
4. Pin your edges all the way around. I have done it enough times and press it well enough that I am comfortable running it through without pins, saving a little time.
5. Run your napkin through the sewing machine with a basic zigzag stitch, fabric right side up all the way around.
6. Repeat with each of your homemade cloth napkins. I made 6 to add to my spring and summer napkin collection!
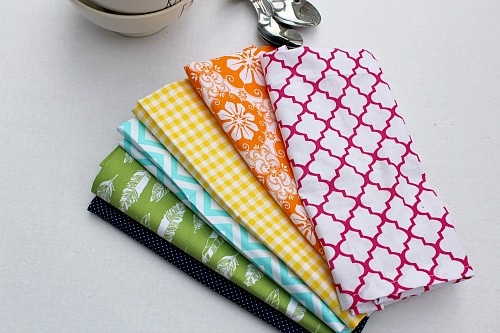
Then enjoy your pretty DIY cloth napkins!
Do you have a big cloth napkin collection?
You might also be interested in: Disposable Products You Can Replace with Reusable Ones
