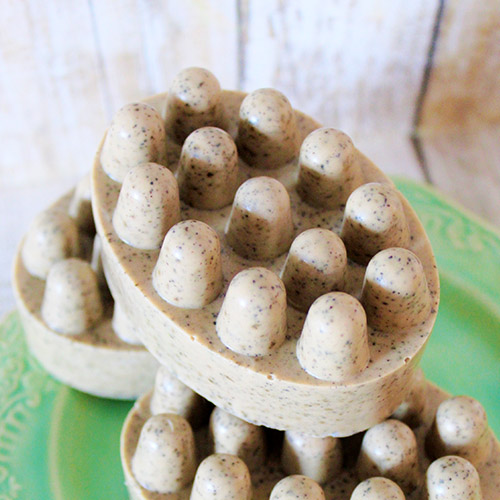
Homemade Peppermint & Vanilla Coffee Scrub Soap.
When it comes to making your own soap, there are lots of choices these days for ingredients and scents that are natural and smell amazing. It can be hard to make a decision, especially when you are just trying one for the first time as a DIY. But I think you are going to love this Easy Peppermint Vanilla Coffee Scrub Soap.
Disclosure: This post may contain affiliate links to Amazon and/or Etsy, which means that I may earn a small commission from some of the links in this post. Please see our Disclosure Page for more information.
When I found that I could use coffee grounds in a soap bar as a scrub, I didn’t have to think long about trying it. Coffee grounds are excellent for exfoliation and they help break down cellulite, so who can even argue with that? They smell fantastic and one of the best parts about using them for this recipe is that you are using used coffee grounds, so they are getting double duty for use and you can feel good about being resourceful!
Easy Peppermint Vanilla Coffee Scrub Soap
Here are some tips to help you make a great DIY coffee scrub soap:
- If you use a K-cup type coffee, it will take about 2 of those cups for a batch of soap, and they are easy to open up and dry out.
- Also included for scent is peppermint essential oil and vanilla essential oil, as well as vanilla extract. You will end up with a wonderful scent that makes you feel great and leaves your skin moisturized and very soft.
- Peppermint oil can be very potent, but it is great for you, and it is a cleansing oil so it’s wonderful in body products. It adds a refreshing note and balances well with the coffee and vanilla. You don’t need many drops of it either.
- The base for the soap is a goat’s milk melt and pour type, which you can order online or find in craft stores. It makes this very easy to do and most of the time you can get a deal on the soap with a sale or a coupon. You will be adding sweet almond oil, and most vanilla essential oils also have a carrier oil, such as jojoba, so those add more health benefits for your skin too.
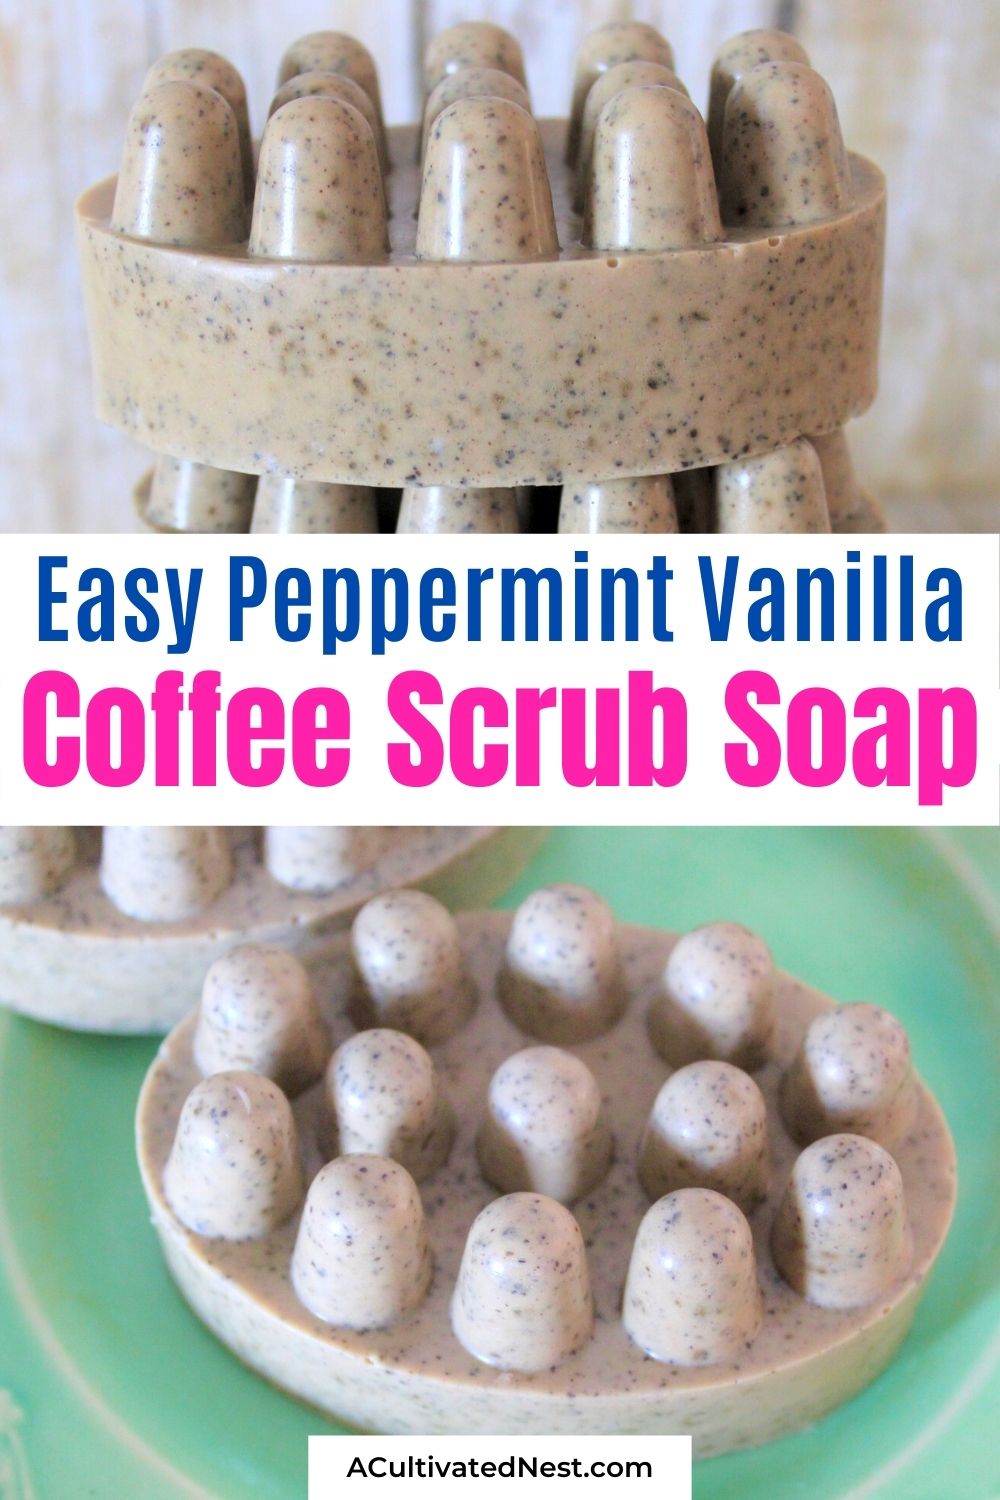
- The silicone molds I used are intended to be massage-type bars and they do take a bit more soap than the average soap bar size does, so this recipe will make 3 of them. If you have a smaller mold to use, you may get 4 bars out of it instead.
Materials
1.75 cups goats milk soap base
2 tsp. sweet almond oil
1 tbsp. vanilla extract
25 drops peppermint essential oil
18 drops vanilla essential oil
3 tbsp. coffee grounds, used and dried (or 2 K-cups)
Silicone massage bar molds
Directions
1. Begin by checking your silicone molds for any dust or debris, as it will stick to the soaps if so, and then set them in a good, flat spot for later to dry the soaps.
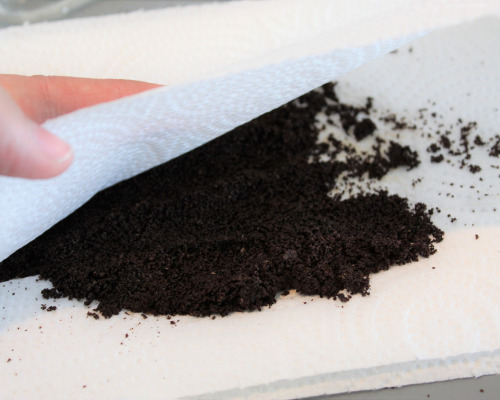
2. If your coffee grounds are in the K-cups still or wet from recent coffee drinking, you will want to put them on a paper towel and then spread them out and press them between another paper towel on the top. This will absorb the moisture well and you’ll be able to use them in a few minutes. If you use new coffee grounds, they tend to bleed a lot into the soap and you get less consistent color in the finish, and it can be muddy or dark.
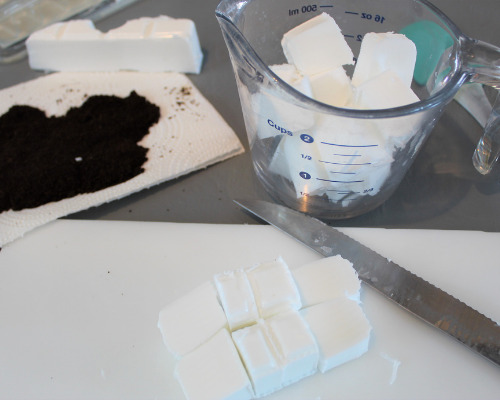
3. Set the grounds aside for now, and then take a good knife, cutting board, and a glass mixing bowl or large measuring cup that is microwave safe and grab your soap base. This type of soap comes in a large brick and many times it is pre-marked into cubes. If your soap isn’t marked already, you’ll want to chop it into cubes about 1” in size.
4. It takes about 15 cubes or so to meet the 1.75 cups. Chop up the soap and place about half of it into the bowl. Place in microwave for 90 seconds. While it is heating you can measure out the almond oil and have it ready.
5. Take a rubber spatula or scraper tool and stir the soap base. It is likely to have some cubes of soap still in the bottom that aren’t liquid yet, so just stir it well and then check to see how much soap you have, and then add more cubes accordingly. Stir well and add in the almond oil. Then place back in the microwave for about 30-45 seconds. Keep the microwave turns from here on out to a lower time, or your soap will boil over and make a huge mess.
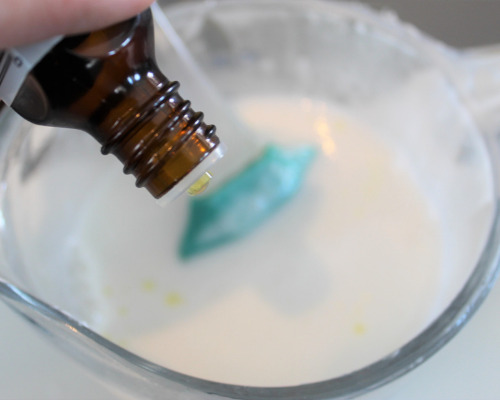
6. Remove the soap and check for clumps and break them apart if needed. Then add in the vanilla extract and the essential oils, stirring between each one, and scraping any soap off the sides of the bowl that might be starting to set up.
7. Place back in microwave again for 30 seconds, and repeat if needed until you have a thin, smooth liquid.
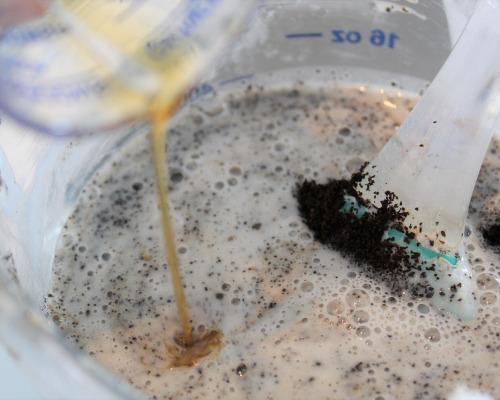
8. Now you can add the coffee grounds. Pour a few grounds in at a time, stirring as you go to disperse them well throughout and keep them from clumping up. If you feel the soap thickening or see any lumps in it, do about 20 seconds more in the microwave, and then once it’s all smooth, you are ready to pour the soaps into the molds.
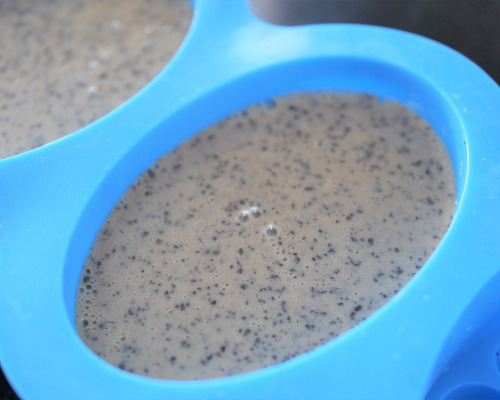
9. I prefer to fill them to about ¾ full, and then go back and top them off, so that I don’t end up with one bar much thicker than the others. If the soap thickens a lot, heat it back up and stir, and then finish pouring. If you are quick with this part though, you probably won’t need to do that.
10. Now you just need to allow the soaps to cool off fully. Leave them still and don’t try to move them, or the soap can be ruined. It will take about 1 to 2 hours for them to cool all the way through. Check the bottom of the mold in the centers of the bars to see if they are all one cool temperature. Once they are, peel them carefully from the molds and flip them over. Allow them to breathe and dry for a few more minutes since sometimes there is moisture in the bottom of the mold.
11. Now you are ready to use your new soaps or give them as gifts!

Are you keeping the scrub soaps for yourself or giving them as gifts?
You might also be interested in: 12 Creative Ways to Use Coffee Grounds
