Pumpkin DIY Button Wall Art for Fall.
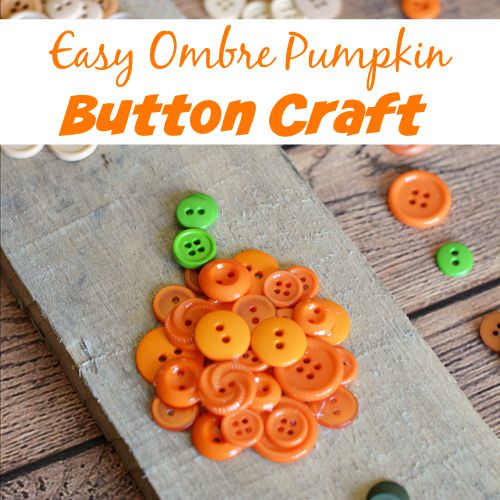
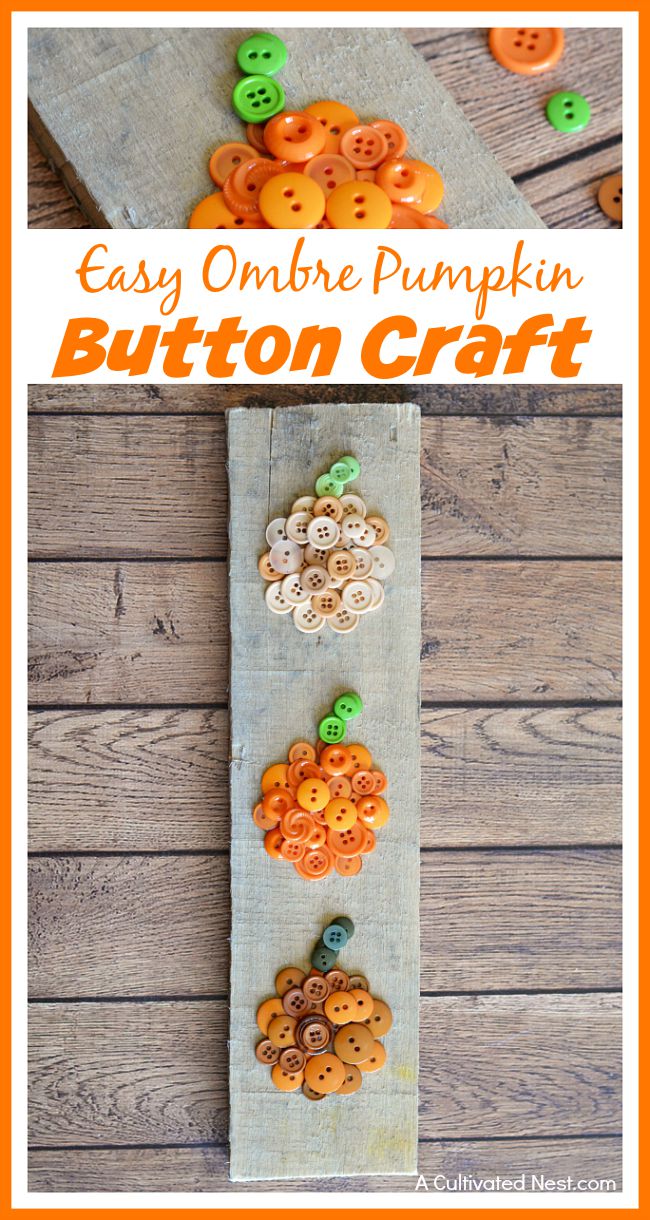
Fall is the perfect time for crafting! It’s not too hot and not too cold, so you can just sit and enjoy making something cute without worrying about the weather! A great way to relax with crafting during the fall is to make a fall button craft! I’ve made several button crafts over the years, and I enjoy making them more and more with each new one! They’re an inexpensive and relaxing activity, and there are so many opportunities for creativity! If you’re looking for a fun way to spend a fall day, you have to make this Easy Ombre Pumpkin Button Craft!
Disclosure: This post may contain affiliate links to Amazon and/or Etsy, which means that I may earn a small commission from some of the links in this post. Please see our Disclosure Page for more information.
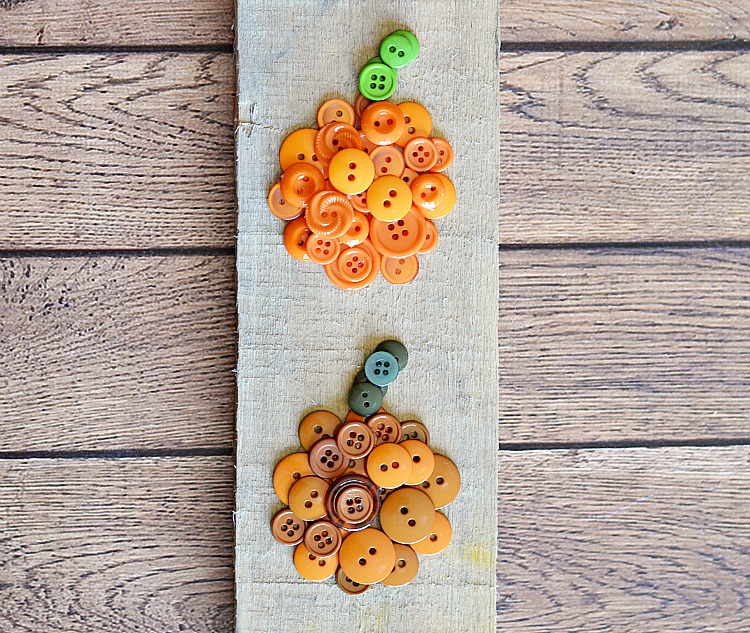
Because button crafts are so easy to make, they’re great crafts to make with friends or family, especially kids! You don’t have to think too hard while working on them, so it gives you a great chance to just enjoy the day and chat! I made my ombre DIY pumpkin button craft on a pallet board and made three pumpkins, but another cute alternative would be to just make one or two pumpkins glued onto paper and put in a frame (in front of the frame’s glass). Or just make one pumpkin on a smaller square of wood. Be creative, and as always, have fun!
Easy Ombre Pumpkin Button Craft
Materials
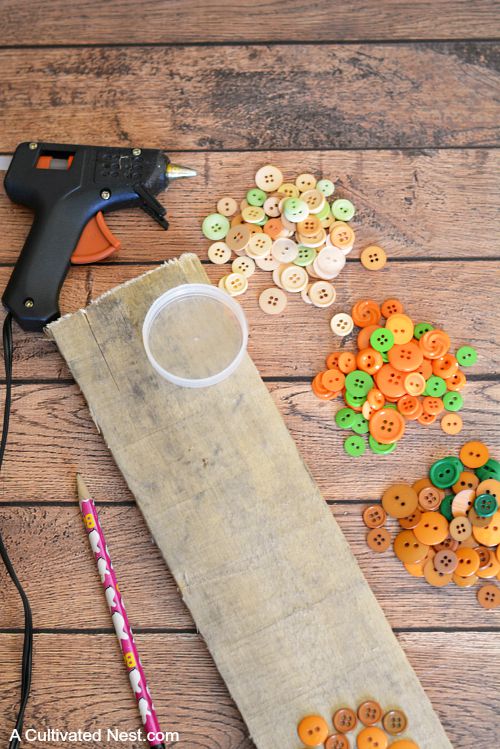
Buttons – in at least three shades of orange and green. I prefer Favorite Findings brand buttons, usually available at most craft stores and Walmart.
Hot Glue
Pallet Board (mine measures 3.5″ x 14″)
Sanding Block (if necessary)
Ruler/Tape Measure
Circle Template (2″ plastic cap was used)
Pencil
Instructions
1. If necessary, lightly sand your pallet board to remove any rough edges and cut “fuzzies.”
2. Separate your buttons into your lightest to darkest colors.
3. With a pencil, lightly draw a pumpkin shape at the top and bottom of your pallet board, then add one in the middle, evenly spacing them apart. Your “sketches” should be very basic- essentially ovals/circles with curved stems.
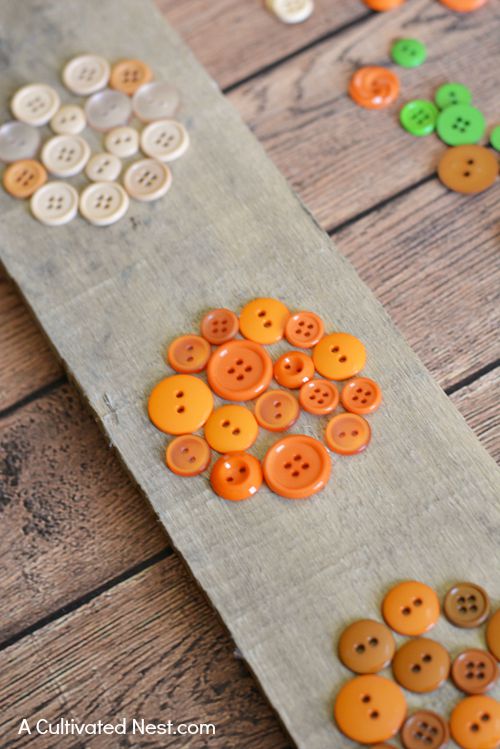
4. Using a hot glue gun, glue the buttons onto the outline. Continue with a second and third layer, if desired. Move onto the other two pumpkins and repeat. I made my top pumpkin white/tan, my middle one orange, and my bottom one ocher/brown. Once all the buttons are glued down, you’re done!
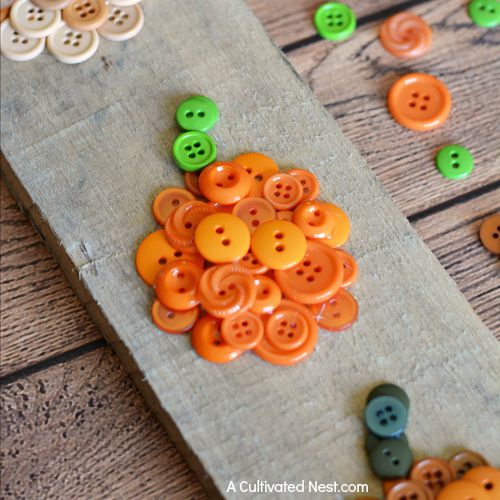
The end result is an adorable DIY fall pumpkin decoration that will look beautiful displayed in your home!
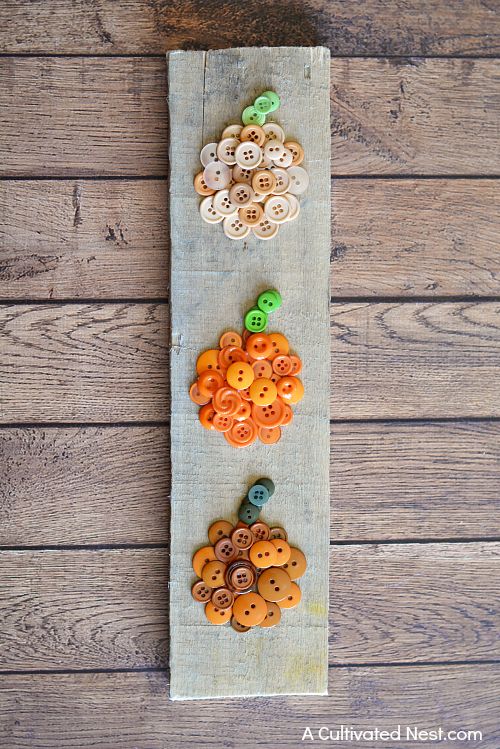
This is such a fun, frugal, and unique way to make DIY fall wall art!
Have you ever made DIY button art before?
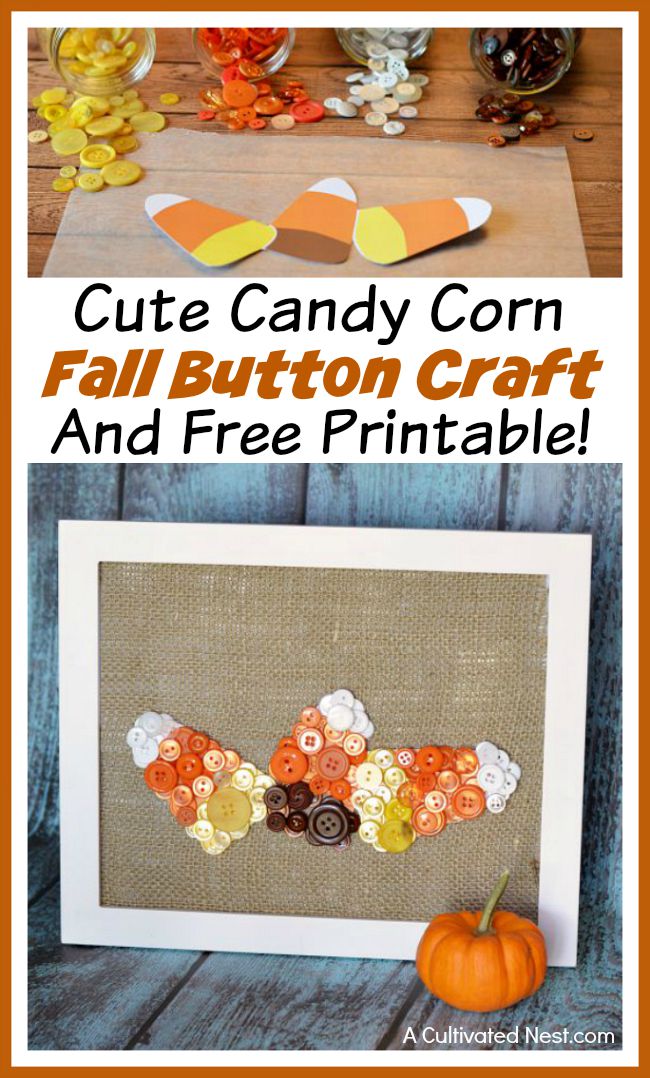
You might also be interested in: Cute Candy Corn Fall Button Craft
So cute! That would be an easy project to get my teenagers on while I do my other decorating this weekend. =)
Love this! Great fall project!
This looks so easy but comes out looking awesome!
Cute! I’ll have to try it out 🙂
I’ve made a few button bouquets and I have to say it was so much fun to do! This is an adorable craft Manuela, and super easy!
That is adorable!! I love that it could be used for the whole Fall season!! Thank you for sharing with us at the #HomeMattersParty
Manuela, this is just so adorable! I can’t wait to take a pallet wood and dive into my buttons to make something similar, the girls will love to do it! I would love if you could share this at our party which runs every Tuesday http://sweethings.net/oh-my-heartsie-girls-wordless-wednesday-2/ #OMHGWW
Have a wonderful week!
Hugs,
Pili