Easy Twine and Lace Upcycling Project.
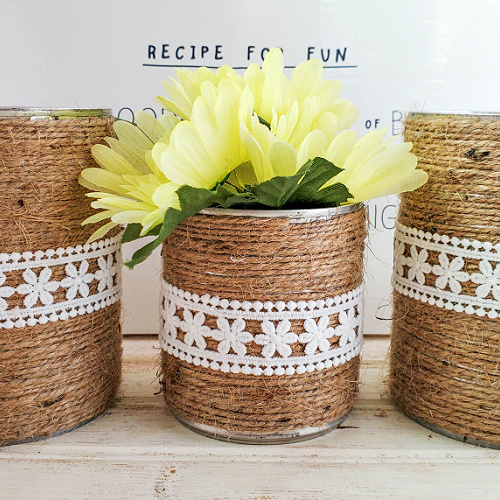
Isn’t it amazing how many fantastic things you can make with minimal materials? I love creating crafts with basic items you can find around the house. Instead of throwing things in the trash by default, I try to see what I can salvage and transform into something useful (and pretty!). If you’re like me and love to recycle materials into cute DIYs, then you’ll love this Twine and Lace Upcycled Cans Craft!
Disclosure: This post may contain affiliate links to Amazon and/or Etsy, which means that I may earn a small commission from some of the links in this post. Please see our Disclosure Page for more information.
It’s okay if you don’t have a lot of experience with crafting! This one is ideal for a beginner, and even older kids can help. Just make sure that the cans don’t have any sharp edges, so you don’t get cut.
Twine and Lace Upcycled Cans Craft
Don’t throw tin cans out! Instead, save them and transform them into a lovely fall craft project. Before you begin, you will need to remove the label, clean, and dry the can. Here are a few ways to remove those pesky labels:
- White Vinegar – First, you will need to warm the vinegar either in the microwave or on the stovetop. It needs to be hot, but not boiling. Then place the can in the vinegar and allow it to soak for 30 minutes. Scrape and remove the label.
- Hot Water – Yep, you can use good old-fashioned hot water! The heat will help release the adhesive, then you can scrape it off. It’s a good idea to let the label soak for 20-30 minutes.
- Goo Gone – This cleaner is like magic! Rub Goo Gone on the can with a cloth and let it sit for a few minutes. After it sits, start rubbing off the label. Add more Goo Gone as needed until it’s gone.
- Oil – Olive oil and vegetable oil are great options as well. While it takes longer, the oil will loosen up the glue. Let the can sit in the oil for 1-2 hours or until you can remove the label.
Materials
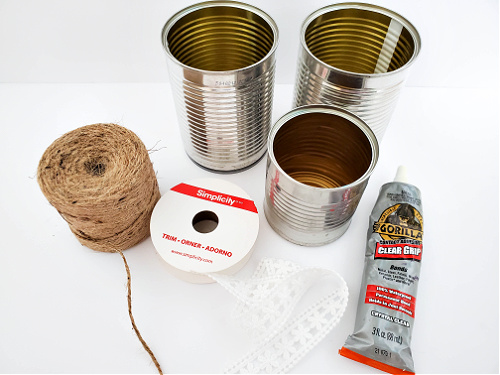
Twine
1-inch lace trim
Tin cans, empty, cleaned and dried
Gorilla glue (I used clear Gorilla glue)
Scissors
Directions
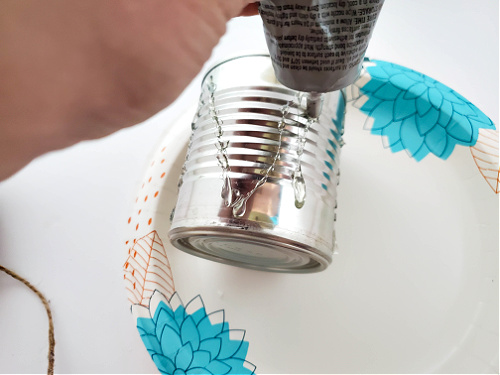
1. Apply gorilla glue up and down the can in a diagonal pattern.
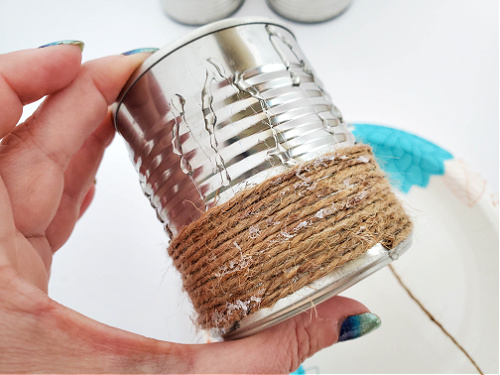
2. Start at the bottom of the can and add a line of twine at the bottom, pressing firmly to adhere the twine to the can.
3. Then wrap the twine around the can, going up the can, and pressing the twine down as you go. You may need to add a little glue here and there.
4. When you get to the top of the can, cut the twine, and firmly press the twine to the can, securing it.
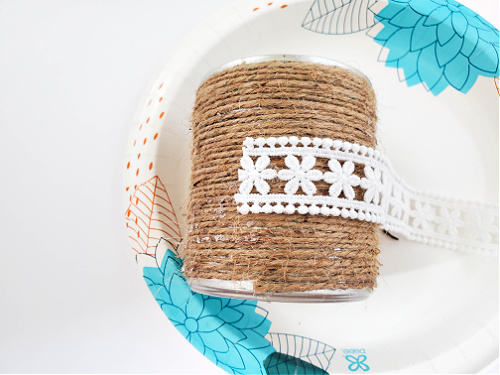
5. Add a dab of glue to the middle of the can, on top of the wrapped twine, and secure one end of the lace trim to it.
6. Wrap the trim halfway around the can, add another dab of glue, and press firmly to secure.
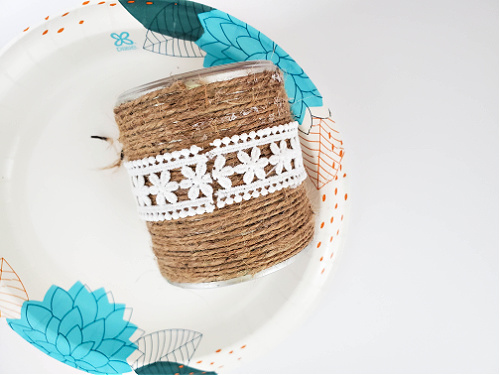
7. Wrap the trim around the rest of the can, add a dab of glue where the trim will meet the other end. Cut the trim where it meets, and press firmly to secure it. Your twine and lace upcyced cans craft is finished and ready to put on display!
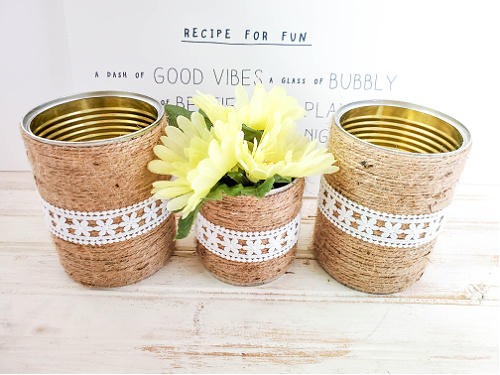
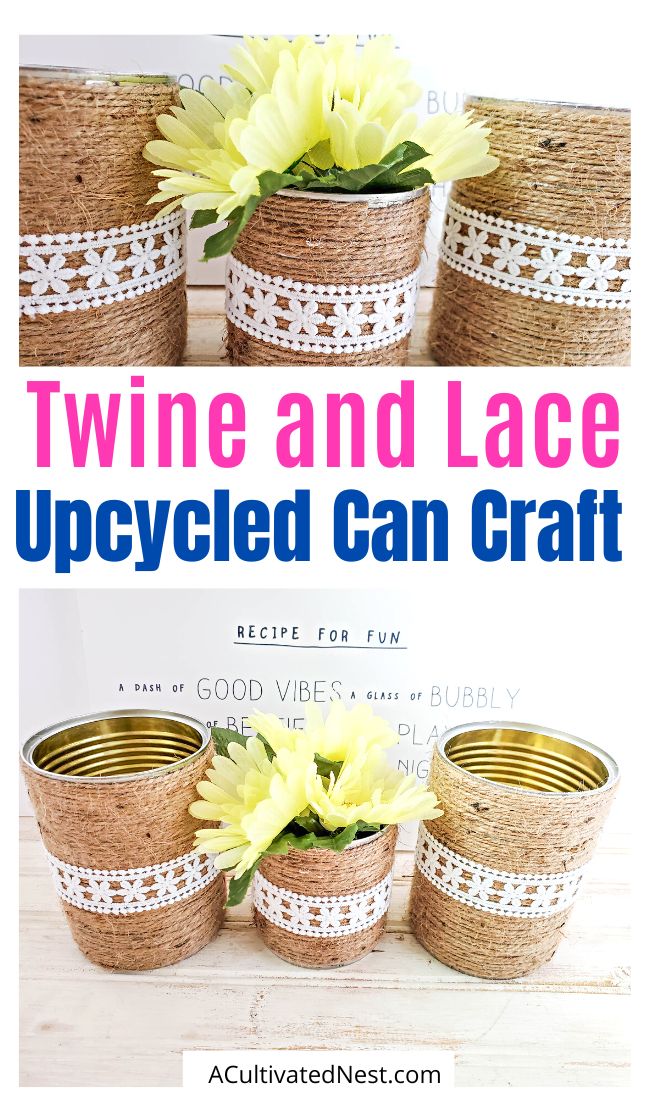
The finished upcyle project makes a great decorative item, or desk organizer!
What are you going to do with your twine and lace cans craft?
You might also be interested in: 12 Pretty Ways to Use an Ordinary Tin Can
Very clever idea👍