Homemade Lemon Bath Bomb Recipe.
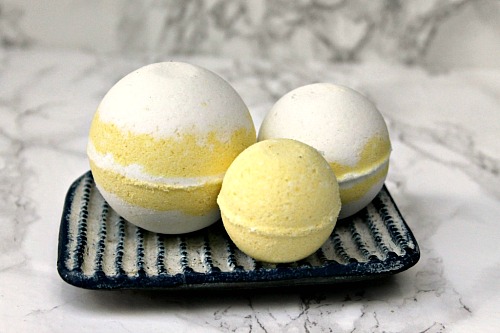
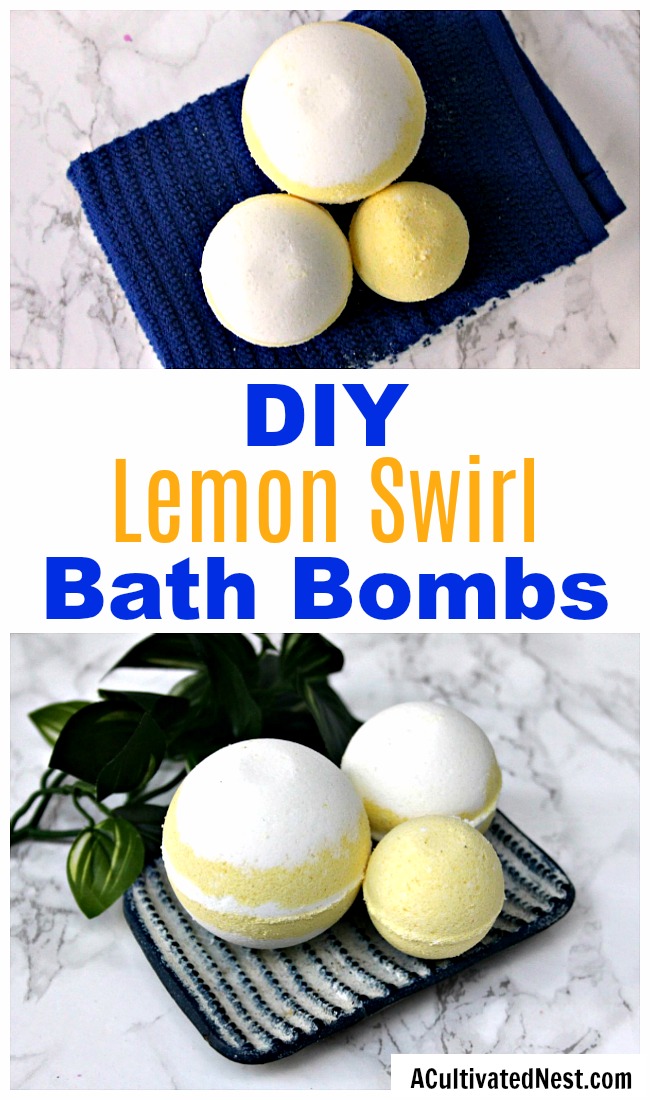
Fall is really here now! In fact, some days it’s so cold I almost think it’s already winter! Which unfortunately means it’s time to get ready for dry winter skin. But keeping your skin moisturized doesn’t have to cost a lot! Stay one step ahead of the dryness at very little cost with the help of these DIY Lemon Swirl Bath Bombs!
Disclosure: This post may contain affiliate links to Amazon and/or Etsy, which means that I may earn a small commission from some of the links in this post. Please see our Disclosure Page for more information.
Sometimes my friends and family give me Lush bath bombs as gifts, and I love them! But I could never justify them in our budget enough for me to by them for myself. Especially not after I learned how easy it is to make them at home! Now, between the ones I make and the ones I receive, I’m never short of luxurious bath bombs!
DIY Lemon Swirl Bath Bombs
Makes 1 DIY lemon swirl bath bomb
Supplies
1 cup baking soda
1/2 cup citric acid (It’s better to buy in bulk on Amazon)
1/2 cup cornstarch
1/2 cup SLSA (Sodium Laurel Sulfoacetate, not the same thing as SLS AKA Sodium Lauryl Sulfate. It’s just used to create bubbles, so you can leave it out if you like.)
1/4 cup cream of tartar
2 tablespoons coconut oil
2 tablespoons rubbing alcohol (AKA isopropyl alcohol)
Lemon essential oil (ideally all your essential oils will be therapeutic grade)
Bergamot essential oil
Petitgrain essential oil (or you could use Neroli essential oil or any other orange based essential oil)
Yellow mica coloring ( use this Golden Yellow powder from this set on Amazon)
Spray bottle of rubbing alcohol
1 large mixing bowl
2 smaller mixing bowls
Metal bath bomb molds (I got mine on Amazon). You could also use silicone molds or plastic molds, you would just have to approach steps 10 and 11 a little differently because your molds would be different.
Parchment paper
Directions
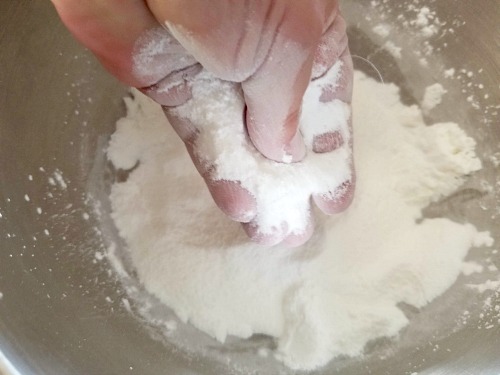
1. In a large mixing bowl, add baking soda, citric acid, cornstarch, SLSA, and cream of tartar.
2. Using your hands, break down any lumps in the dry mixture. Mix dry ingredients together with your hands or a whisk.
3. In a small bowl, add the coconut oil and rubbing alcohol.
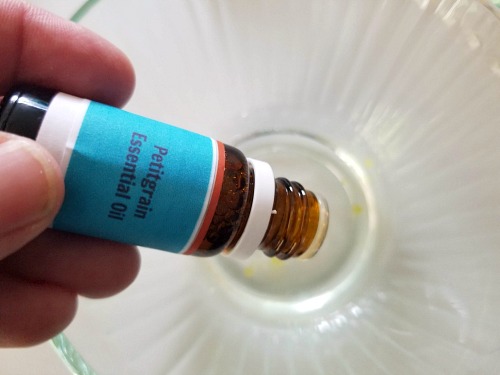
4. Add lemon, bergamot, and petitgrain essential oil to the small bowl.
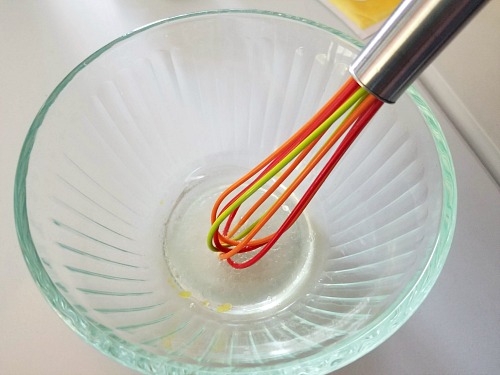
5. Using a whisk, blend all your wet ingredients together.
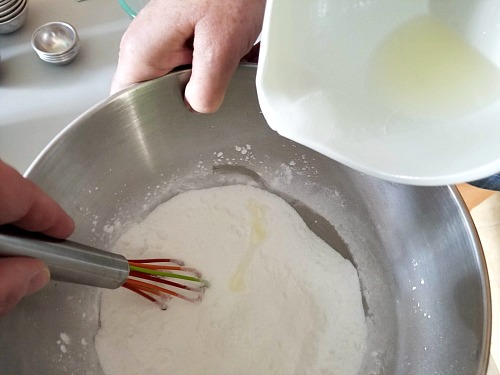
6. Slowly add in the wet ingredients to the dry ingredients. Add about 1 Tablespoon at a time. Whisk together well and repeat until wet mixture is incorporated into dry mixture. You will know when the mixture is perfect when you can press the mixture together in your hands and it stays together (see the picture with my hands below). Separate the mixture evenly into two bowls (you can reuse the original small bowl for one of them).
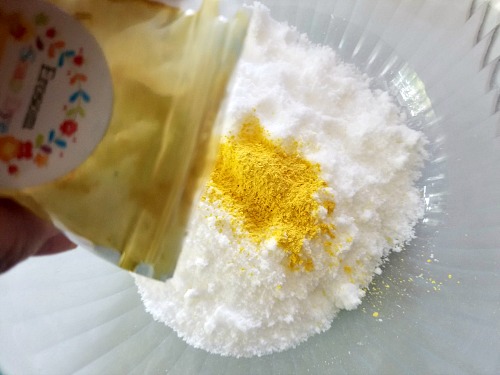
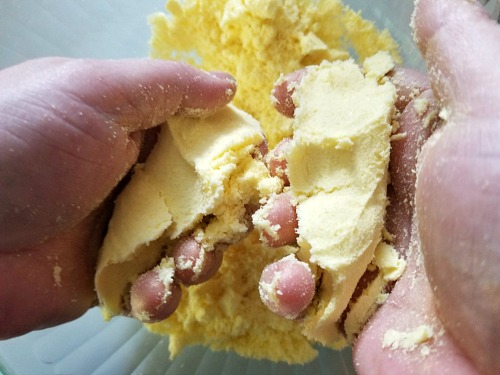
7. Add your yellow mica powder to one bowl. Blend with your hands until the mixture is evenly yellow.
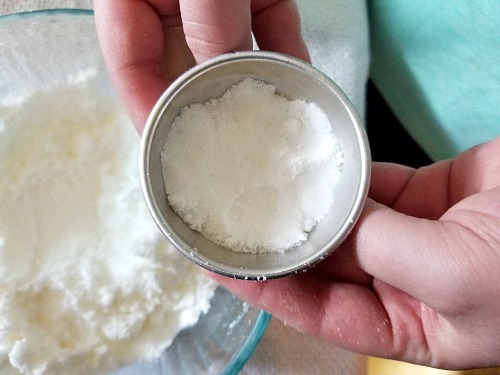
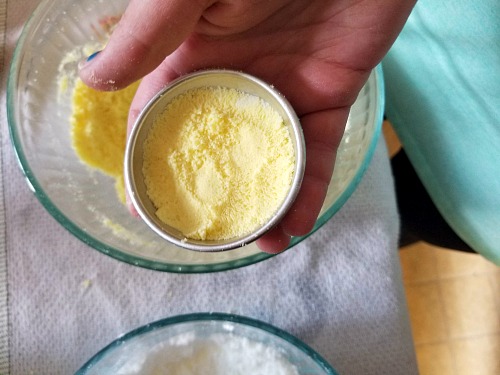
8. Take a bath bomb mold and add some of the white mixture and then some of the yellow. Repeat on the other side. Pat down gently, but not too hard!
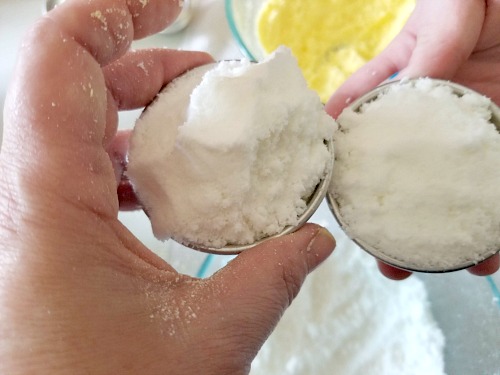
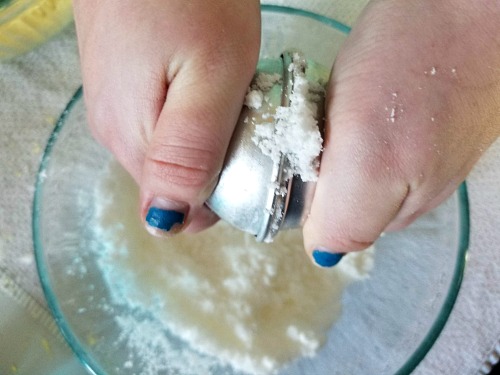
9. Add the white mixture to top off both sides and press the mold together tightly. You may need to make a slight twisting motion to get all the excess mixture.
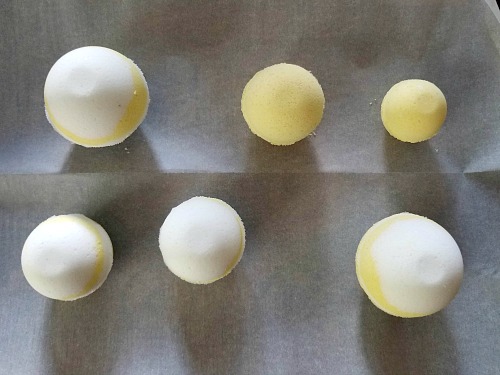
10. Gently tap on the top of one side of the mold and release the mold from the bath bomb. Gently turn the mold over in your hand and repeat. Carefully set the bath bomb on parchment paper and allow to dry overnight. The next day, the bath bomb should be hard and ready to go! Store in an airtight container until ready to use. Then when you go to take a bath, drop one in and enjoy! They smell amazing!
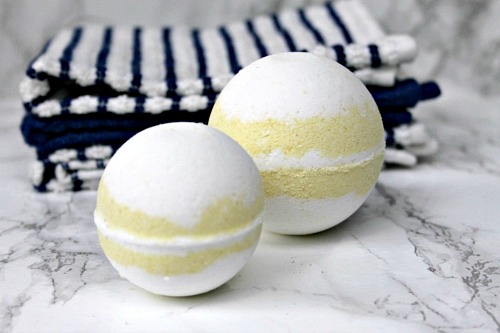
These DIY bath fizzies make wonderful gifts for any occasion or holiday! I know I plan to make a few for Christmas, to repay friends who have given me Lush bath bombs this year.
Do you often make DIY bath bombs? What kinds have you made?
You might also be interested in: 10 Luxurious DIY Bath Bombs
