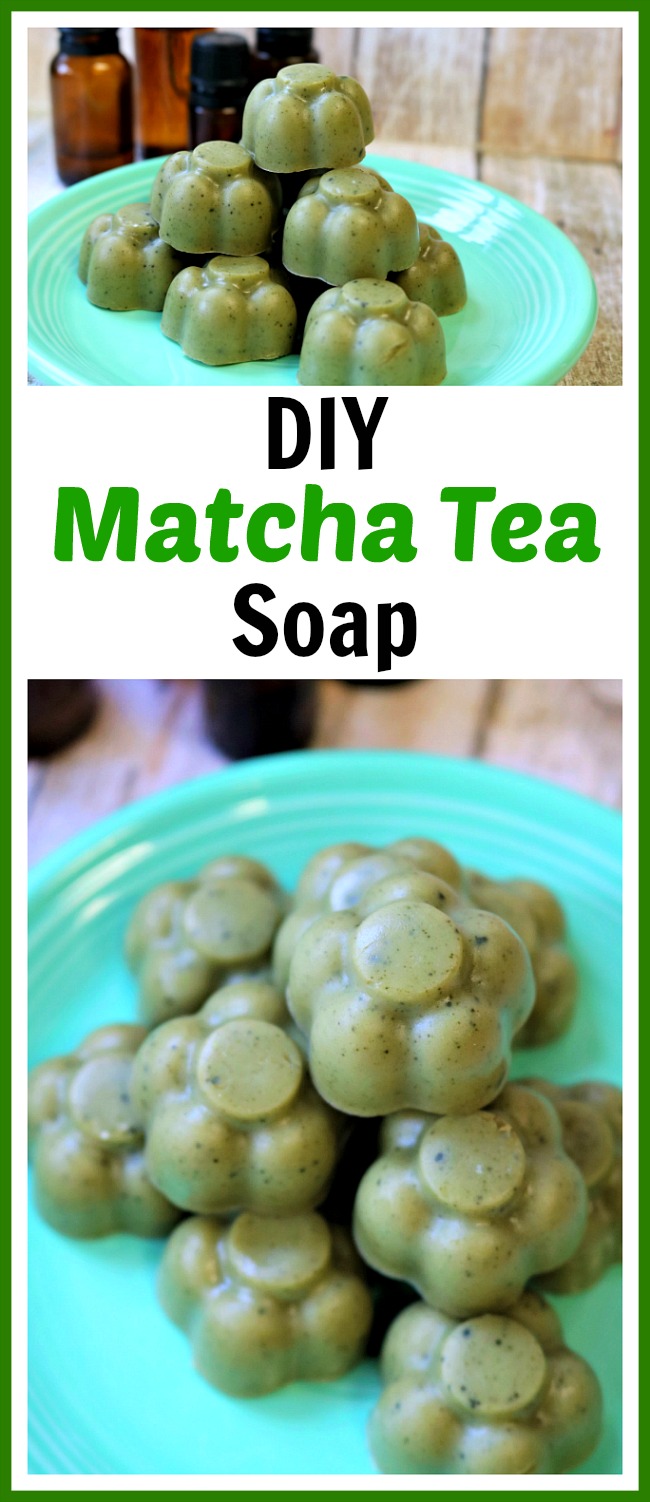
Making your own soap is a great way to be able to incorporate ingredients you are in control of, and customize them to suit your needs. This DIY soap recipe is made with the idea of keeping your skin healthy and balanced. It will help reduce fine lines and wrinkles and clear up blemishes, while balancing the oil and moisture in your skin. Here’s how to make your own DIY Matcha Tea Soap!
Disclosure: This post may contain affiliate links to Amazon and/or Etsy, which means that I may earn a small commission from some of the links in this post. Please see our Disclosure Page for more information.
For the scent as well as healthy benefits for your skin, you will be adding 4 essential oils to this DIY matcha tea soap: frankincense, myrrh, geranium and cedarwood. These are powerful oils that all are great for the skin and will create a light scent that is not over-powering. It also should be suitable for both men and women!
As with all essential oils, there is always a chance that you may be allergic to one of the essential oils in this recipe. So to be safe, the first time you use this soap you may just want to wash a part of your arm or leg instead of your face, just in case you experience any irritation. But using therapeutic grade essential oils makes this less likely to happen. And of course, you can always make this homemade soap without any essential oils. You’ll just be missing out on some helpful benefits and the nice scent.
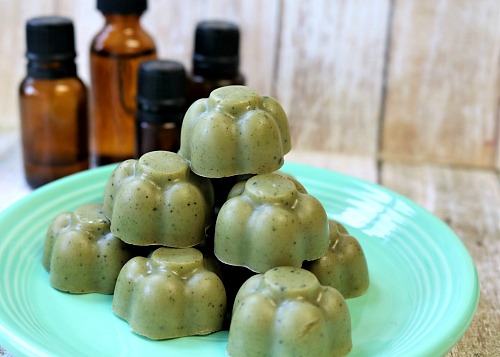
DIY Matcha Tea Soap
True to its name, this DIY matcha tea soap contains matcha tea powder, which is wonderful for the skin and contains antioxidants that are great for you.
The base of the soap is shea butter, and it results in a nice soft but durable soap. The soap normally comes in a square or rectangular form, and sometimes, depending on where you buy it, it may be pre-scored for cutting into blocks. Either way you will have to cut it up, and then melt it. This does make it hard to measure out exactly, so I go by squares when I make it for my measurement. Be sure to over-figure by a square or two when you are making it and then you should have enough for your molds. You can use either the small kind of silicone molds like ice cubed-size, or the ones that are a bit larger and closer to a regular bar of soap.
Makes approximately 12 ice cube size soaps or 2 regular bar soap size soaps
Materials
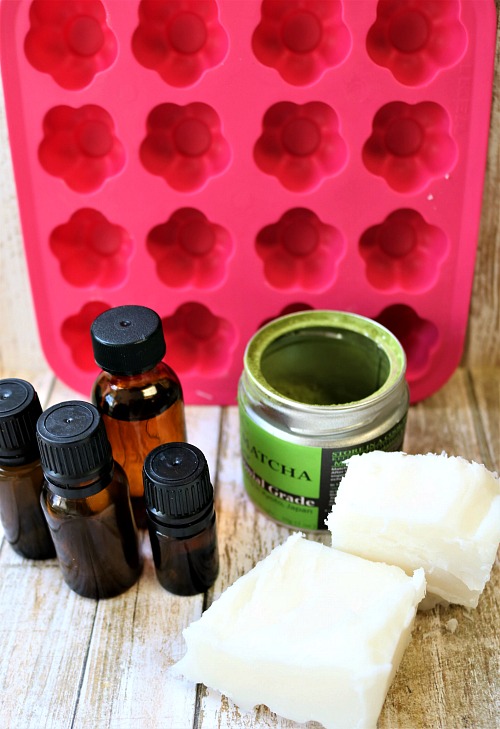
1 silicone ice cube style tray with multiple molds, or 2 to 3 larger silicone molds for bigger soap sizes (I used this ice cube tray from Ikea)
Approximately ¼ lb. shea butter soap base
1 tsp. Matcha tea powder (I used a ceremonial grade one, but culinary grade will also work fine)
10 drops geranium essential oil
6 drops frankincense essential oil
6 drops myrrh essential oil
8 drops cedarwood essential oil
Directions
1. Start by wiping out the molds first, to clear them of dust or debris, and then set them out so they are ready to go when the base is set to pour.
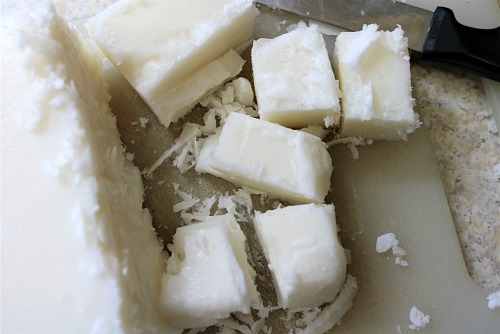
2. Now go ahead and figure out how many squares of soap you should need for your molds, figuring about 2 extra to be safe. To determine how many of them you will need, count 1 to 2 per mold if the molds are the small ice cube type. If the molds you are using are larger, like normal bar of soap, it would be about 1/8 lb. per bar. Then chop the soap base into small squares. They should be about 1-2” in diameter.
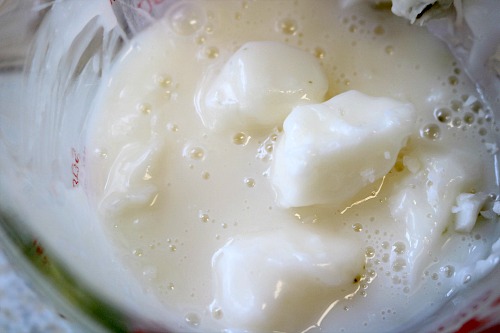
3. Next step is to place the soap squares into a glass dish, and microwave for about 50 – 60 seconds. Then, stir using a rubber spatula, scraping the sides, checking for any large lumps, then placing back into the microwave about 20 more seconds. The goal is for the soap to be totally liquefied with no lumps, so if it still has some, just put it back in the microwave in 15 second increments.
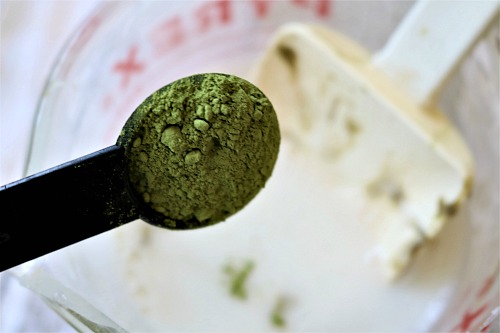
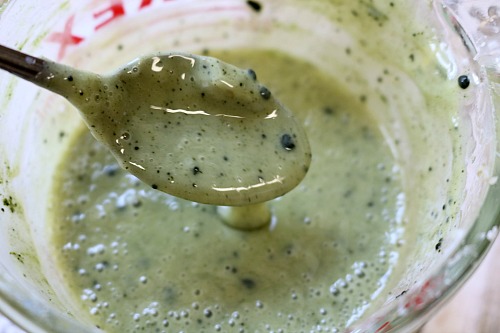
4. Once you’ve stirred it and found it to be liquid, go ahead and add in your Matcha tea powder. Mix it in well and if the soap base starts to thicken and set up, place it back in the microwave to loosen again. If you run into an issue where the tea is trying to stick together in clumps, use the spatula or the back of a spoon and mash it to break it up.
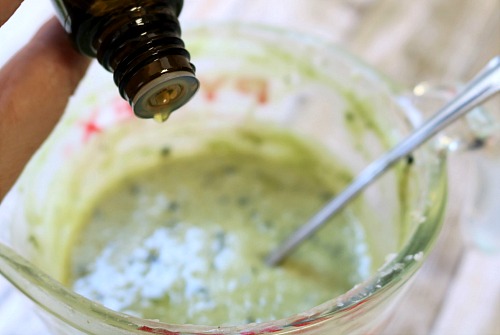
5. Now, put your soap it in the microwave for 15 more seconds, stir well, then can add in your essential oils. Most of these oils are thin and runny so be sure to go slowly when counting out the drops. The myrrh is the opposite though, being a resin, so it moves super slow. Make sure the essential oils are well blended in the soap, stirring it well and getting them blended in thoroughly.
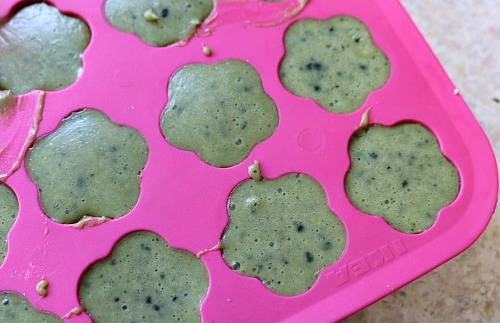
6. Now, one last time, place the soap mixture in the microwave again for 15 seconds to smooth it out, give it a stir, and then you can pour it into the molds.
7. Let the soaps cool off at room temperature until they are fully cooled. It will likely take at least 30 to 45 minutes.
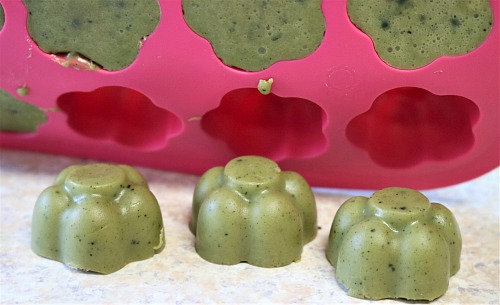
8. Feel the bottom centers of the molds to see if they are cool, and if they are, turn the molds over and carefully pop out the soap bars. If they are still warm in the centers, wait until they cool, as pushing them out too early can dent them or make the soap misshapen.
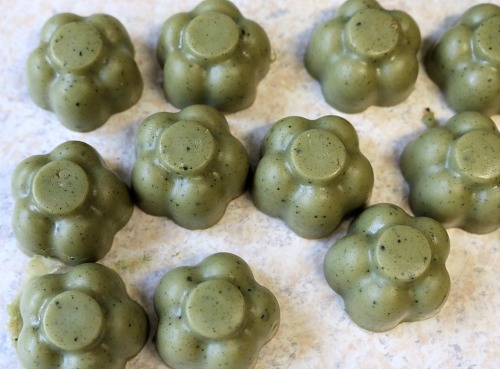
9. Once the soaps are out of the molds, check for any loose little pieces and peel them off to make the soaps look nice. Then enjoy your DIY matcha tea soap!
You can store this matcha tea soap in a glass jar, or just place a few on a cute soap dish.
To use, lather up the soap in your hands with warm water and wash your face as you would normally, using the soap at least once per day in your normal routine.
Have you ever made a DIY soap before?
You may also be interested in: Matcha Tea Face Mask
