How To Build A Raised Bed
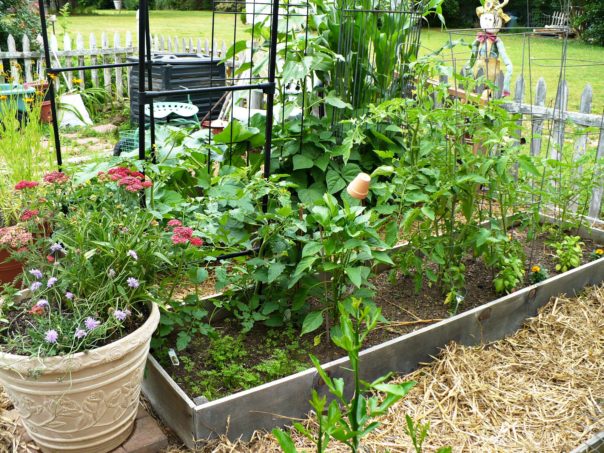
As most of you know I use raised beds (and some containers) in my vegetable garden. Like with most things, there’s more than one way to make a raised vegetable bed. I’m going to show you my simple and easy method but at the bottom of this post I have links that show you other ways to DIY a raised bed. But first lets discuss why I choose this method over other gardening methods for growing vegetables.
Why make a raised bed?
- Raised beds warm up faster so you can plant earlier and they stay warmer longer so you can extend your season a bit.
- They also drain better which is great if you’ve got not so good soil like me.
- They’re also easier to maintain than a traditional bed. There’s less weeding and the soil doesn’t get compacted because you don’t walk on it.
- No soil erosion
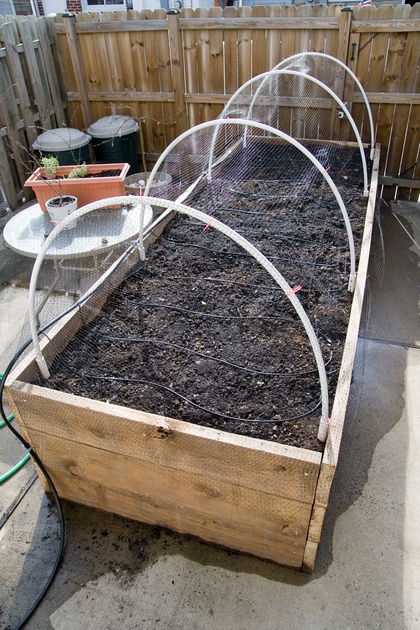
- You can grow plants where you normally wouldn’t be able to like on top of a driveway. A raised bed is basically a big container – a very big pot!
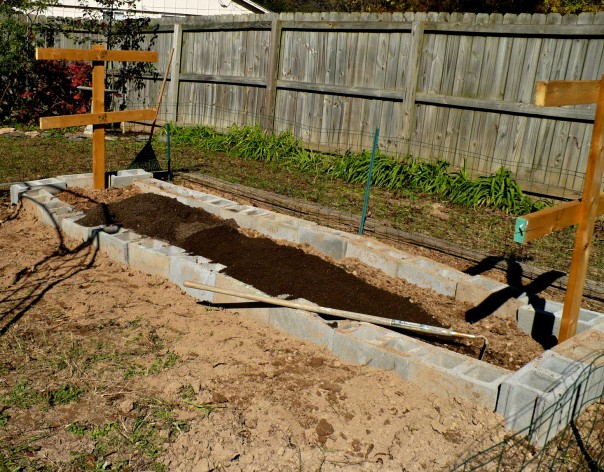
You can make a raised bed out of concrete blocks like I did a few years ago,
Disclosure: This post may contain affiliate links to Amazon and/or Etsy, which means that I may earn a small commission from some of the links in this post. Please see our Disclosure Page for more information.
or brick, stone or wood. Mine are made of wood so that’s what I’m going to show you how to make. It’s really easy!
What Kind of Wood Should I Use?
I use pine. It holds up for me about 6-7 years. If you are in a very wet climate like the Pacific NW you may want to use cedar. Pressure treated wood used to be a strict no no because it was treated with arsenic which could leach into your soil and thereby into your vegetables. Most pressure treated wood is now treated with copper. Do your research on the health risks of pressure treated lumber and make your own decision. Pine is by far the most economical.
What Size Raised Bed Should I Build?
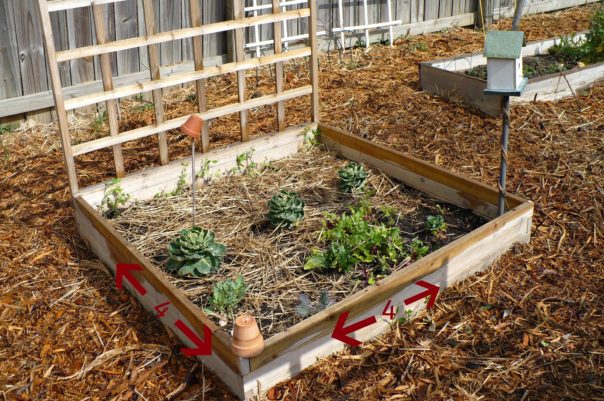
Raised beds can be any size that works for you. If you’re going to do Square Foot Gardening (SquareFootGardening.com) he recommends a basic 4 x 4 ft. bed like mine below.
This is from a kit I bought at Lowe’s last year on clearance. I find this size awkward. It’s hard for me to reach the middle. Maybe it’s because I’m 5’4″. If I was taller it probably wouldn’t be a problem. I’ll probably plant one of these beds (I have two) with asparagus or something perennial so I don’t have to mess with it too much.
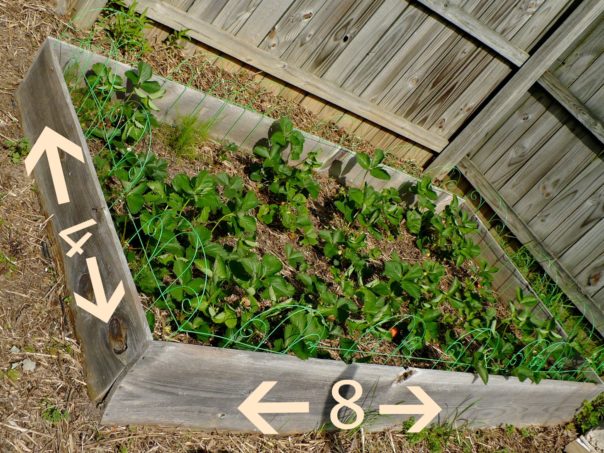
This bed is 4×8 and is one of my original beds from 7 or 8 years ago that I just use for some strawberries now. We remade some of my beds a few years ago because they didn’t work for me. Again, I’m 5’4″ and it was always hard to access the center of the bed. So I took some of mine apart and built narrower beds.
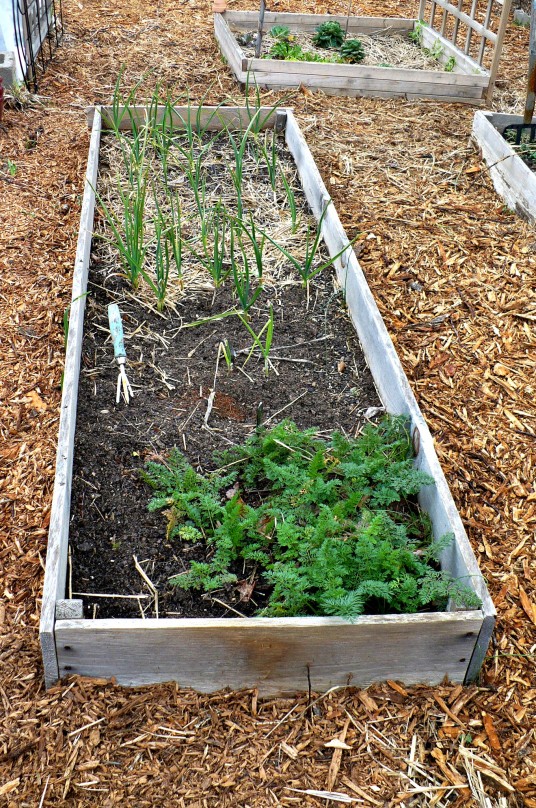
They are now 2 1/2 wide which is great except I’ve noticed that they dry out faster in the heat of summer. We need to make a few more beds since I enlarged my garden area, so we are going to make them in between the old and new bed size – probably 3×8. You can also make them as tall as you need. You can make them deeper if you’re gardening on concrete (like the one below) or really really bad dirt.
How To Build a Raised Bed
What you need:
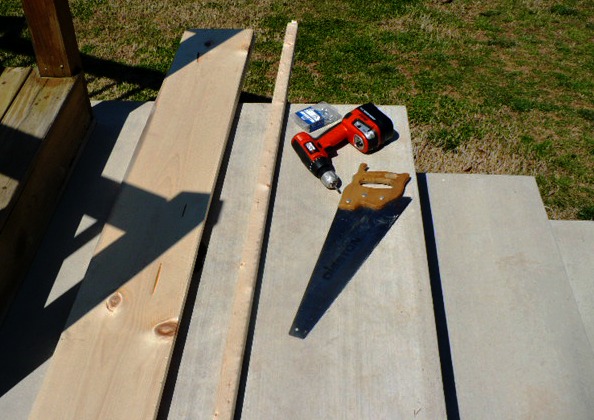
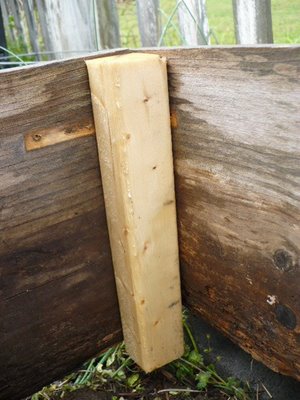
wood planks, a drill, measuring tape, saw, galvanized screws (like deck screws) so they don’t rust, Optional – galvanized L brackets or small piece of wood for the corners (corner blocks). This is a simple design of 4 wood planks screwed together to make a box.
Step One – Cut your planks of wood to what ever size you decided to make your beds.
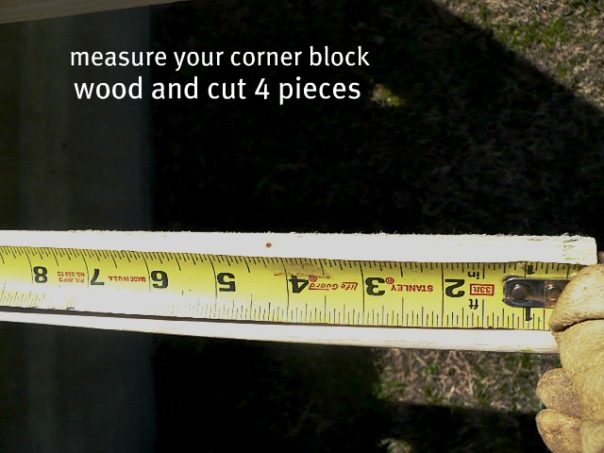
Step Two -Measure the depth of the wood you’re using and then if you’re using corner blocks like me, transfer that measurement to your corner block wood and cut 4 corner blocks for each bed.
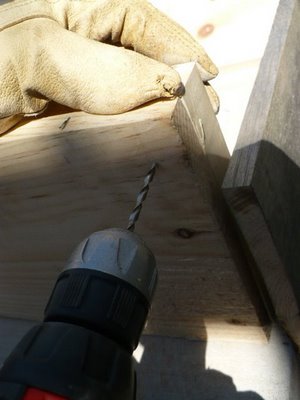
Step Three – pre-drill your the holes for the screws – believe me it makes it much easier if you take the time to do this step! 3 pilot holes is enough.
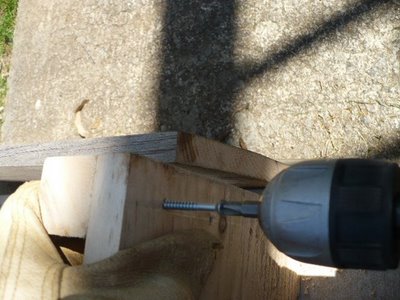
Step Four – assemble your bed by attaching the planks together by screwing them into the corner blocks (which will be on the inside of all 4 corners). Or you can just make a simple butt joint and screw the boards into each other to make a frame and skip the corner block. The corner block gives you some extra stability.
That’s it!
You don’t have to make your own raised beds. It’s very easy to buy all kinds of kits now at any of the major big box stores. Even Wal-mart has raised bed kits as well as Amazon.
Other resources:
How To Build a 18 ” Raised Bed Video
Pioneer Woman – Build Your Own Raised Bed
How To Build A Raised Bed On Uneven Ground
How To Build A Raised Bed on Legs
Pin to Share:

Just so you know, we have three little graves in the side/back lawn of raised beds which were originally inspired by you. (Hanging my head to say that we haven’t planted a thing yet this year. I guess we need to get on the stick and plant from bedding plants.)
Very good tutorial on raised beds. I had to laugh about you not being able to reach in the wider beds. I’m 5’4″ also and my husband is always teasing me about being “short in the seat”! (I’m not sure where that expression comes from:) We made our beds a little too wide for me, but I live with it.
Hope you are having a great day. It’s 66 here today! Yeah!
So much good information and a wonderful list of resources. I want my raised bed to be narrow and much higher. I doubt that it would, in that case, be called a raised bed at all. Probably more like a planter. I’m so excited about what I’ve been reading in the gardening book I won here. I get excited by things that sound “easy” and “doable.”
I also have problems reaching the center of the beds! I’m 5’1 (without heels). I have two cedar garden squares my husband made me using the kits from Lowes. Prior to that, my garden squares were made from bricks (free from Craigslist).
woot….We had raised beds for our four kids back when they were young and doing a gardening unit study…seems the way to go…I think the dogs are more discouraged and uninterested to step up into them than the regular garden in the ground, and won’t trample!!!!! We got ladybugs and Praying Mantis when we did that study and it was so fun….using their own composted dirt from the mix we made up (chicken manure in it back when we had chickens) and did worm farming…I am so ready to do just a little this spring…kind of still not sure about locations in the new yard (sunlight) so don’t want to go huge scale this first go round, but oh I am ready. 🙂 just reading and viewing here whets the appetite!!! Thanks Manuela…you are making us anticipate!!! {{hugs}} sigh we have snow flurries today!!!!!! argh….
I looked at your prior posting about raised beds when I started my search…hubby is NOT very good with tools and Lowe’s was a bit pricey for me too and small..so, I decided to have a lasagna garden and am working on it now…will do a post soon…and we can compare !!!
thanks
Great info Manuela! It makes me want spring to come even faster. Our weather is turning cold again so I’m thinking another month before we’ll really get our gardens going.
Leann
Love those raised beds! I told my Husband about them:) Have a blessed day dear friend, thanks for sharing your knowledge! HUGS!
This is great! I am definitely forwarding it to my husband! (he’s the handy one around here)
Thank you for this post Manuela. It is filled with great information. I would have never thought of planting a raised bed on concrete, but good to know it is a possibility. I have one raised bed which I think is 4 x 8. Hubby built it a couple weeks ago and I recently planted romaine, peas and radishes in it. They are just starting to sprout.
Your garden is lovely.
Thank you so much for this information … I really want to try my hand at raised beds this year. Thanks again … I’m sooooo excited! 🙂
We built four raised beds last year and had rather so-so results. I’ll be coming back to your post to peer at your beds and take some ideas from it. Thanks!
Great Post! Thank you Manuela 🙂 I love how you went step by step for us beginners 🙂 Look forward to the rest of the posts in this series.
Great post, very informative. We were going with raised beds this year they are just easier to take care of. I was wondering what kind of wood to use, it the past we have used cement blocks. Fire ants tend to be a problem no matter what gardening method we use.
Wonderful post on raised beds! Loved it from top to bottom… I love that you shared the sizes that work for you too… so important.. I’ve got raised beds planned for the Flower Farm and the inside of my hoop house. I’m inspired for the next warm days ahead to get going! THANKS!
Great post!
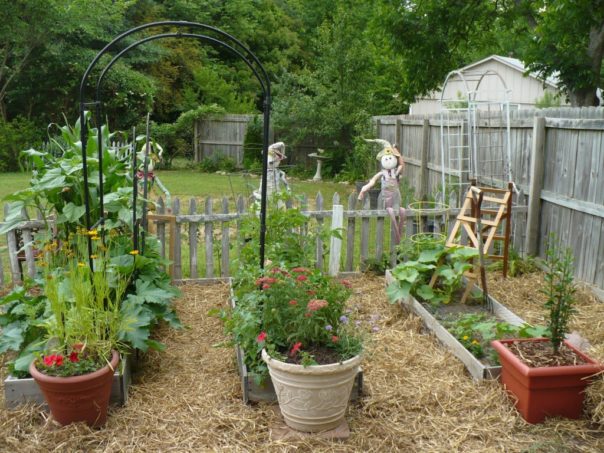
Your gardening posts are always so delightful. We have two raised beds, but the way you have yours inside a little fence is what I dream of. Chloe just planted some spinach and lettuces is one bed last week. Just hope the downpour on Friday night didn’t wash everything away.
I love your blog and am trying to get back to reading my favorites daily/weekly and hope to get back to posting soon. I had to take some time away and recharge my creative batteries. Seems like they had been depleted for awhile and I needed to find some focus. You always inspire.
Thank you Christina! I always love reading your blog too!
I love my raised beds! Mine are similar to yours. My sweetheart built them for me and then he doubled the height the second year. I have back problems and it’s so nice to have them a bit taller. It’s time for me to start planning my garden! You’re an inspiration, my friend!
~Adrienne~