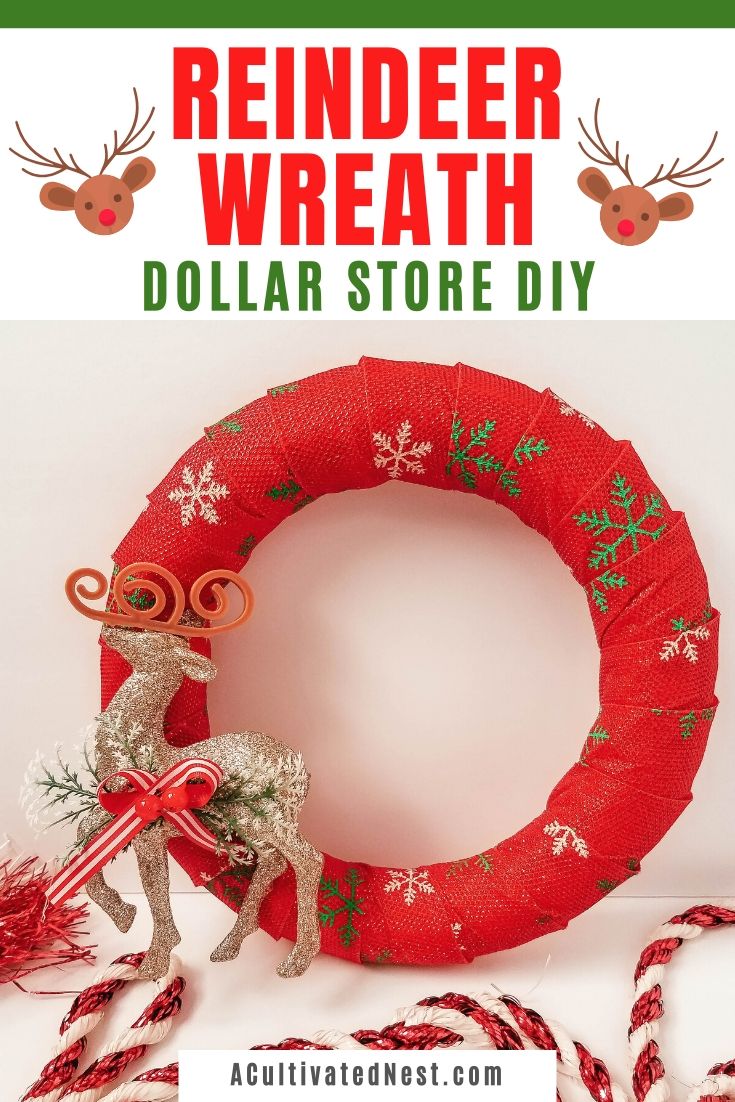
Joy Sign Holiday Decor DIY.
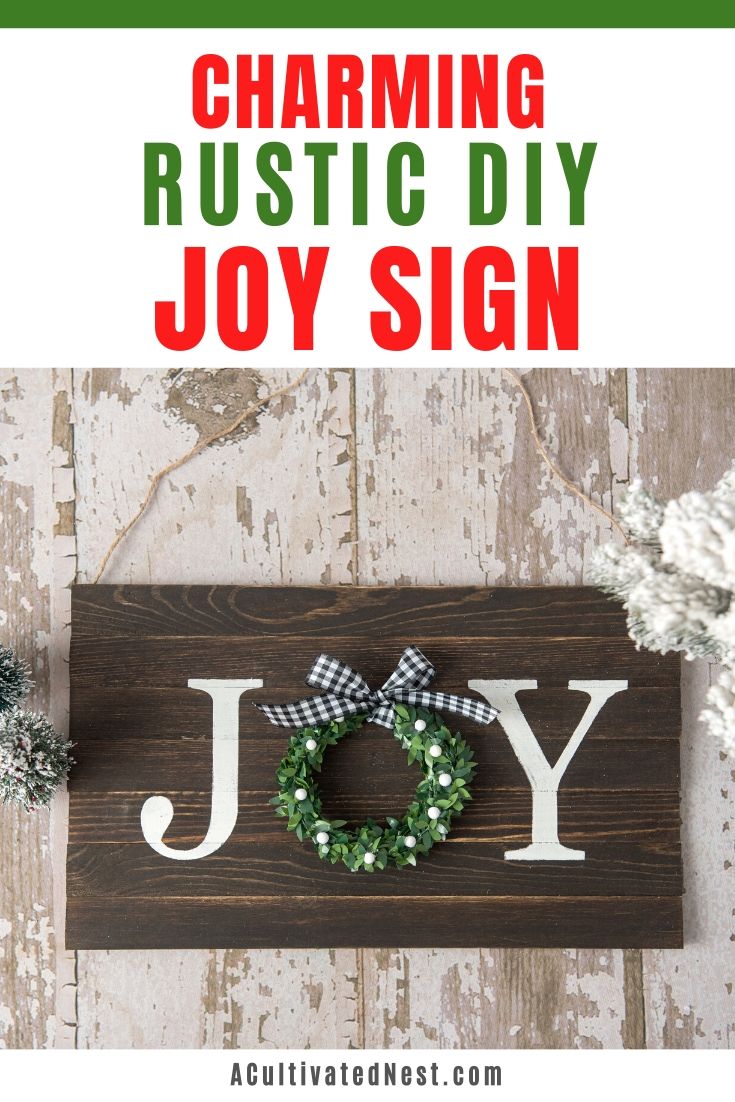
In my eyes, there is nothing better than getting together with family and friends over the holidays. I love spending time with everyone, playing games, eating food, laughing the days away. Another part of the holidays that warms my heart is crafting. Sometimes I am in the mood to just craft by myself and other times we have a craft party! Craft parties are the most fun because we all sit around sipping on hot cocoa or apple cider and do our projects. This Charming Rustic DIY Joy Sign is sure to be a huge hit with anyone who sees it.
Disclosure: This post may contain affiliate links to Amazon and/or Etsy, which means that I may earn a small commission from some of the links in this post. Please see our Disclosure Page for more information.
If you enjoy making homemade gifts for your friends, family, and co-workers, this DIY joy sign is a fantastic gift idea. Everyone will rave about it and be shocked that you made it instead of buying it. You don’t have to spend a lot of money either, so it’s the perfect frugal gift idea.
Charming Rustic DIY Joy Sign
Materials
Wooden rulers or paint mixing sticks (9 sticks)
Mini Wreaths or Ornaments (circle shaped)
Sponge brush
Wood glue
Wood stain (any color you like)
Matte paint or chalk paint (choose any color you want)
Letter stencils (for the J and Y) You can buy stencils or make your own with card stock (I made mine, and used the font Didot.)
Twine for hanging (optional)
Hot glue gun or wood glue
Measuring Tape
Directions
1. If your paint sticks have a rounded top edge, you’ll need to cut that off using a saw. You’ll want a straight line for this project.
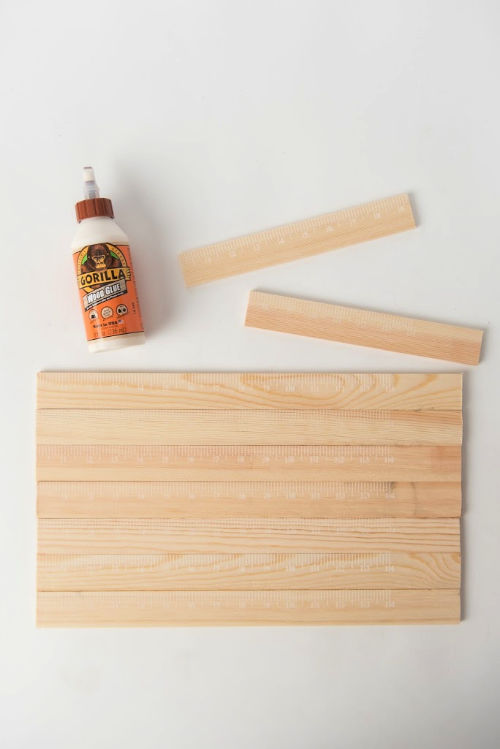
2. Align the paint sticks to determine how tall to make your sign. Each stick is approximately 1.5 inches. I will be using 7 sticks that measure to approximately 17 x 10 inches.
Note: If there are numbers on the sticks, use them for the backside.
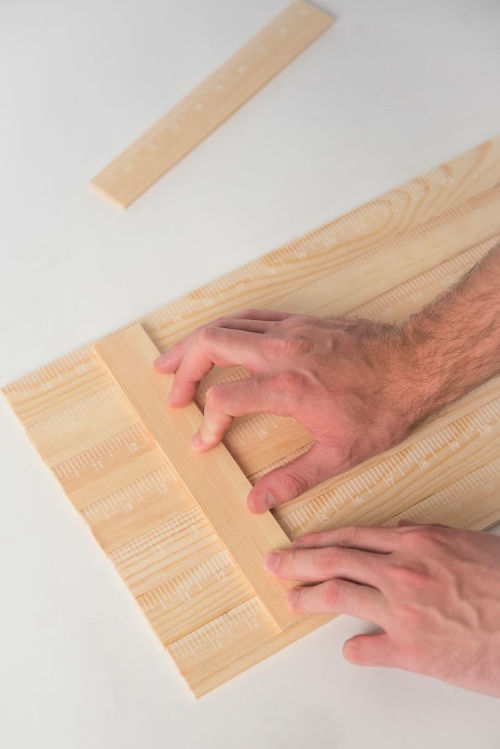
3. Cut two more sticks approximately 9.5 inches to use as the brace on the back to hold the rest of the sticks together.
Note: You should have used 9 sticks at this point
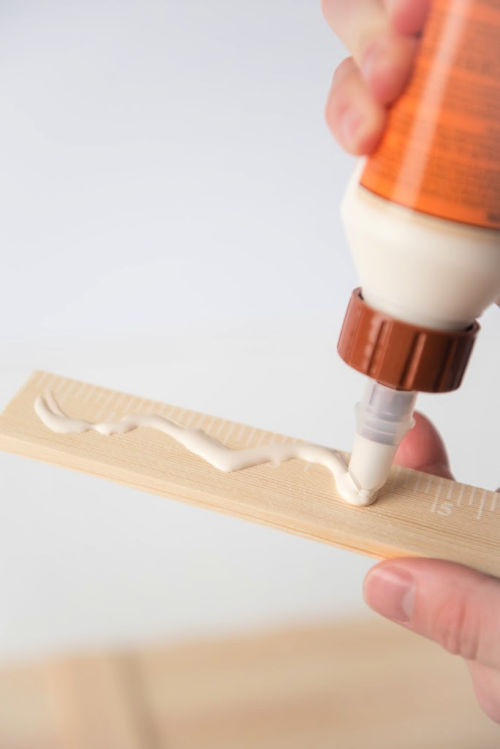
4. Once the 9-inch sticks are cut, use wood glue on both pieces and flip-down (approximately 2 inches in from the edges) on to the back of the aligned sticks (7 sticks). Press down and hold for a few minutes.
5. Doing this allows the 9.5-inch pieces to lay across the other 7 sticks and acts as a brace to hold them all.
Note: Be sure not to add too much glue when you press down. Otherwise, it could seep through to the front of the sign in-between the sticks.
6. Allow the glue to dry.
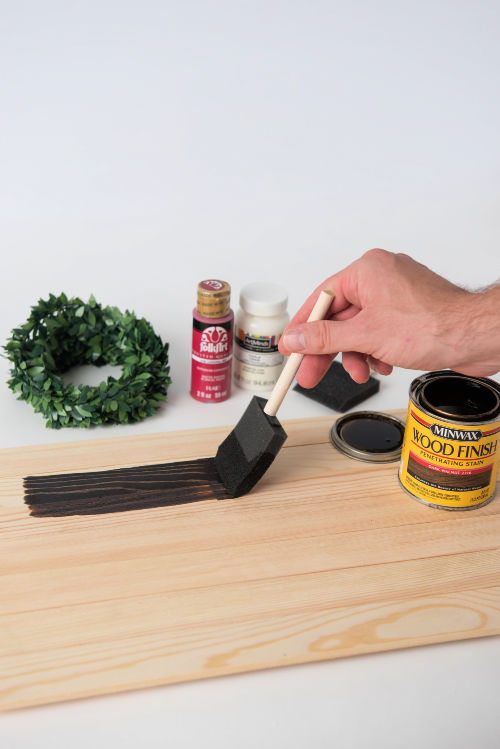
7. Once dry, use a sponge brush to add wood stain on the front and sides of your sign. Make sure you are in a well-ventilated area. Keep in mind, when you add a lot of stain, it will be darker, and if you just add a little bit, it will be lighter.
8. Set aside and allow to dry completely at least 24 hours.
9. After the stain has completely dried, measure your sign and mark the middle to attach your “O” ornament or mini wreath. Mine measures to just about 17 inches in width. Therefore, the “O” will be about 8.5 inches. Using hot glue or wood glue attach the “O” ornament or wreath down.
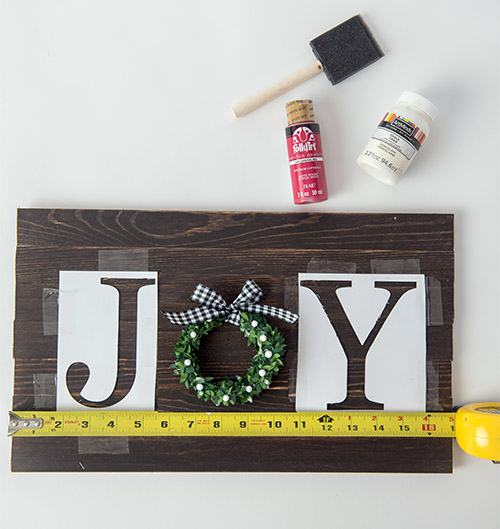
10. Next, use the stencil and find the middle from the edges of the sign to each side of your “O.” This will be approximately 3.5 inches for the “J” and 13.5 inches for the “Y.” Tape the stencil to the front of the sign.
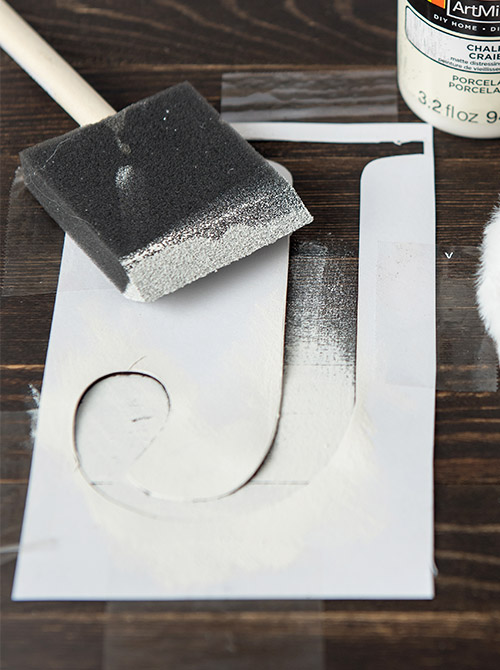
11. Using the sponge brush and matte paint or chalk paint, paint onto the stencil and sign. DO NOT BRUSH THE PAINT ON. Stipple the color in layers until the coverage is how you like it. If you want a rustic or farmhouse look, allow some of the wood to show through.
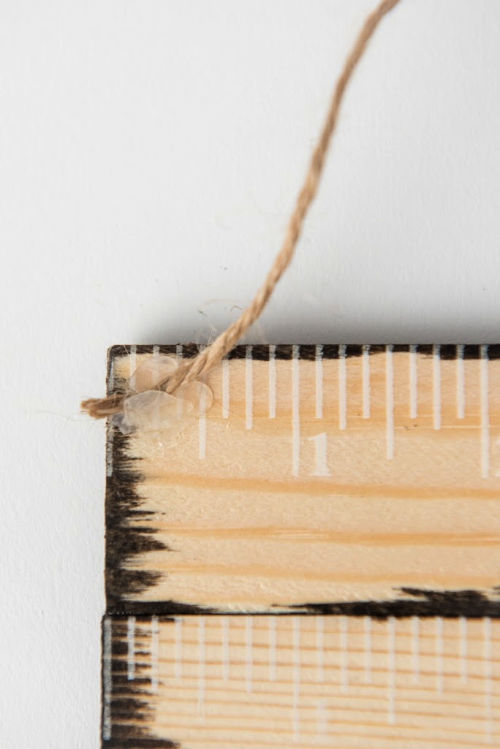
12. Remove the stencil and allow the paint to dry. Then hot glue the twine to corner on the back for a hanging option.
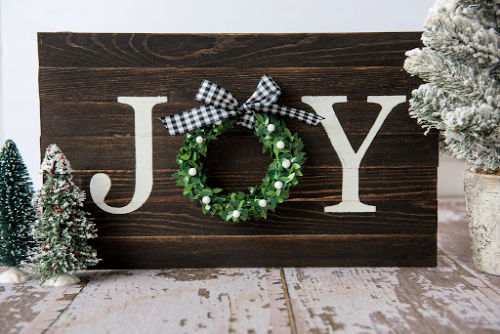
Then you can display and enjoy your rustic DIY joy sign!
What’s your favorite part of the holidays?
You might also be interested in: Reindeer Wreath Dollar Store DIY
