How to Bring Your Herbs Indoors for Fall and Winter.
Now that the nip of fall is in the air, the summer flowers and herbs in your garden are probably on their last leg. While many of your flowers may be annuals and meant to only last one season, the truth is that most of your herbs are hardy enough to grow all year long. This works best for perennial and biennial herbs like, oregano, thyme, marjoram, parsley, chives and rosemary. I’ve had some luck with extending the season on basil. but at some point it always dies on me indoors (even though I make sure it gets lots of light). Maybe you’ll have better luck. Take a look below at How to Bring Your Summer Herbs Indoors so you can enjoy fresh herbs all winter long!
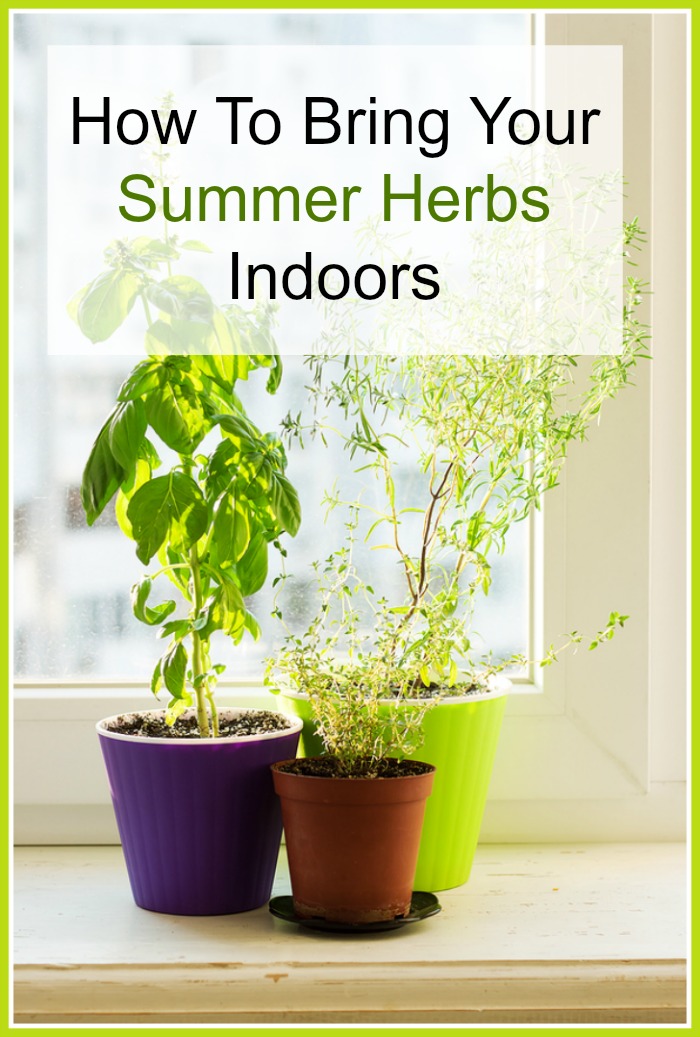
How To Bring Your Summer Herbs Indoors
Disclosure: This post may contain affiliate links to Amazon and/or Etsy, which means that I may earn a small commission from some of the links in this post. Please see our Disclosure Page for more information.
1. Transplant to the perfect pot.
If your herbs are in the ground or in an outdoor herb container garden like mine, you will need to uproot them. Be sure to only do this with healthy plants. To do this, simply dig around the base of the plant being careful not to cut through the roots. You want to keep as much of the root ball intact. Choose a pot that is roomy, has a drainage hole, and is clean and sanitized. Use a nutrient rich potting soil to transplant the herb into its new home.
Should your herbs already be in pots, it is still a good idea to move them to a roomier pot with additional nutrient rich soil. Chances are the root system has grown quite a bit over the summer so it will need the room to expand. Plus, it can benefit from the new source of nutrient rich soil as well.
2. Go ahead and fertilize.
Chances are it is time to fertilize your herbs again. Once you have repotted them feed them a slow release liquid fertilizer. There are all sorts of brands to choose from, but any liquid variety/slow release formula will work well. Feed as directed, taking care not to overfeed.
3. Prune away dead foliage.
Don’t allow your plant to waste valuable nutrients by trying to save dead foliage. Now is the time to remove dead foliage so the plant can direct energy elsewhere. Simply pluck away yellowing or brown leaves and stems. Remove any dead blooms and cut back any weak stems down to the base of the plant.
4. Find a warm, sunny spot.
Your herbs will still need a good 6 hours of sun per day. Find a sunny window or sun porch where the temperature is at least 70 degrees. Your plants will thrive as long as it stays warm and they get the minimal amount of sun per day.
5. Create a cloche.
If your plant needs some heat, you can create a cloche to cover it. This is a dome that covers the plant to create heat and a little humidity. You can buy ready-made cloches at most stores. They are simply plastic or glass domes that fit over the plant.They’re really easy to find at TJMaxx etc. or click here for some available on Amazon. You can even make a frugal and easy cloche by cutting off the bottom of a two liter bottle. Cover the plant with the top half of the bottle.
6. Water weekly.
Even after you bring your summer herbs indoors, your herbs will still require ½ an inch to an inch of water per week. Be sure your water is draining well so the roots don’t rot.
Just because summer is over doesn’t mean you have to do without the flavor of fresh herbs! You can enjoy most herbs all winter long when you give these tips for overwintering your herbs a try.
This post contains affiliate links to Amazon. Please see our Disclosure Page for more information.
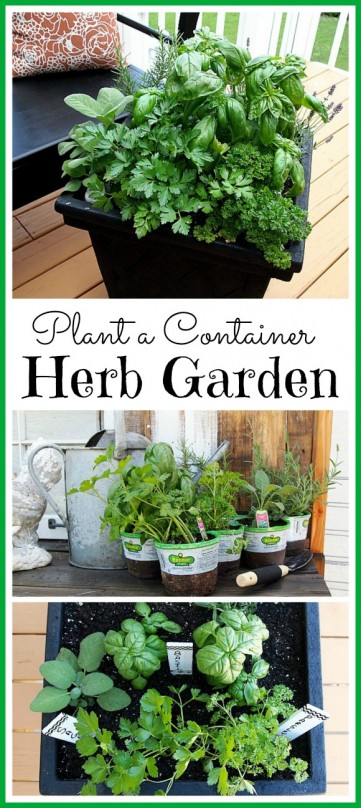
You May Also Be Interested In: How To Plant A Container Herb Garden


This is exactly what I needed to read today! I was just looking at my sage plant thinking I really need to bring him inside. Our To grandma’s house we go link party starts over at our place tomorrow morning, would love to see you there!
I’ve overwintered a few herbs before with little success, but that could be because I didn’t do all of these steps! Oh, and I never have much luck with basil either—indoors or out, no matter what I try! Thanks for linking up with Merry Monday this week.
Great tips.Thank you for sharing with us at #HomeMattersParty .We would love to see you again next week.