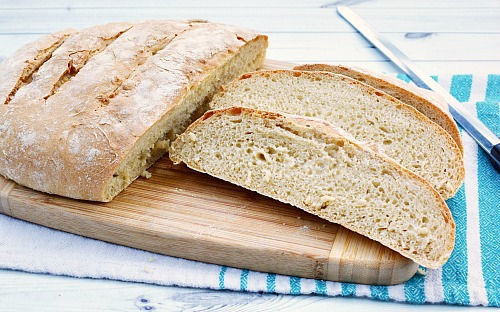
I’m sure you guys know this by now, but I love making homemade bread! But often I shy away from yeast breads and make dessert breads instead. That’s mainly because I (like so many other home cooks) don’t really look forward to kneading bread. Kneading dough is just one of those things that sounds simple, but winds up taking much more effort and time than you feel it should. But there are ways to make delicious yeast bread, without a bread machine, and without kneading! Here’s how to make Homemade No-Knead Artisan Bread!
Disclosure: This post may contain affiliate links to Amazon and/or Etsy, which means that I may earn a small commission from some of the links in this post. Please see our Disclosure Page for more information.
The times that I do make non-dessert bread, I often let my bread machine deal with the whole kneading and rising part of bread baking. It makes things a lot easier, and if you make bread often, I highly suggest getting one! But to make this yummy no-knead artisan bread, you don’t need to worry about a bread maker. All you need is your handy-dandy stand mixer (with a dough hook attachment)!
Artisan bread is a simple, but delicious, type of bread. Based on old-fashioned recipes from simple, old-fashioned kitchens, artisan bread has a limited ingredient list, but a large amount of flavor. Proper fermentation is key to the flavor, and a carefully managed baking process creates the crust and delightful texture that makes people love artisan bread. All of this sounds really fancy and hard to achieve, but thanks to modern innovations like the oven and stand mixer, it’s actually really easy!
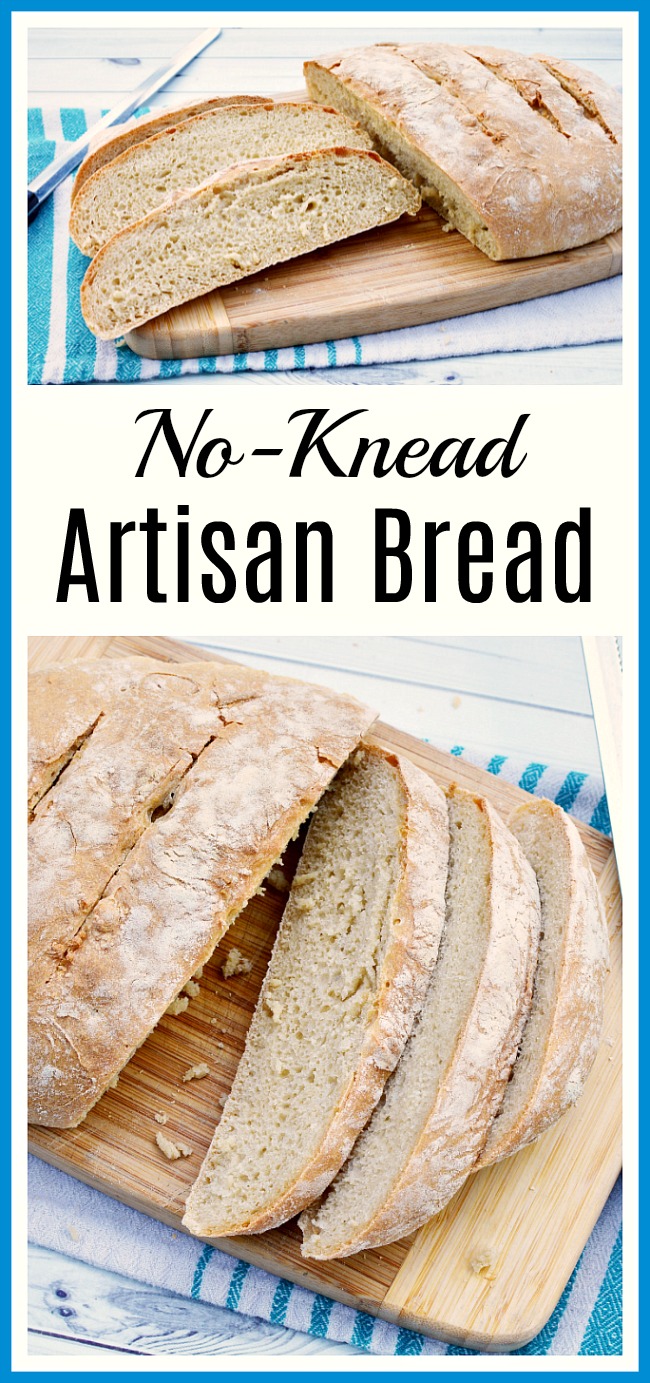
Homemade No-Knead Artisan Bread
Ingredients
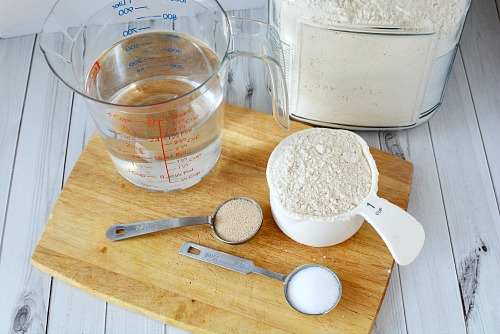
3 cups warm water
1 Tablespoon + 1 1/2 teaspoons salt
1 Tablespoon + 1 1/2 teaspoons active dry yeast (or two 1/4 oz. packages of yeast)
6 1/2 cups all-purpose flour
1 cup water (for oven steam)
Stand mixer with dough hook (I used my Kitchen-Aid mixer)
Directions
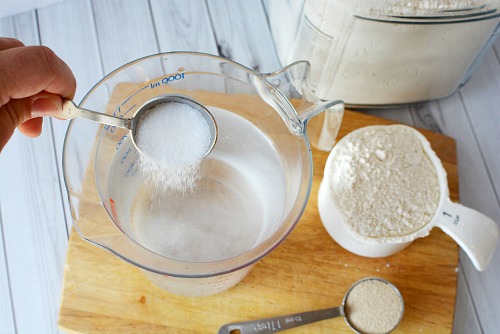
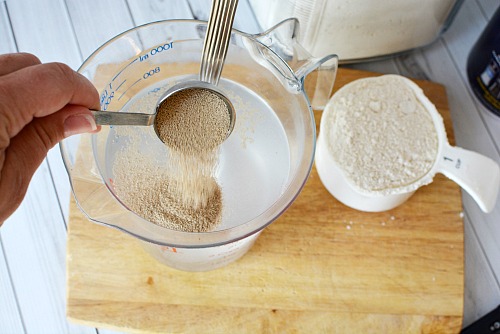
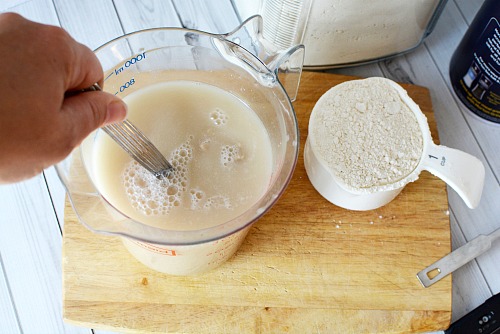
1. Combine warm water, salt, and yeast in a bowl. Stir to mix.
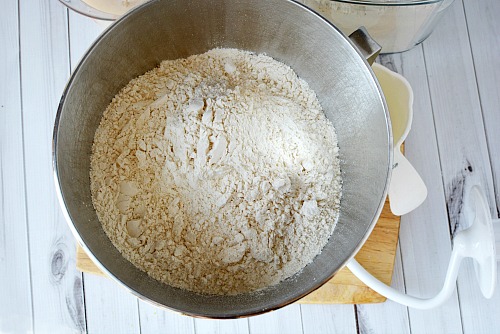
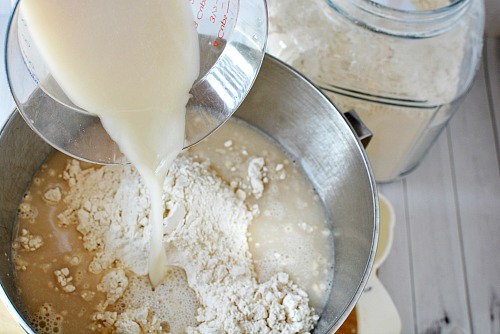
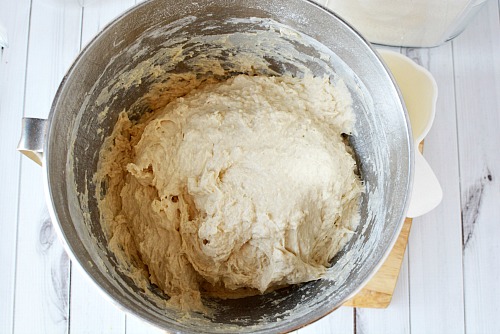
2. Pour your flour into your stand mixer’s bowl. Add the warm yeast mixture to the flour mixture. Using your mixer’s dough hook, mix until well combined.
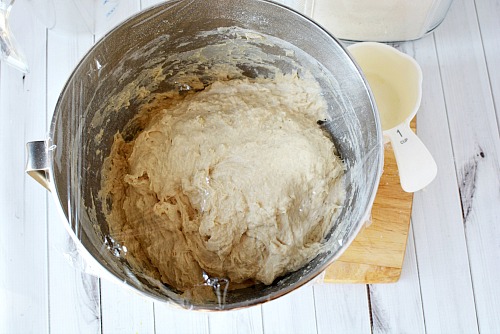
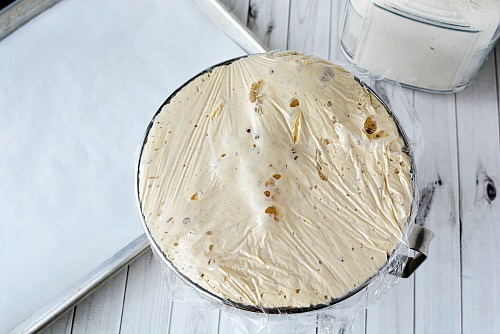
3. Place a piece of plastic wrap, sprayed with cooking spray, onto the top of the mixing bowl. Cut small slits into the plastic wrap to allow air and gas to escape. Let rise for 2 hours.
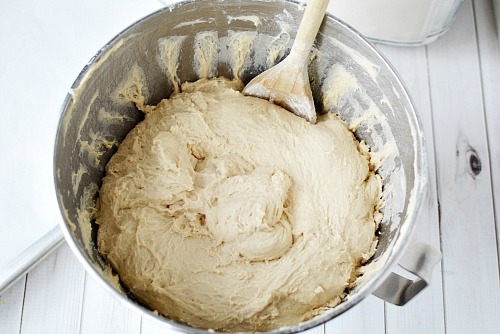
4. Remove plastic wrap and discard. Remove the dough from the bowl by scraping it down the sides and placing onto a lightly floured surface. The dough will be very sticky, but will remove easily out of the bowl.
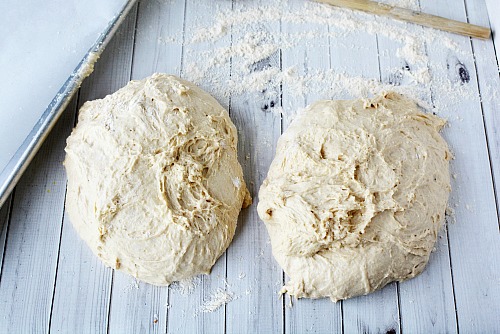
5. Divide the dough into 2 halves and shape into loaves. If it’s sticking to your hands too much, flour your hands as well to make shaping easier.
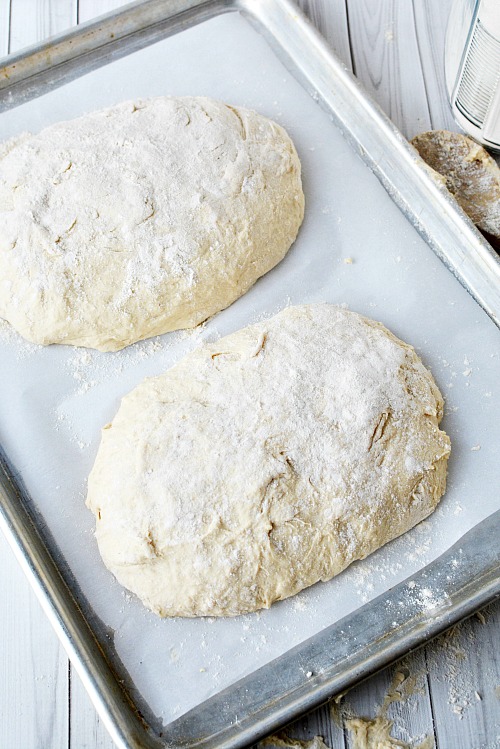
6. Place parchment paper on a baking sheet. You could also use a baking stone (with parchment paper on top) instead. Place your loaves on your baking sheet/stone. Add a light dusting of flour to the loaf tops. Let them rest and rise for 30 more minutes.
7. Preheat your oven to 450 F.
8. Pour a cup or so of water into a baking pan and put it on the bottom rack of your oven. The steam from this pan will help your bread get nice and crusty.
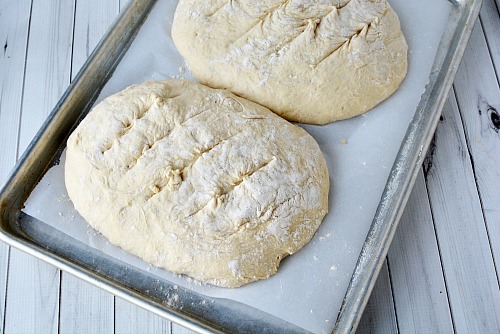
9. Make a couple cuts in the tops of each loaf. This will help the bread’s gases escape while it cooks.
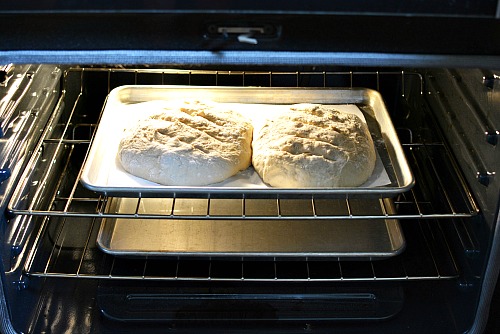
10. Place your baking sheet with loaves in the oven and bake for 30-35 minutes.
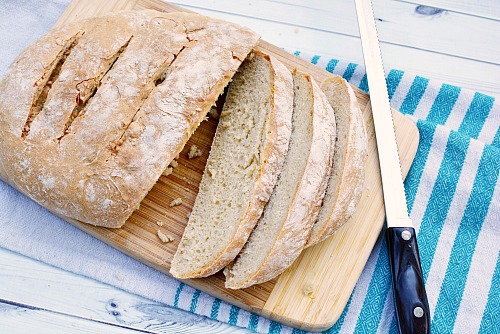
11. When the bread is done, let it cool a bit on a cooling rack before cutting, serving, and enjoying!
To keep your homemade no-knead artisan bread fresh longer, store it in the fridge, or on the counter in this adorable aqua blue vintage style bread box!
Have you ever made a yeast bread from scratch? Did you have to knead it?
Homemade No-Knead Artisan Bread
Description
You don’t need a bread maker and you don’t have to spend time kneading to make this delicious homemade no-knead artisan bread! It uses only 4 ingredients!
Ingredients
- 3 cups warm water
- 1 Tablespoon + 1 1/2 teaspoons salt
- 1 Tablespoon + 1 1/2 teaspoons active dry yeast (or two 1/4 oz. packages of yeast)
- 6 1/2 cups all-purpose flour
- 1 cup water (for oven steam)
- Stand mixer with dough hook (I used my Kitchen-Aid mixer)
Instructions
- Combine warm water, salt, and yeast in a bowl. Stir to mix.
- Pour your flour into your stand mixer’s bowl. Add the warm yeast mixture to the flour mixture. Using your mixer’s dough hook, mix until well combined.
- Place a piece of plastic wrap, sprayed with cooking spray, onto the top of the mixing bowl. Cut small slits into the plastic wrap to allow air and gas to escape. Let rise for 2 hours.
- Remove plastic wrap and discard. Remove the dough from the bowl by scraping it down the sides and placing onto a lightly floured surface. The dough will be very sticky, but will remove easily out of the bowl.
- Divide the dough into 2 halves and shape into loaves. If it’s sticking to your hands too much, flour your hands as well to make shaping easier.
- Place parchment paper on a baking sheet. You could also use a baking stone (with parchment paper on top) instead. Place your loaves on your baking sheet/stone. Add a light dusting of flour to the loaf tops. Let them rest and rise for 30 more minutes.
- Preheat your oven to 450 F.
- Pour a cup or so of water into a baking pan and put it on the bottom rack of your oven. The steam from this pan will help your bread get nice and crusty.
- Make a couple cuts in the tops of each loaf. This will help the bread’s gases escape while it cooks.
- Place your baking sheet with loaves in the oven and bake for 30-35 minutes.
- When the bread is done, let it cool a bit on a cooling rack before cutting, serving, and enjoying!
This post contains affiliate links to Amazon, which means that I may earn a small commission from some of the links in this post. Thanks for supporting this site! Please see our Disclosure Page for more information.
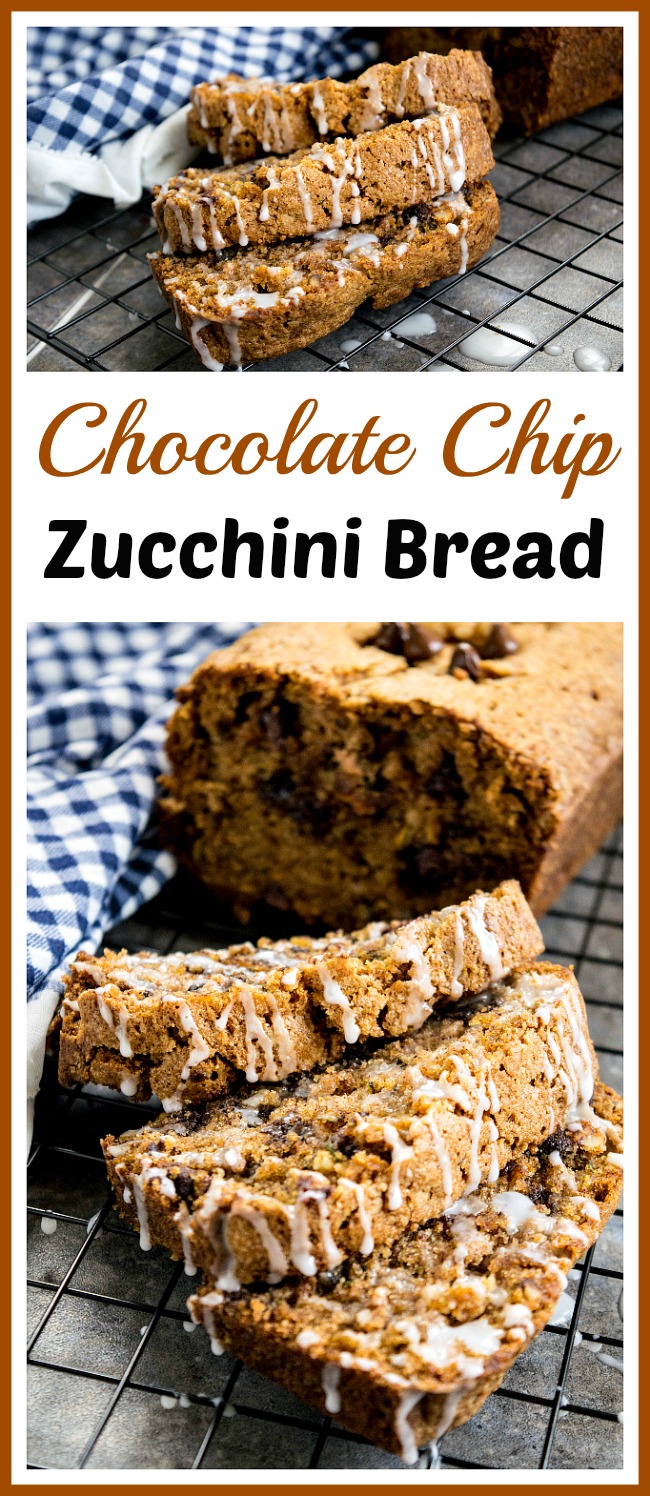
You might also be interested in: Chocolate Chip Zucchini Bread
What would you change if you don’t have a mixer with a hook attachment?