DIY Fairy Garden in a Cup.
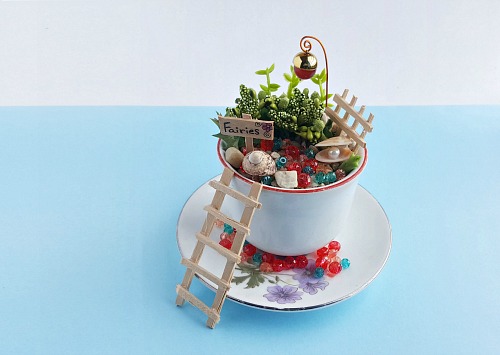
I love making DIY fairy gardens! It feels like decorating a doll house, but smaller, and with even more opportunities for creativity. Last time I used a pretty big mug for my teacup garden, but this time I wanted to use a small, pretty cup I’d found at Goodwill. The end result is super cute! If you want to make your own DIY Teacup Fairy Garden, here’s how I made mine!
Disclosure: This post may contain affiliate links to Amazon and/or Etsy, which means that I may earn a small commission from some of the links in this post. Please see our Disclosure Page for more information.
Remember that you can be as creative as you like! If you have other decorations you think would look cute in your garden, add them in. Amazon has a huge selection of fun fairy garden accessories. If you’re new to fairy gardens, this inexpensive fairy garden ornaments kit would make a great beginner’s bundle.
DIY Teacup Fairy Garden
Materials
Popsicle sticks
Small stones or rocks
Craft wire
Bead stopper
Round crystal bead
Bead end cap
Snail shells and sea shells
Pencil
Scissors
Craft pliers
Hot glue gun and glue
Instructions
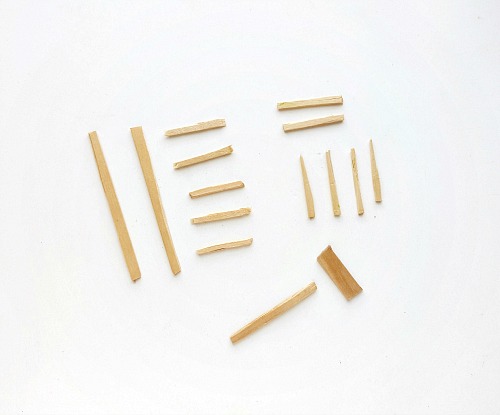
1. Use the popsicle sticks to make the mini ladder, mini fence and mini fairy sign. You can either use the actual width of the popsicles or cut them into thinner pieces, however you like it. For the ladder cut 2 sticks of the same length for the 2 sides and 5 or 6 smaller sticks for the steps of the ladder. For the fence cut 2 sticks of the same length for the horizontal parts and 4 or more sticks for the vertical parts. For the sign you will need 1 stick for the stand and 1 stick for writing the sign. The sizes of each item will depend on your choice and on the size of your teacup.
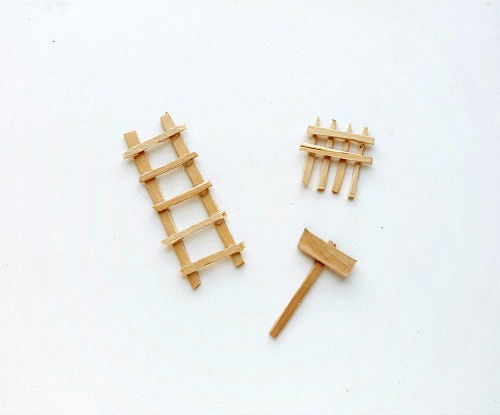
2. Place the 2 vertical sticks of the ladder parallel and stick the step sticks on them with hot glue to complete the ladder. Similarly prepare the fence and then the sign.
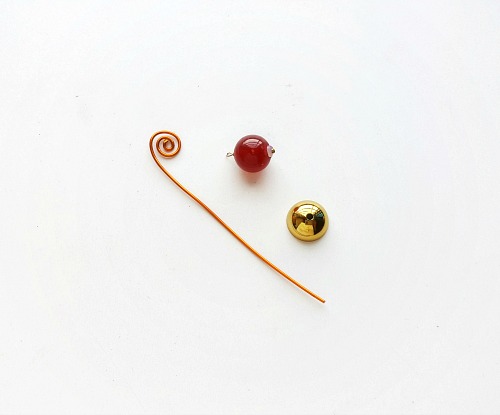
3. Take a bead stopper and insert a round bead into it. Push the bead all the way to the stopper and create a loop on the open end to secure the bead. Cut out a piece of craft wire and create a twirl pattern on one end but keep the other end straight.
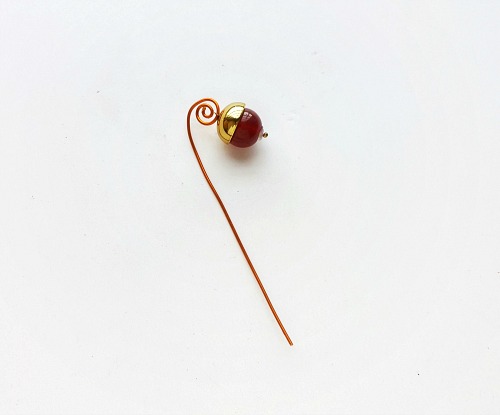
4. Take a bead end cap and draw the wire loop of the bead through the hole of the bead end cap. Insert the loop into the twirl part of the wire prepared in the previous step.

5. Take the cup you’ll be using for your DIY teacup fairy garden and fill it with potting soil. Then cover the top of the soil with small stones or rocks.
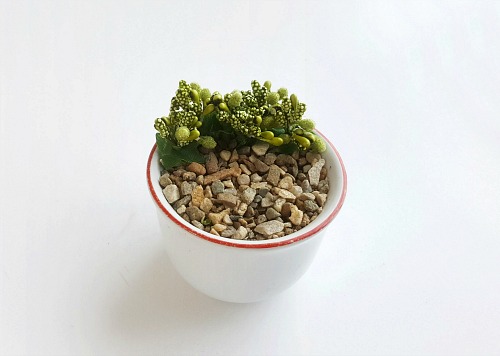
6. Add the plants to the cup by gently pushing the roots into the soil. You can also use fake plants like I did (some small fake succulents would be cute).
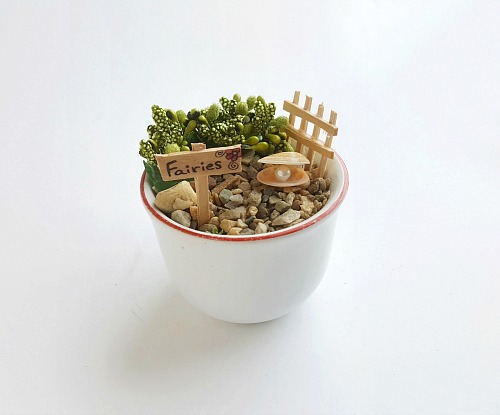
7. Place the fence, sign, and other items in the cup for decoration. I used markers to fill out my sign.
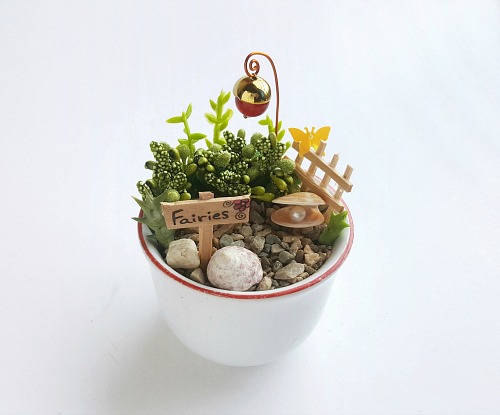
8. Place a mini lamp post by gently pushing its bottom end into the soil. Decorate the garden as you wish.
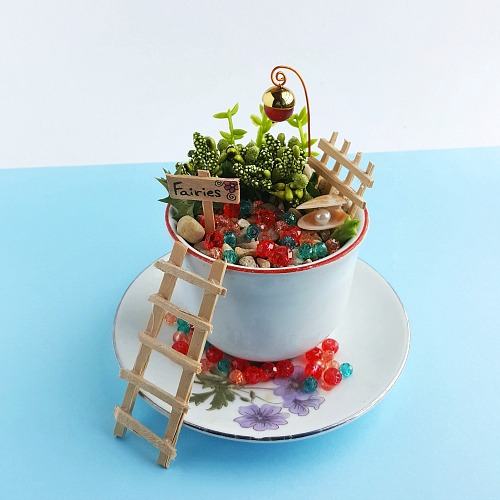
9. Place the teacup on a saucer and then add the ladder to the garden.
Then your DIY teacup fairy garden is finished and ready to display!
Have you ever made a garden in a teacup? How did you decorate it, and what plants did you use?
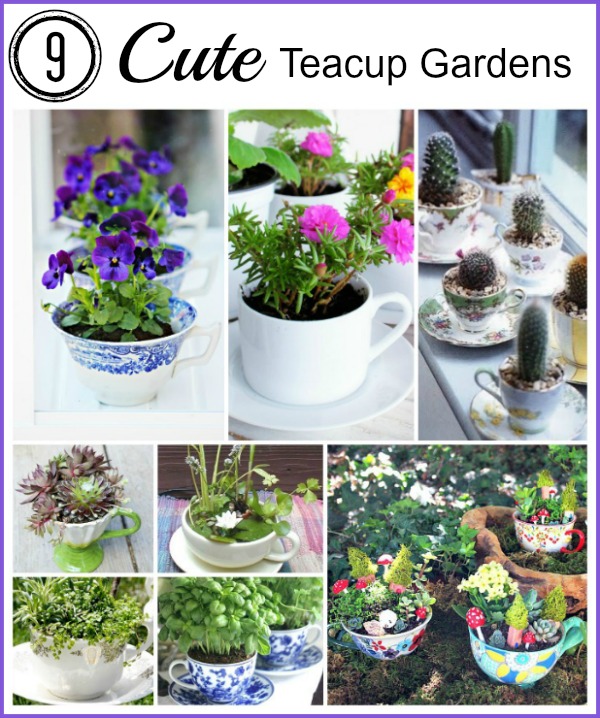
You might also be interested in: 9 Cute DIY Teacup Gardens