DIY Oilcloth Lunch Bags That You Can Reuse.
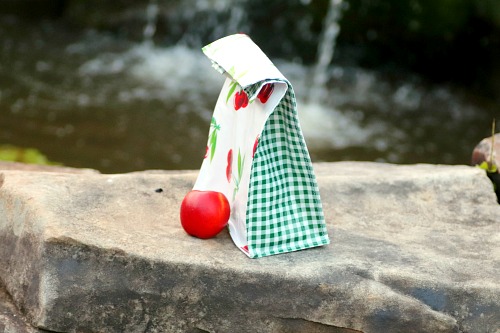
Can you believe it’s almost time for back to school? It seems like schools just got out for summer here! But the stores are already getting ready for the next school year, and you should too! But that doesn’t mean you need to plan to spend a lot of money on back to school shopping. Instead, this year reduce your back to school budget a little by making these eco-friendly and frugal DIY Reusable Lunch Bags!
Disclosure: This post may contain affiliate links to Amazon and/or Etsy, which means that I may earn a small commission from some of the links in this post. Please see our Disclosure Page for more information.
Did you know that there are around 180 days in the average US school year? So if you’re sending your kids to school with paper lunch bags, that’s 180 bags each of them is throwing away in a year. That’s a lot of paper waste! And if you or your spouse use paper lunch bags for work lunches, that’s even more bags being thrown away! Plus, you have to keep re-buying paper bags. So save yourself some money, and save the landfill some garbage, and instead do this easy sewing project and create your own DIY reusable lunch bags!
DIY Reusable Lunch Bags
Materials
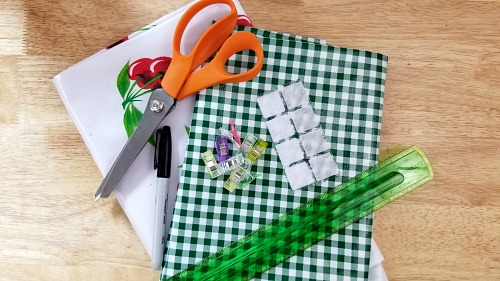
1/2 yard of your main oilcloth fabric (I used this one from Amazon. If you don’t have oilcloth, you can use cotton fabric and a waterproof lining.)
1/2 yard of your complimentary oilcloth fabric (I used this one from Amazon)
Scissors (I prefer pinking shears)
All-purpose thread
Wonder sewing clips
1 package of Velcro circles, squares or ovals. You can use the sticky back or sew on. (I used these from Amazon)
Sewing machine (I use this one from Amazon)
Directions
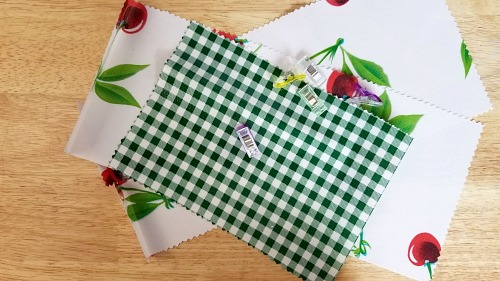
1. Measure, mark, and cut 2 pieces of your main fabric 20 inches long by 8 inches wide. These pieces will be your front and back pieces.
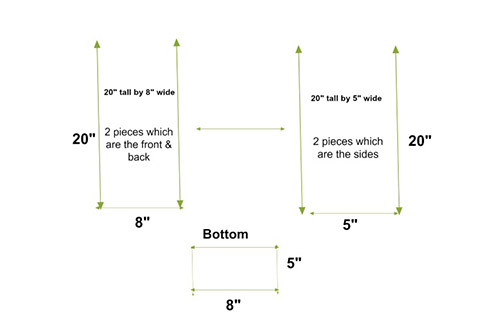
2. Measure, mark and cut 3 pieces of your complimentary fabric. Two pieces 20 inches long by 5 inches wide (these will be your side pieces), and one piece 5 inches by 8 inches (this will be your bottom.
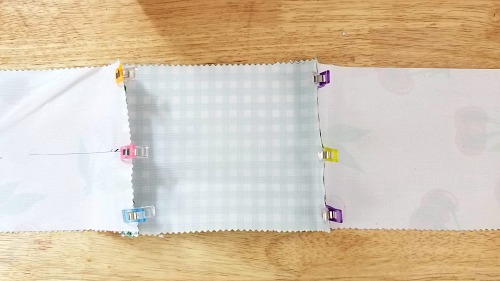
3. With right sides facing each other, clip or pin the base to the sides (so the 5” of each will match up) and sew with a 1/2” seam allowance. At each corner where the sides are joined to the base, cut a 1/2” square. If you want, but not imperative, you can open the seams and tack them down at each end or sew a wider zig zag stitch all the way along the seams.
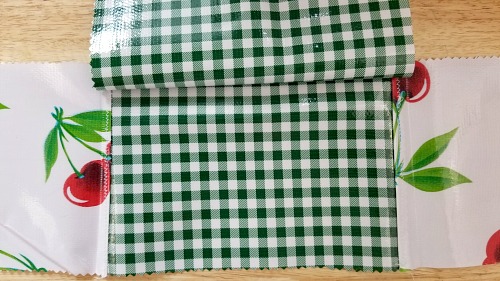
4. With right sides facing each other, clip or pin the wide (8”) width of the base to the front and back pieces of the bag and sew with a 1/2” seam allowance. Again, if you want, but not imperative, you can open the seams and tack them down at each end or sew a wider zig zag stitch all the way along the seams.
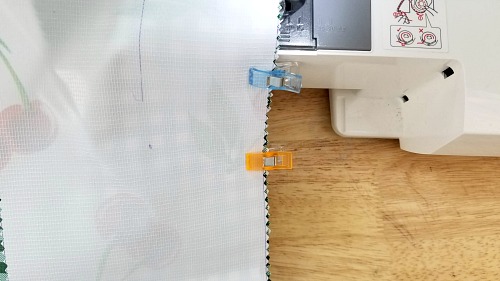
5. With a 1/2” seam allowance, join the front and back pieces to the sides. You can do the same with the seams as in the two steps above.
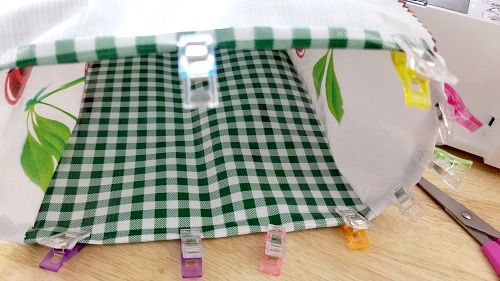
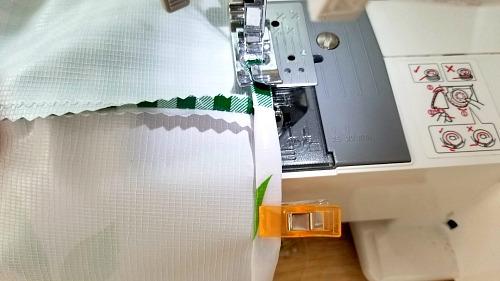
6. Turn down the top of the bag 1/4-1/2” and clip. Sew around the opening of the bag. (Because oilcloth doesn’t fray much, you can skip this step if you like. If you are using cotton fabric and a lining, you will need to complete these steps).
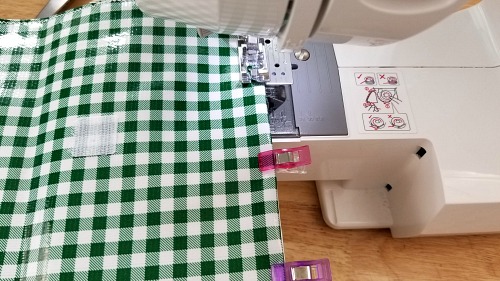
7. Turn the back right side out. Top stitch about 1/4” along all the seams. This helps the bag stand up on its own.
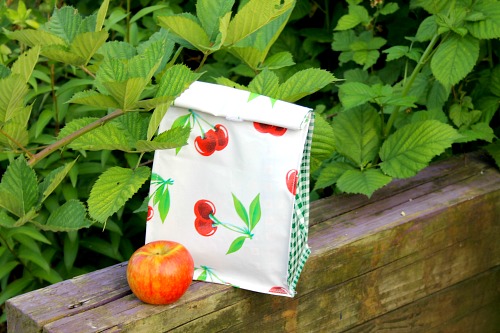
8. To attach the Velcro, fold the bag down twice and mark the middle of the front, main piece of the lunch bag. Directly above this spot, mark where the bag is folded. Attach 1-3 pieces of Velcro. I suggest adding at least 2, about 1” in from the side, on each side so it is more secure.
These DIY reusable lunch bags with oilcloth are easy to make and easy to wipe clean. Plus, you can have a lot of fun choosing different oilcloth designs to customize them! And they’re good for both the environment and your budget. It doesn’t get much better than that!
Have you ever made a DIY lunch bag/lunch box before?
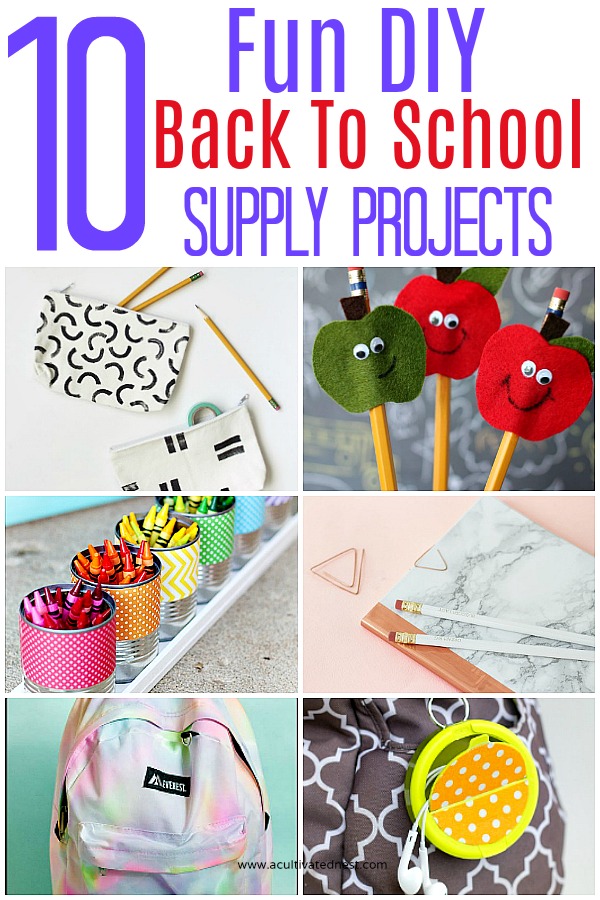
You might also be interested in: 10 DIY School Supply Projects You Need To Make
This is such a cute idea! It would also make a great gift idea, too. I love the pattern you used.