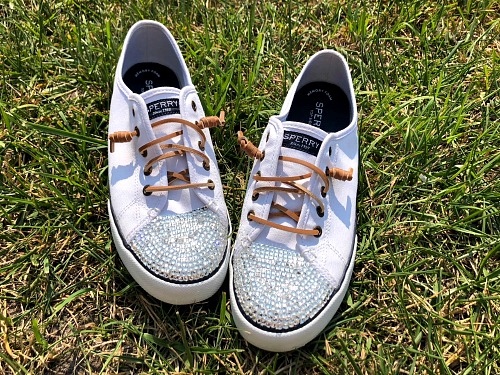
DIY Rhinestone Sneakers.
Can you believe that Christmas is just 3 months away? That means if you’re planning to give DIY gifts this year, you need to start thinking of what you want to make! If you want a great homemade gift for a teenager or someone who loves fun shoes, then you should give this DIY a try! Here is how to make DIY Gem Shoes– an inexpensive but stylish DIY gift!
Disclosure: This post may contain affiliate links to Amazon and/or Etsy, which means that I may earn a small commission from some of the links in this post. Please see our Disclosure Page for more information.
DIY gifts are such a great way to save money on gift giving occasions! In fact, a commercial pair of shoes like this can cost $50+. If you already have an extra pair of shoes that are your gift recipient’s size, then you can make these for around $15.
Even if you had to buy some new or lightly used shoes, the whole project still wouldn’t cost you $50. I actually got the shoes I used for this project from Goodwill for only $9. According to Amazon, they cost $55! And these only looked like they’d been worn a few times! So even if you don’t have any extra shoes on hand, this can still be a really frugal DIY gift idea. Plus, bedazzling shoes is fun!
DIY Gem Shoes: How to Bedazzle Sneakers
Materials
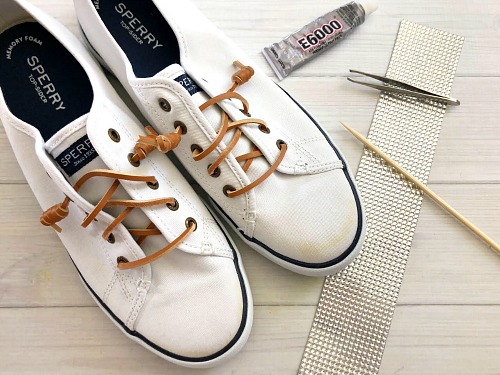
Sneakers/tennis shoes with white toes (I used these all-white Sperry sneakers)
Adhesive square rhinestones (the brand I used was called Fab Lab Adhesive Gems- the sheet was 2” x 12” [5.08cm x 40.48 cm]). Because of the strength of the glue, non-adhesive flatback rhinestones would also work.
E6000 glue*
Wooden skewer
Scissors
Tweezers
*I chose to use E600 glue on these DIY gem shoes because it’s a thick glue that’s easy to work with and bonds well. But it’s definitely not a natural product, and has some bad smelling fumes. If you want to DIY rhinestone shoes for a child you might want to use Gem-Tac glue instead. It’s a thinner, runnier glue, so a bit harder to work with, but it’s non-toxic.
Directions
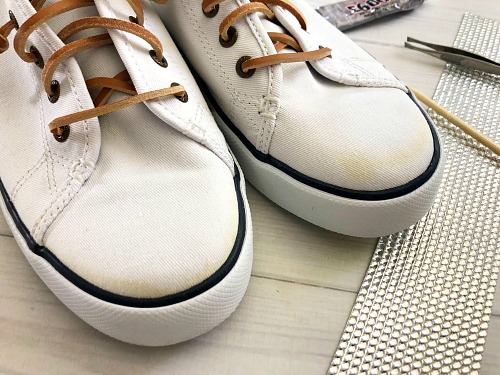
1. Clean off your shoes as best as possible if they are used. Mine had a few stains so I used a Tide stain pen to remove the stains, then carefully dried them with a hair dryer. If you don’t have a Tide pen, you could also use toothpaste to whiten your shoes.
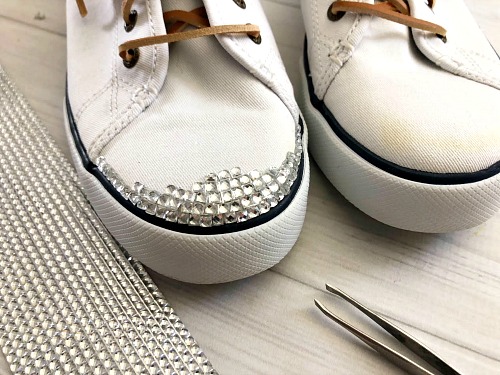
2. Peel off the stick layer from your gems and cut the gems into individual pieces (they will stick together, just pull them apart).
3. Follow the directions and safety precautions on the back of the glue to dab glue onto your wooden skewer, then use the skewer to dab glue onto the back of a gem. Then use the tweezers to stick the gem onto the toe of the shoe.
4. I found it easiest to start with the toe line and work your way up close to the laces. If you’re using Gem-Tac instead of E600 you’ll definitely want to do this. Otherwise the gems may slide down the shoe.
5. If you have a small spot that the gem will not fit, carefully cut your gem in half and glue it in the small space.
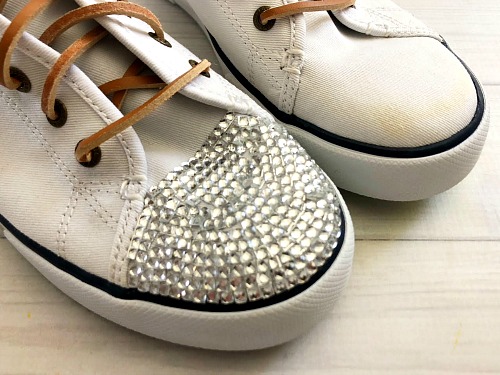
6. Once you work your way up to the laces, make sure you have a straight row of gems like pictured.
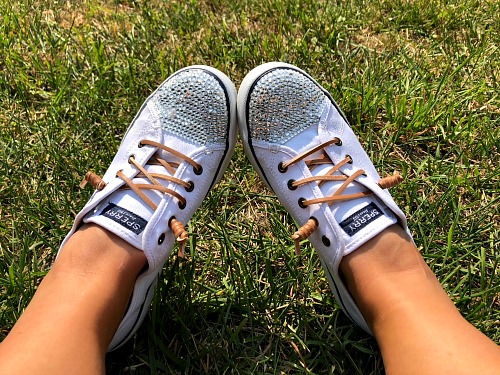
7. Let your shoes dry overnight. Then they’ll be ready to gift or to wear and show off!
If you make a mistake with the glue while bedazzling your sneakers, don’t freak out! You can use nail polish remover to fix mistakes on your DIY gem shoes. The remover needs to be acetone based, as acetone can even dissolve super glue. Just apply the nail polish remover to the top of the messed up area. Then watch the gems separate from the shoes (you may have to reapply the nail polish remover more than once). Once the gems are off the shoes, apply the remover to the shoes themselves and to the back of the gems with a cotton ball to be sure all of the glue is removed. Make sure the gems and shoes have dried before you go back to bedazzling your DIY gem shoes.
Once your shoes are finished, they’re ready to gift! If you have their original shoe box or an extra shoe box that you can use, put them in that and wrap it with wrapping paper and a ribbon. If you don’t have a box, you can just wrap the shoes carefully with wrapping paper, or skip the paper and just decorate them with a bow/ribbon. They’re sure to make a great gift!
Have you ever bedazzled something?
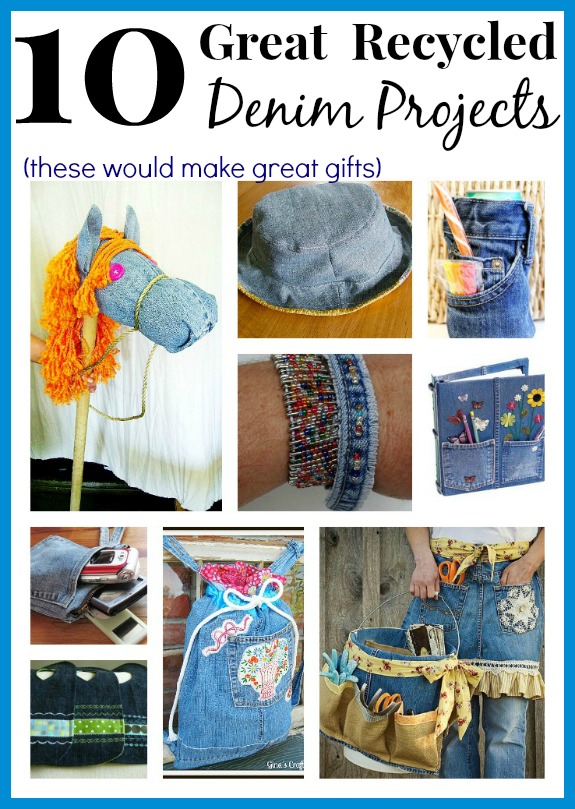
You might also be interested in: 10 New Ways to Upcycle Old Jeans Into Great Gifts
