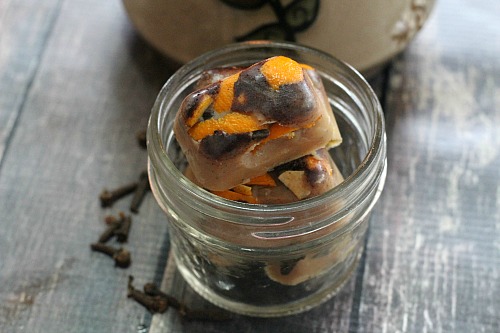
I love the smells of fall- the spicy scent of cinnamon and clove, the warm and inviting scent of vanilla, bright and fresh orange. I used to burn candles, melt wax tarts, and use plug-ins and sprays to get my home smelling like a crisp fall day. These days I am trying harder to go natural and replace harmful artificial ingredients in my home with essential oils or other safe and natural ingredients. I started experimenting with coconut oil and beeswax as a base and then mixed in some of my favorite baking ingredients to come up with these DIY Fall Scented Wax Melts for my wax warmer- much safer and more customizable than store bought melts!
Disclosure: This post may contain affiliate links to Amazon and/or Etsy, which means that I may earn a small commission from some of the links in this post. Please see our Disclosure Page for more information.
You may have heard about the difering safety levels of different types of wax. Traditional paraffin wax candles have been discovered to contain dangerous, toxic chemicals, and to release harmful soot. Soy wax is much safer. But the very safest is beeswax, which is why I’m so happy I was able to design these DIY fall wax melts using beeswax!
After making the melts my way, you may want to experiment with your favorite extracts and spices to create your perfect fall scents. Consider scenting your second batch of melts with ginger, pumpkin pie spice, apple pie spice, rosemary, bay leaves, etc.
DIY Fall Wax Melts
Materials
½ cup coconut oil
½ cup beeswax granules
2 tsp. ground cinnamon
2 tsp. whole cloves
2 tsp. vanilla
Peel of 1 orange, diced
Ice cube trays or small mold
Glass jar with lid
Directions
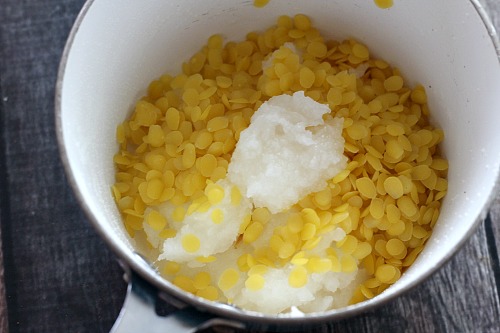
1. Place coconut oil and beeswax granules in a small pan over low heat. Stir until completely melted.
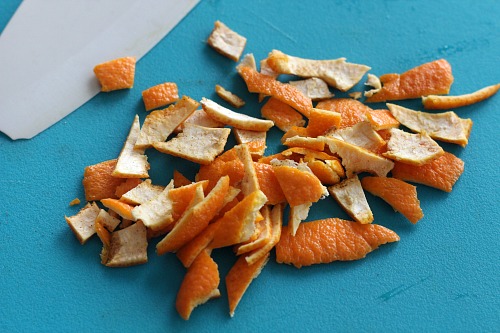 2. While mixture is melting, chop orange peel into very small pieces.
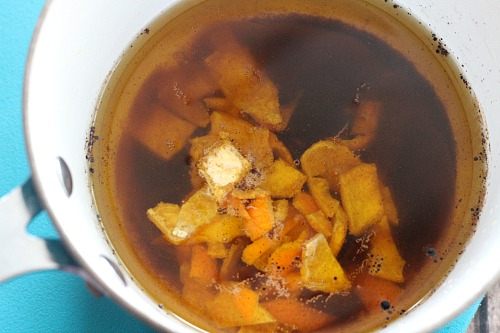 3. Remove from heat and stir in cinnamon, cloves, vanilla, and diced orange peel.
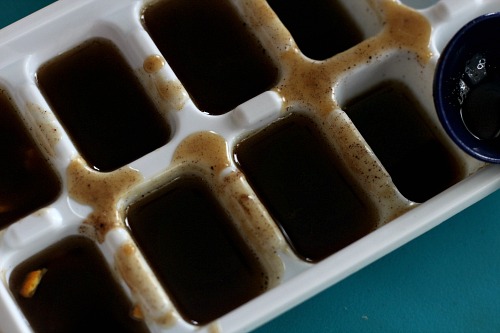 4. Pour into ice cube trays or another small mold.
5. Allow to sit until completely cooled and firm. I usually let mine sit overnight even though it only takes a couple hours to set up.
6. Pop gently from tray/mold by flipping over and tapping firmly on the counter. Store scented wax melts in a glass jar with a fitted lid. If your home gets very warm you may want to consider storing your jar in the refrigerator as the coconut oil has a low melting point.
To Use
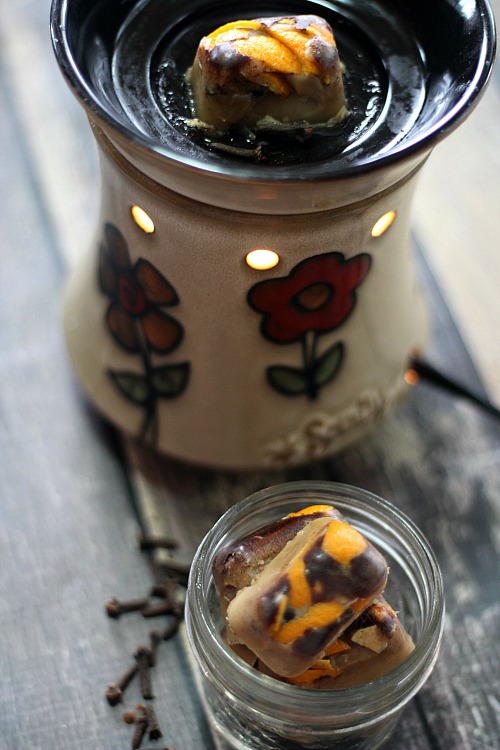
Drop one or two of your fall scented wax melts on your wax melt warmer and enjoy the spicy fall scents as they warm up!
Do you use wax melts?
This post contains affiliate links to Amazon. Please see our Disclosure Page for more information.
About Jody: I am a Florida girl through and through living the semi-country, small town life. I am making my way through it with my amazing hubby, 2 beautiful kids, 2 of the best Dachshunds to ever walk the face of the earth, massive amounts of coffee and a whole lot of Jesus. I homeschool, craft, cook, scrapbook, garden, raid the thrift shops, snap 1,000’s of photos, and read when I can grab a spare minute (which is rare). You can find me blogging at Simply Southern Sunshine.
You may also be interested in:
This is the first time I’ve even considered that you could make your own wax melts. I don’t know why, it makes so much sense. I LOVE THIS! Pinning and will be making soon! Thank you for this fantastic idea!
I have never thought of making my own wax melts for my warmer, but what a fantastic (and easy!) idea! I love the idea of personalizing my scents, too. Thanks for linking up with Merry Monday! Pinned & am scheduling to share on FB.
I’m just like you, used to buy all the products and happily spray, plug in and melt for my home to smell inviting. Someone mentioned to me, do you know how harmful that stuff is?! So now, I’ve stayed away from everything because I’m trying to go more natural- and I read this, I’m so exited to try it out!! #homemattersparty