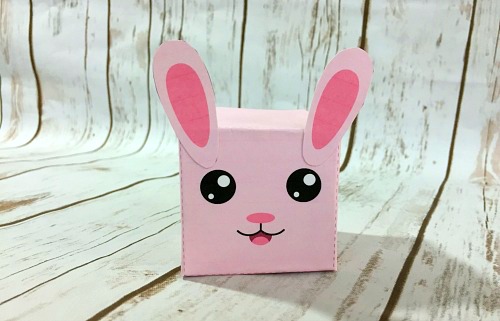
Easter is less than 2 weeks away! I can’t believe it’s nearly April, I feel like we were just finishing February yesterday. But regardless of how I feel, Easter is coming! And if you have kids, I’m sure they’re excited! A fun way to keep the kids busy as they wait for the Easter Bunny is with this cute Bunny Box Easter Kids Craft!
Disclosure: This post may contain affiliate links to Amazon and/or Etsy, which means that I may earn a small commission from some of the links in this post. Please see our Disclosure Page for more information.
This bunny box craft is the perfect last-minute Easter craft because it’s so simple! The main material is the template, which is a free printable that you’ll find below.
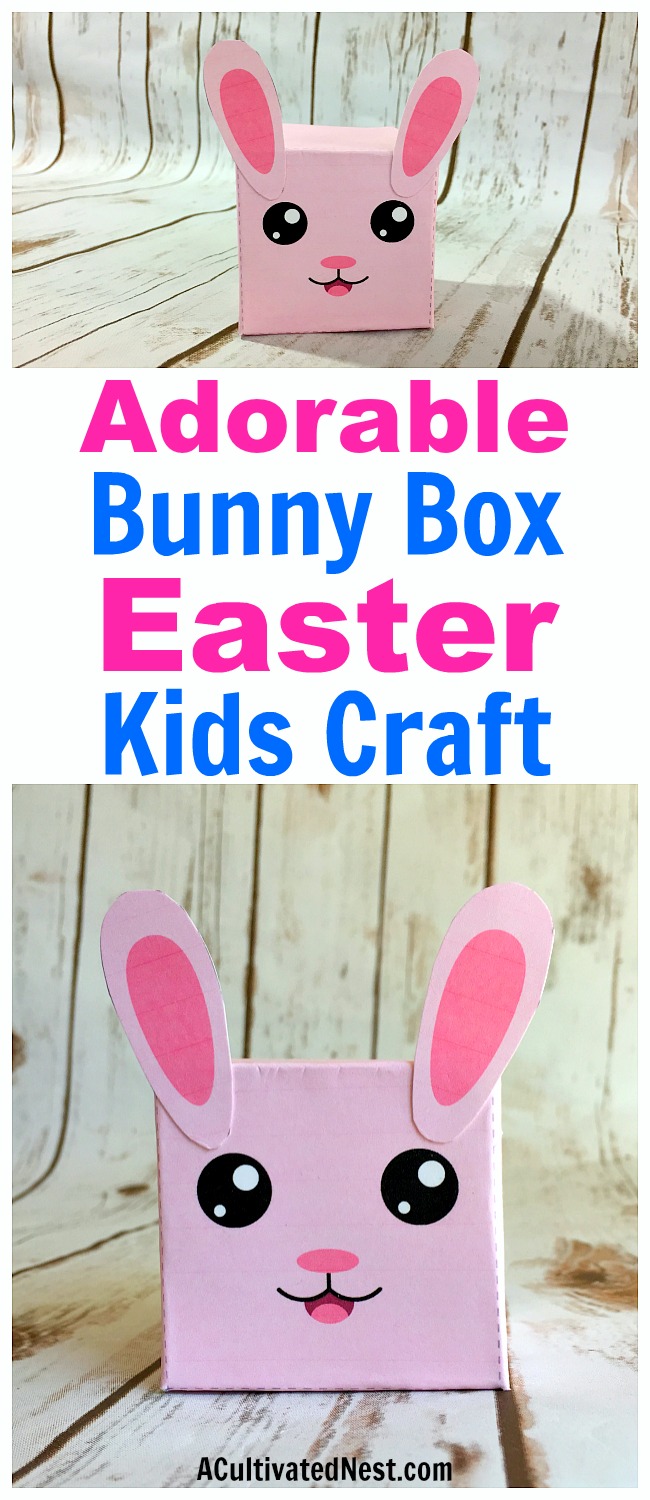
Bunny Box Easter Kids Craft
I remember loving Easter when I was little. Something about the bright colors, the cute bunny and chick themes, the fun egg hunts, and of course the great desserts, just made it one of my favorite holidays. Now that I have kids, I want them to love Easter too. Luckily that isn’t hard, especially with cute Easter kids crafts like this one to do! My daughter loves anything bunny themed, and my son right now is really into anything that lets him “build” something. So this bunny craft was a huge hit with them!
I designed this just to be a one-off fun craft, but as I was putting it together with my kids, I realized our boxes could become something more. Put a couple of them up on your mantel or in the middle of your table, and you have a fun little display! Or don’t glue your boxes completely shut, and you can use them to hold Easter goodies like candy or a small toy! They’re not sturdy enough to replace the typical plastic Easter egg, but for a fun way to hold gifts for an Easter basket, they’re strong enough.
Here’s how to make your own cute pink bunny box Easter kids craft!
Materials
White cardstock or matte photo paper (you could also use regular printer paper, but it will be kind of flimsy)
Scissors
Craft glue stick (you could also use liquid school glue or even low temperature hot glue)
1 cotton ball (optional)
Bunny box printable template- Download Here
Instructions
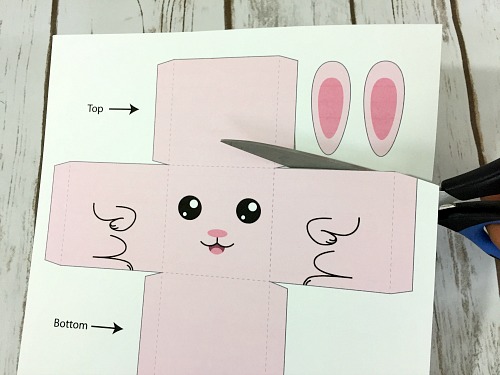
1. Print out the printable. When printing, choose “Page Scaling: None,” “Do Not Scale,” or a similar option. Cut out the box and the ears on the solid lines only. Set the ears aside for later.
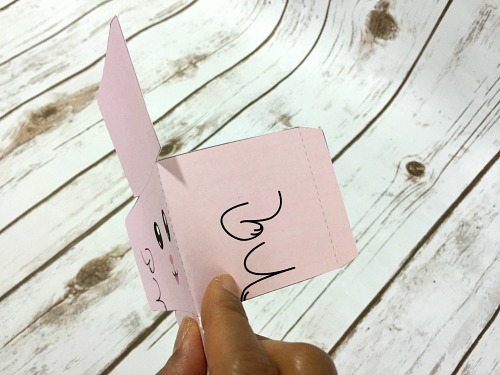
2. Fold the box on the dotted lines.
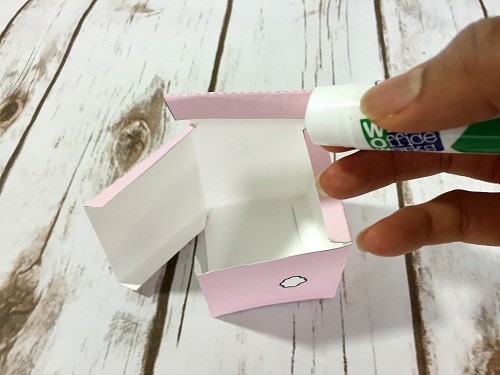
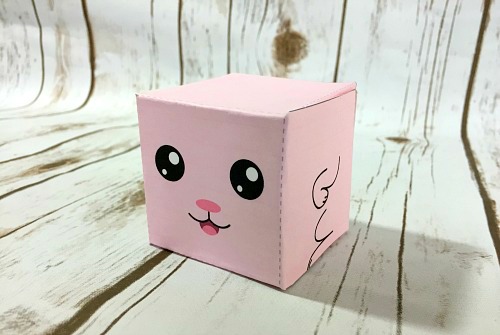
3. Working one tab at a time, use your craft glue stick to apply glue to each tab, then press the tab to the corresponding non-tabbed area of the box. Hold the tab down for a few seconds to help it stick. Repeat until you have a finished cube. If you want to use your box as a small gift box, don’t glue the top flap down, just fold it into place.
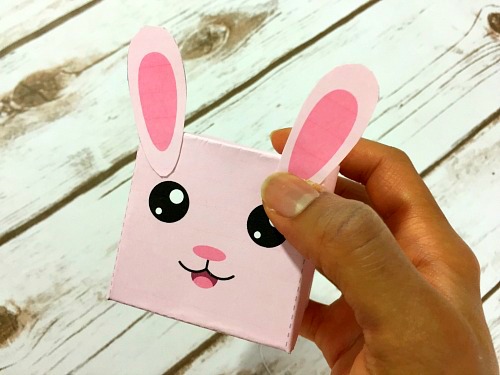
4. Apply a little glue to the bottom (smaller part) of the ears you cut out earlier. Glue them to your bunny’s face. I glued mine to have standing up ears, but you could glue yours in the opposite direction to give your bunny floppy ears.
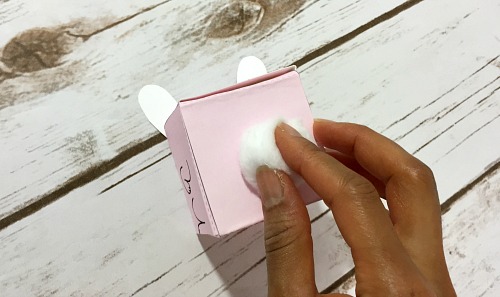
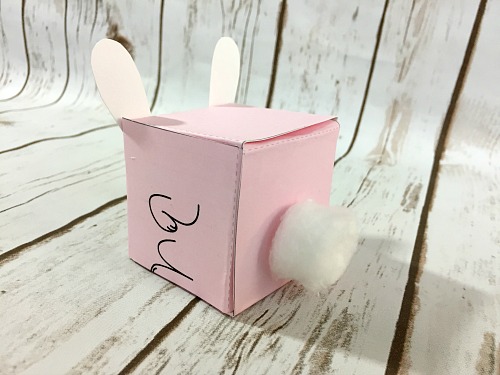
5. If you want to give your bunny a real cotton ball tail, put some glue on the tail drawing on the back of the box. Then press a cotton ball onto it and hold it down for a few seconds to make sure it sticks. Then enjoy your finished bunny box!
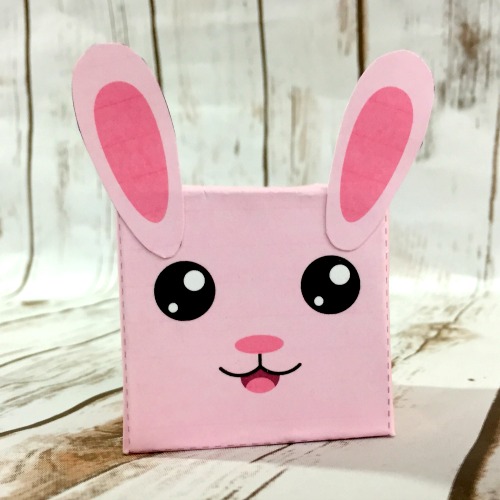
Isn’t this just the cutest Easter kids craft? I love frugal kids activities like this! They keep the kids busy, teach them some basic DIY skills, and create an adorable finished product!
What was your favorite part of Easter as a kid?
You might also be interested in: Cute Bunny Paper Plate Craft for Kids
