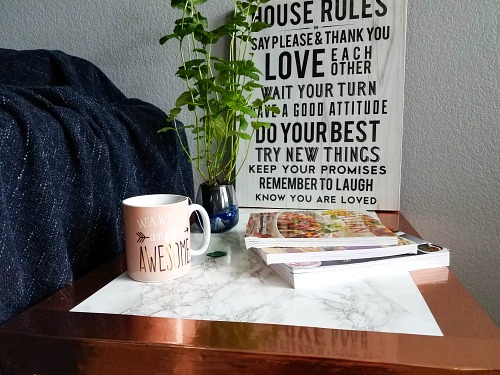
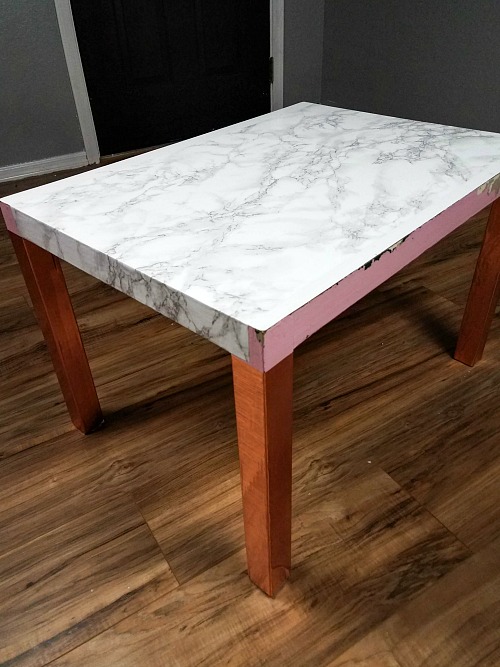
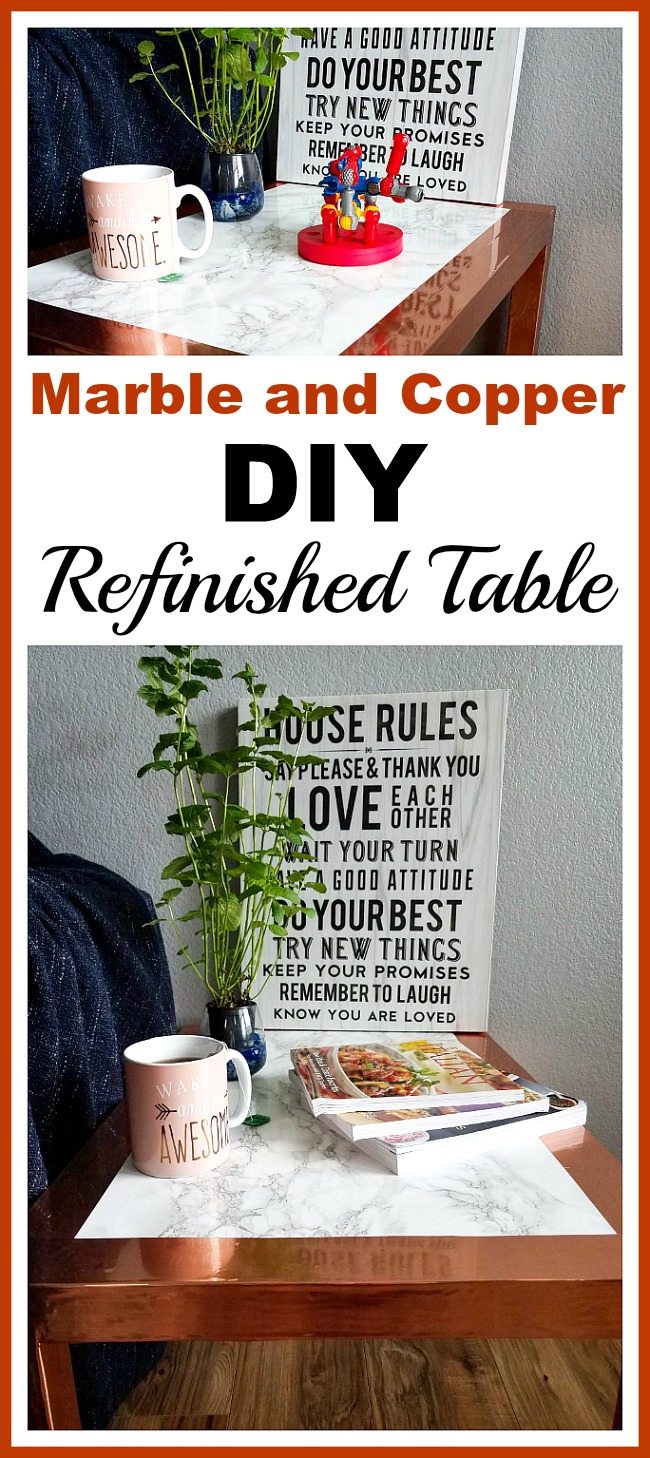
Today we are going to look at how to turn a drab side table into an awesome piece of statement furniture! The table I am refinishing is an old kid’s play table I found at a thrift store seven years ago. When I found it, the table had already been refinished multiple times and it was sporting some adorable pink and green stripes. With a simple DIY project, I turned it into a pretty faux marble and copper side table! Here’s how I made this Marble and Copper DIY Refinished Table!
Disclosure: This post may contain affiliate links to Amazon and/or Etsy, which means that I may earn a small commission from some of the links in this post. Please see our Disclosure Page for more information.
This table has gone through a lot of abuse over the years. The pretty paint was peeled off to reveal some ugly blue, then green, then tan, before finally the original white. However, despite all the abuse this table has gone through, it is still as sturdy as ever. We’ve bought other kids tables over the years and they have ALL broken. All except this ugly little table. So, we didn’t throw it away, we just covered it up.
It was time for the table to get a makeover and I knew from experience that paint was not an option. Instead I used contact paper to cover the table! The contact paper I used is marble and copper, and it is oh so beautiful! When the DIY refinished table makeover was completed I attempted to keep the table as a side table for myself. That lasted for about 20 minutes until my daughter saw it. She pulled the table into the middle of the room and set up a tea party. I guess I lose that round.
Marble and Copper DIY Refinished Table
Materials
Side table
Marble contact paper
Copper contact paper
Scissors,razor blade, or rotary cutter
Book
Directions
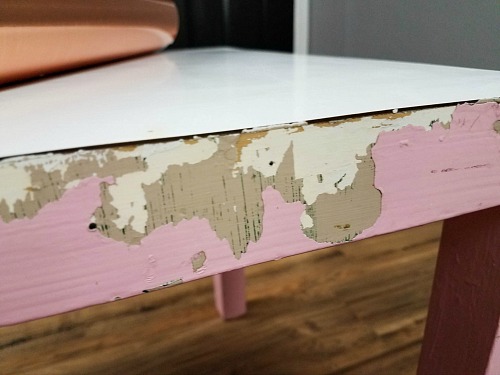
1. To start, clean your table well. If there is paint on the table you might want to remove it. I left the paint on my legs because I’ve tried to remove it before, and I know that it doesn’t come off easily.
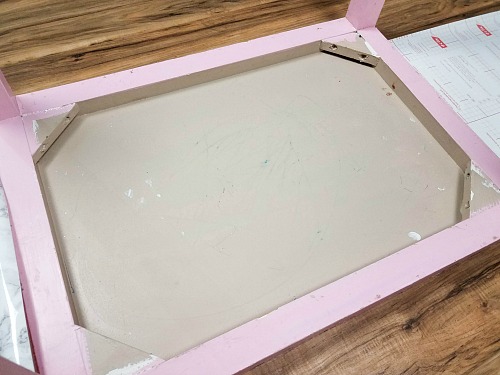
2. Start by covering the top of the table with the marble paper. To do this, use the grid on the back of the paper to measure the length of your table. You are going to want to cut the paper long enough to cover the table and tuck it under the edges.
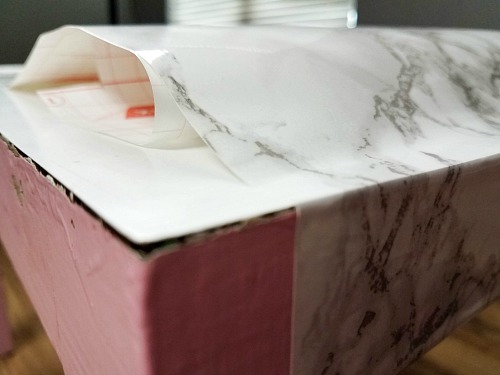
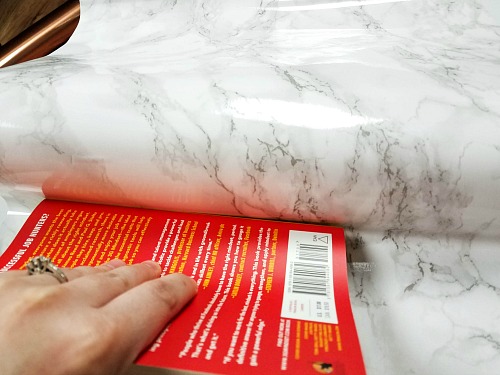
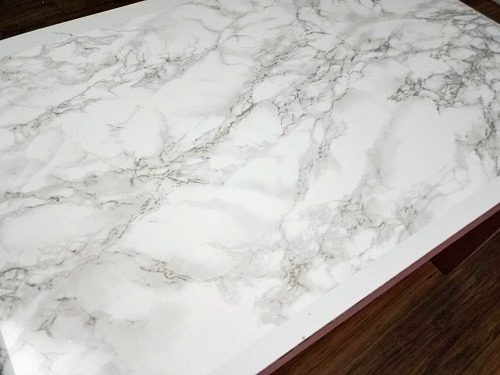 3. Peel off about an inch of the backing from the contact paper. Line the paper up with the underside of the table and slowly apply the paper over the edge to the top of the table. Use the book as you go to remove the air bubbles. If you mess up just peel back the paper and try again. Keep applying the marble paper a little at a time until the top is covered and the edges are tucked under the table.
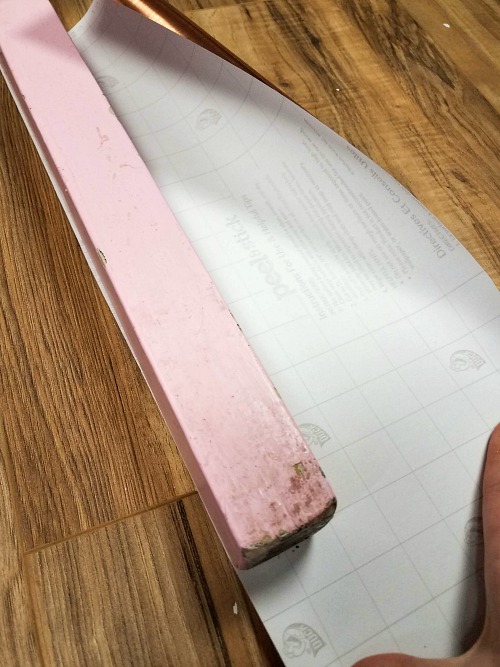 4. Next you will cover the legs with the copper contact paper. To do this, lay the table on its legs with the contact paper under it, grid side up. Wrap the paper around the leg to measure how big of a piece you will need. Cut the piece out 4 times so that you have the correct size for each leg.
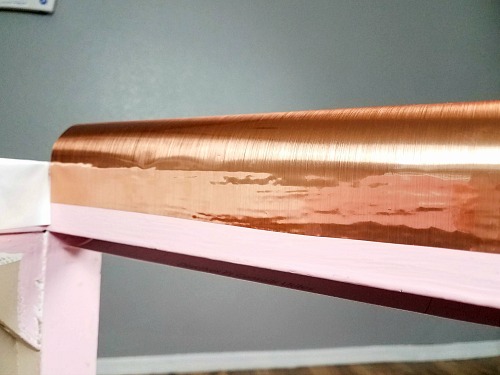
 5. Use the same method to apply the copper contact paper. Start by applying the paper on the side of the leg that faces under the table, this way the seam is not visible.
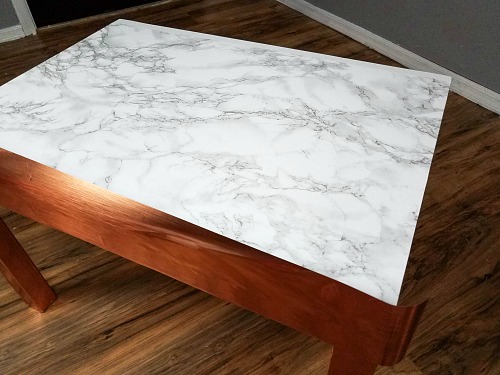
6. The last step is to cover the edges of the table with the copper paper. To do this I laid the table on its side to measure each edge. I cut each piece an inch longer (per the grid) in the length and width. This way I could wrap the paper over the edge to make a copper frame on top of the table. To apply, I lined the edge of the paper with the side of the table first, then folded it over. This way it was easier for the top frame part to be straight.
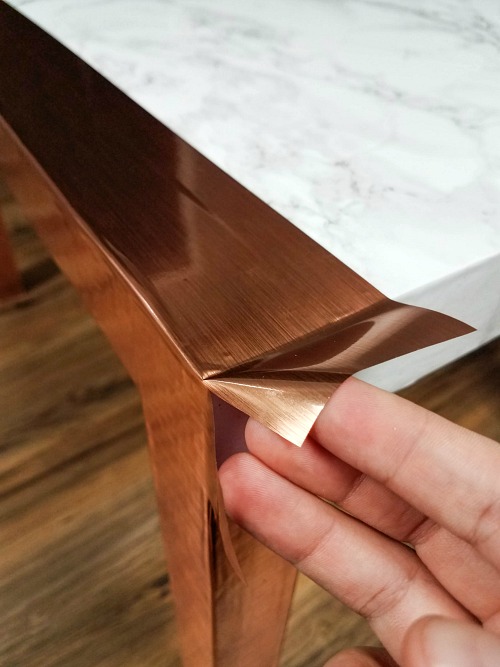
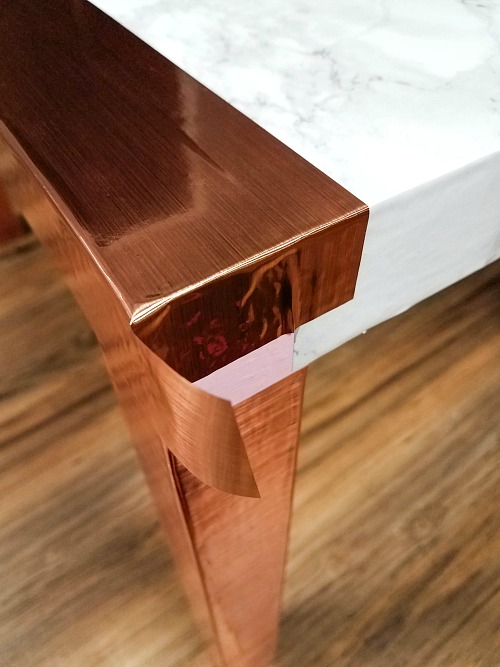
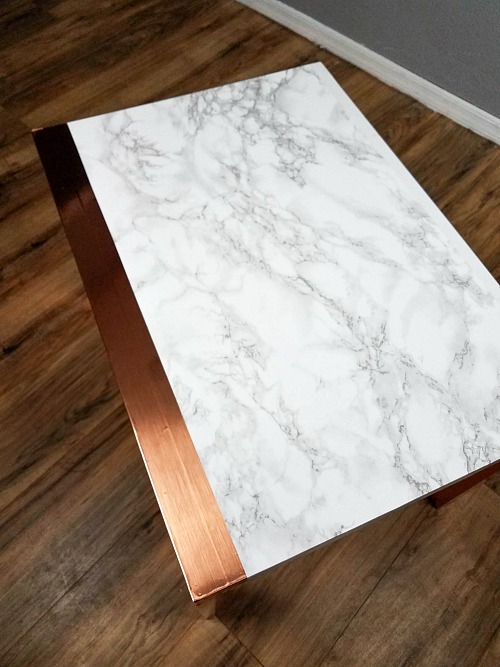
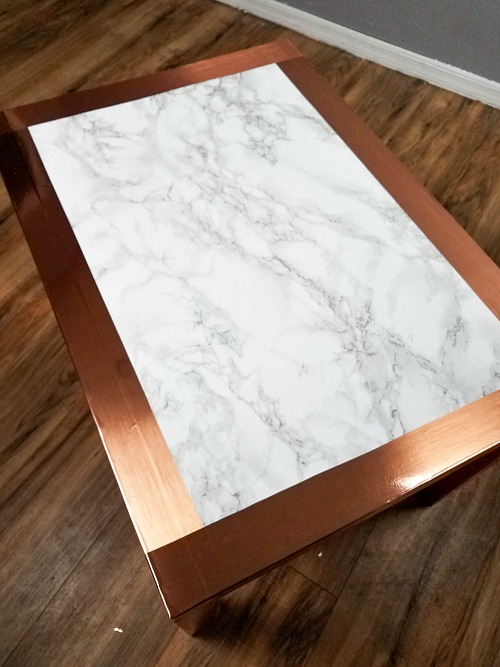 7. To apply the copper paper over the corners I cut a slit in the paper at the corner and pushed the paper down like you would if wrapping a present. It made it look like there was a copper bracket at each corner. Finish applying the paper to all four sides of the table. Then your DIY refinished table is done and is ready to use!
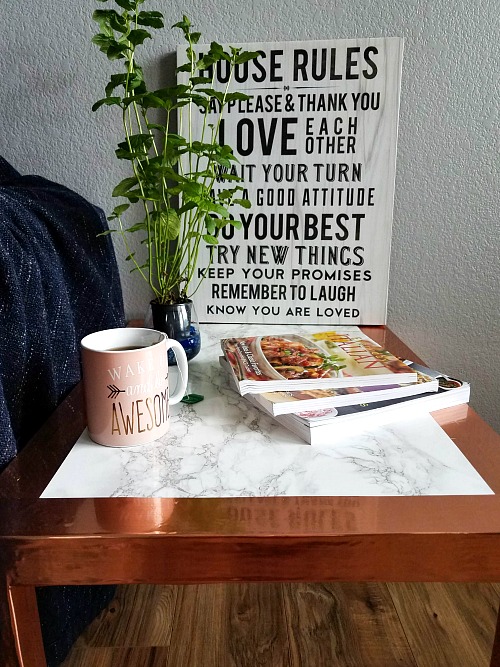
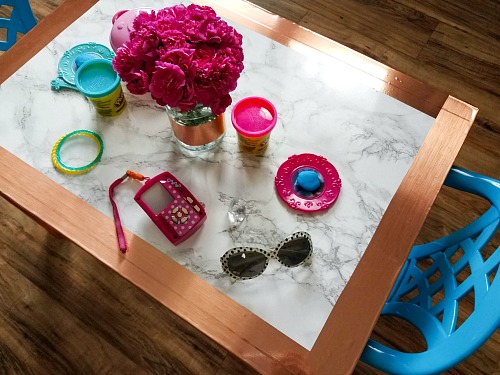
The finished table is beautiful enough to be used as an accent table, or you can give it to your kids to use as a craft/play table! The fact that the table can be used both ways is very handy if your kids’ play space is part of your living room or family room, because it can blend right into your decor when the kids aren’t using it!
Have you ever used contact paper in a furniture DIY project?
This post contains affiliate links to Amazon. Please see our Disclosure Page for more information.
About Rachel: Rachel is a big believer in living life as your best self. She likes her coffee black and loves to curl up with a good book. At HyperHypoMama.com she writes about creating a healthy life with Thyroid Disease through food, yoga, and love.
You might also be interested in:
What a neat idea, it turned out really unique! We would love to have you at our To grandma’s house we go link party, it opens every Wednesday morning 🙂
I really love the warm look of copper! Your table turned out lovely.
I’ve seen marble contact paper before. But, I had no idea that copper contact paper exists. Wow! It really looks metallic. Overall — this is a fabulous furniture flip. The table looks completely new and different. I love that you could re-use the old play table.
What a great transformation. The table looks awesome.
Thanks for sharing at Wonderful Wednesday Blog Hop. Hope you come back next week so I can stop by again.
Bev