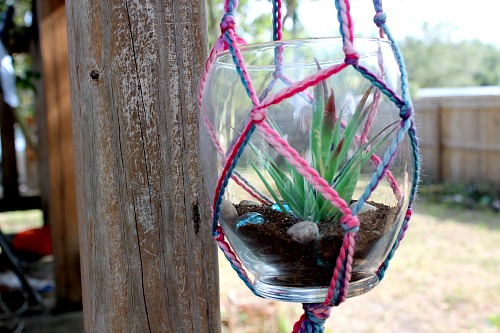
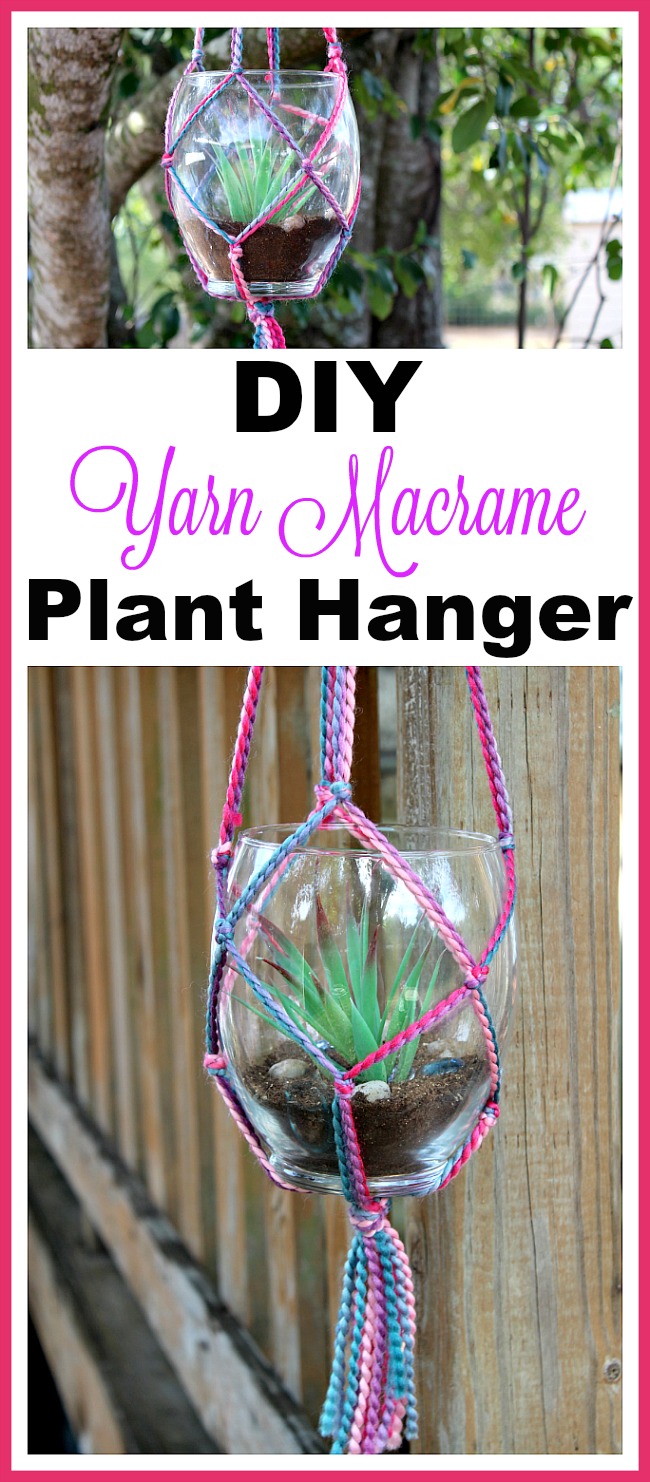
I remember as a child born in the late 70’s that our house and porch was often a gallery of macrame planters and wall hangings. Elaborate braided and knotted creations dotted with big wooden beads that held a variety of things like ferns and spider plants. My mom loved her macrame and I thought doing a modernized version might be a really fun spring or summer craft project! Here is my DIY Yarn Macrame Plant Hanger!
Disclosure: This post may contain affiliate links to Amazon and/or Etsy, which means that I may earn a small commission from some of the links in this post. Please see our Disclosure Page for more information.
While this yarn macrame plant hanger looks like a complex DIY, it’s actually not that difficult! It’s really just a cleverly created arrangement of knotted yarn. But since macrame naturally looks so complicated, it makes a lovely piece of detailed decor. This would also make a great DIY gift, like for Mother’s Day or for the birthday of anyone who enjoys potted plants!
Yarn Macrame Plant Hanger
Materials
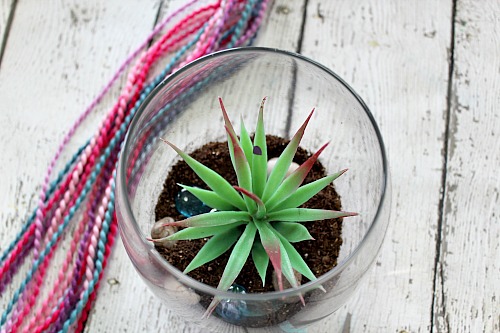
Yarn (at least one yarn, but you can use multiple yarns) or macrame rope
Potted plant
Directions
1. The first thing you want to do after choosing a pretty yarn or yarns is to cut eight 94” lengths. You can use a single rainbow yarn like I did, mix up individual colors over the 8 pieces, or you could also use macrame rope. I went with colorful rainbow yarn to give a pop of color to my glass planter.
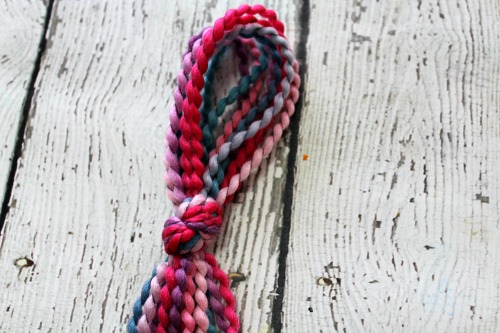
2. Next, gather all the yarn pieces together and fold in half.
3. Tie a tight knot with them on the fold, this will be your loop for hanging your planter.

4. Hang your loop from a doorknob, hook, or nail to make it easier to complete the rest of the steps.
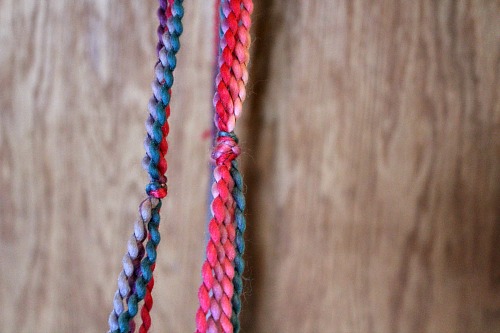
5. To begin your macrame knots, gather 2 pieces of yarn strings that are right next to each other and knot them about 8”- 12” down from the knot. This length will vary depending on the size of the pot you are making it for. These knots will rest near the top of your pot and you want to be able to slip it in between this area. Continue knotting 2 pieces together until you have 4 knotted sections, keeping your knots as equally distanced from the main knot as possible.

6. Gather 1 string from each knot 3”-4” inches below the knot and knot it with 1 string from the section next to it. Again, continue around until every strand is connected.
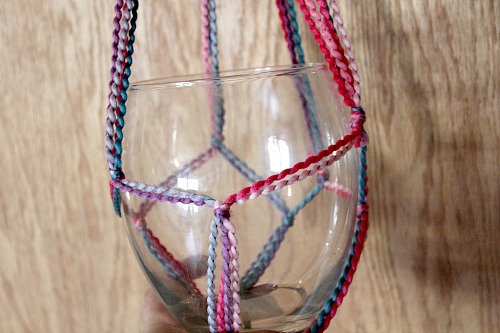
7. Slip your pot up through the bottom to gauge where you would like your last set of macrame knots. This knot should be about 2” up from the bottom of the pot to keep it securely inside when hanging.
8.To make your final knots you are going to repeat step 6 and gather 1 string from each section and tie it together with one string from the next section.
9. Gather all your yarn strings and tie a large knot in the bottom 3” below your last knot- here is where your pot will rest. Cut off excess or uneven ends, leaving a nice size tassel.
10. If you have not already done so, fill your pot with soil and a plant.
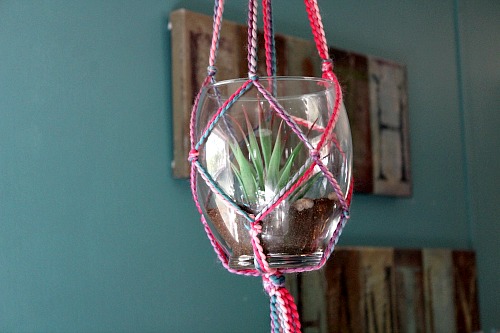
11. Slip the pot in through the wider opening up top and hang. Then enjoy your DIY yarn macrame plant hanger!
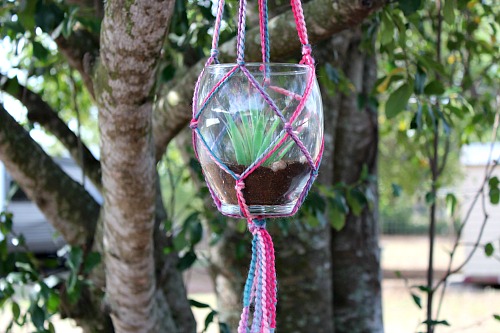
Depending on where you are going to hang your pot and how long you would like it to hang down, you may want to knot the top once or several times more. After mine was completed I knotted the top right over the original twice more. I like that it also gave the knot some more heft.
Have you ever made your own macrame decor?
This post contains affiliate links to Amazon. Please see our Disclosure Page for more information, and thanks for supporting this site!
About Jody: I am a Florida girl through and through living the semi-country, small town life. I am making my way through it with my amazing hubby, 2 beautiful kids, 2 of the best Dachshunds to ever walk the face of the earth, massive amounts of coffee and a whole lot of Jesus. I homeschool, craft, cook, scrapbook, garden, raid the thrift shops, snap 1,000’s of photos, and read when I can grab a spare minute (which is rare). You can find me blogging at Simply Southern Sunshine.
You might also be interested in:
Very creative plant hangers I really like the look that they have here
I think your plant holder turned out very cute. It’s exactly what I wanted to do in my sunroom, so thanks for the tutorial! I’ve featured it in a roundup post for inspiration for my sunroom here: http://www.heartfeltbalancehandmadelife.com/2017/05/10-amazing-diy-decor-ideas-to-inspire.html
Hope you have a wonderful weekend! Thanks for the inspiration!