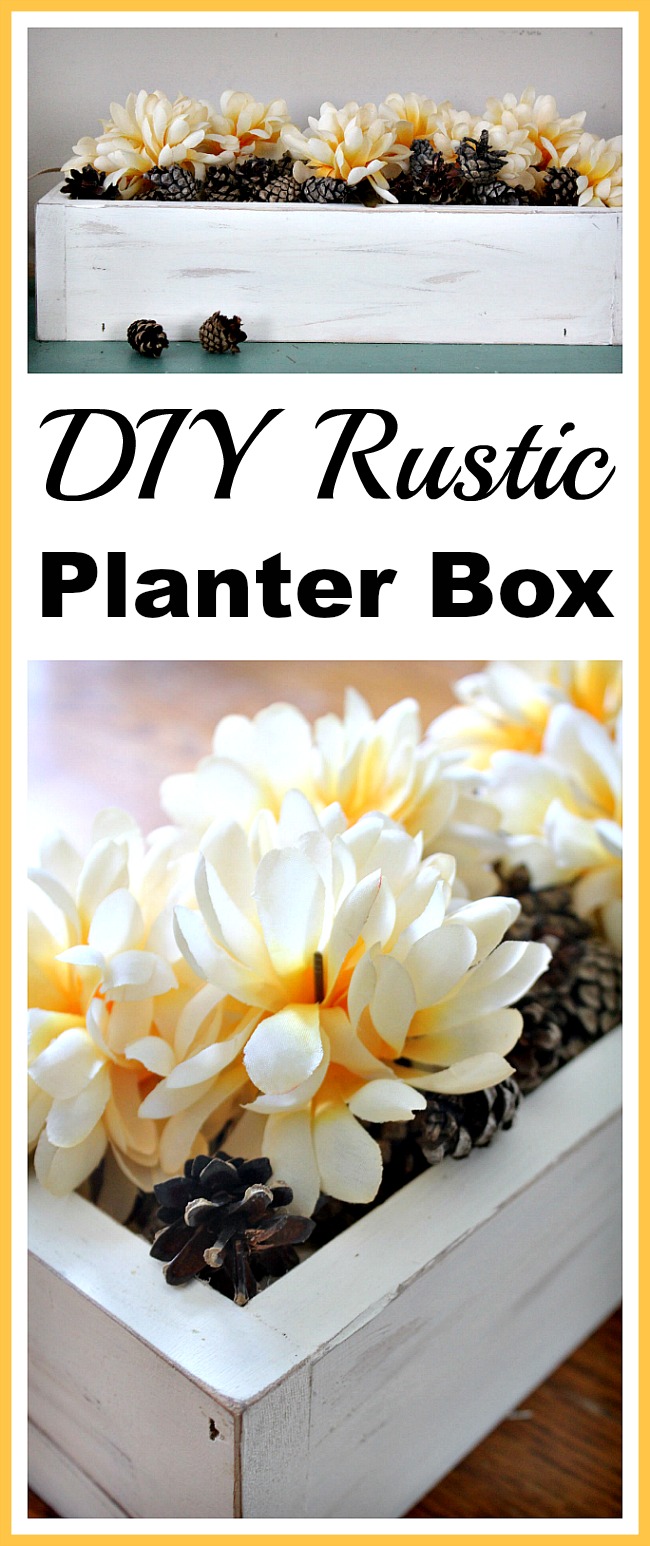
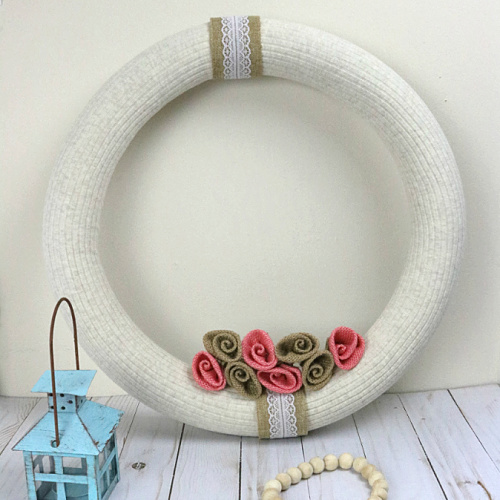
Beautiful Rustic DIY Wreath Craft.
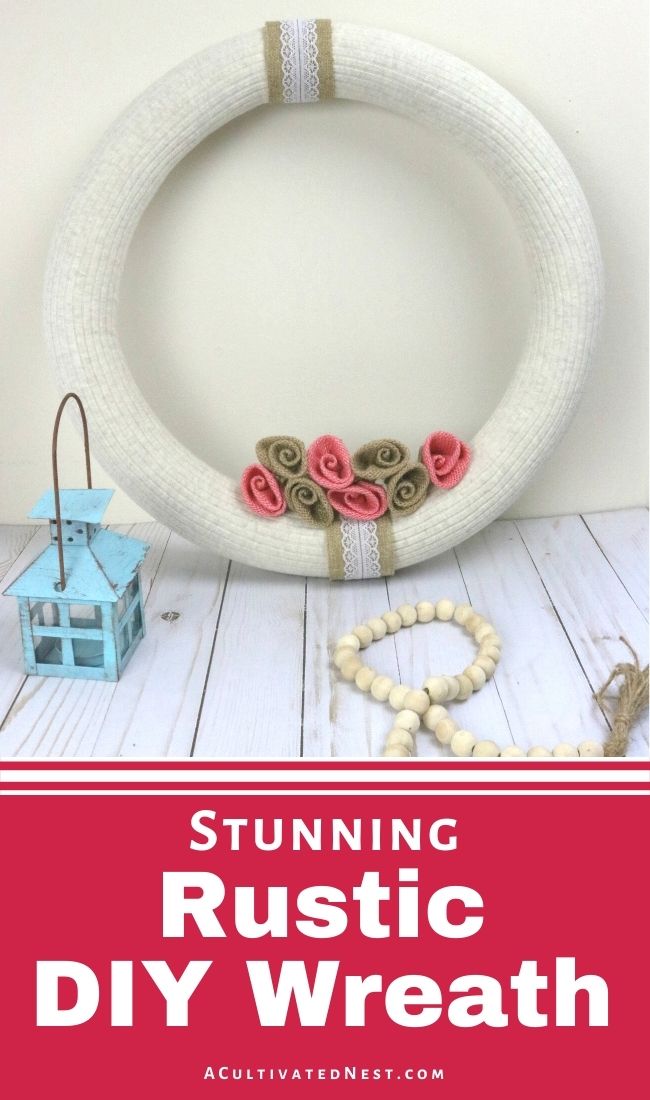
Adding character to your home or office is easy with wreaths. They are the perfect home décor because you can easily make all sorts of them to fit each season, holiday, or overall decorating style. I am super excited to share this rustic style wreath with you because you can decorate with it year-round. Take a look at this Stunning Rustic Wreath DIY Project to get inspired for your next fun project.
Disclosure: This post may contain affiliate links to Amazon and/or Etsy, which means that I may earn a small commission from some of the links in this post. Please see our Disclosure Page for more information.
I have been on a huge kick for anything that is rustic style. I doubt you can blame me because rustic decorations are so gorgeous and go great with vintage themes as well as farmhouse themes. Plus, if you’re looking for an easy gift to give to a friend or family member, giving them a rustic wreath is a fantastic idea. You know that they’re going to love it, and making something homemade is even better than a store-bought gift. I have a feeling you’re really going to love this project!
Stunning Rustic Wreath DIY Project
Materials
1 pair off-white cable knit tights (I used size 9/10)
Pool noodle
Scissors
Needle and thread
Burlap ribbon (bought at Dollar Tree)
4 natural burlap roses (bought at Dollar Tree)
4 pink burlap roses (bought at Dollar Tree)
Duct tape
Note: If you want you can use hot glue to add the ribbon and flowers. However I do find it holds up better when stitched, but if you will not be moving the wreath around, then gluing works fine.
Directions
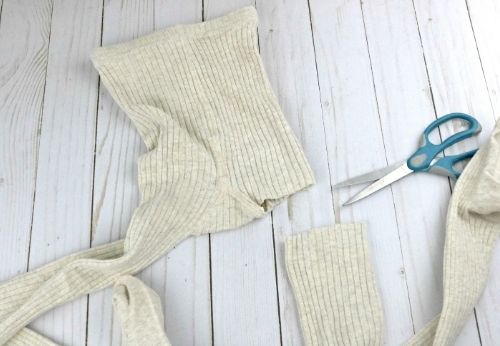
1. Cut the legs of the tights off right as it joins the seating area.
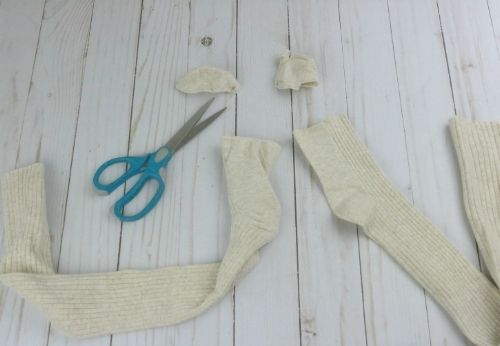
2. Cut the toe of the tights off.
3. Slide the tight legs on to the pool noodle. Make sure that you have the heel area of the tights for both legs on the same side. This bump will show so I just used it as the back of my wreath so no one sees it.
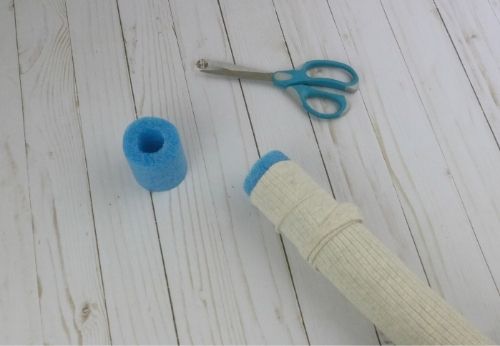
4. Cut 2 inches of the pool noodle off using the scissors.
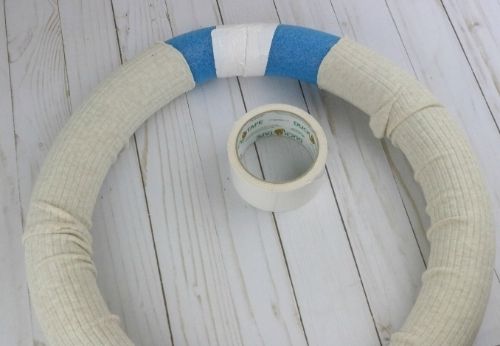
5. Attach the two ends of the pool noodle together using the tape.
6. Using the needle and thread, stitch the tights together. You want to stitch it all the way around. Make sure to do both ends.
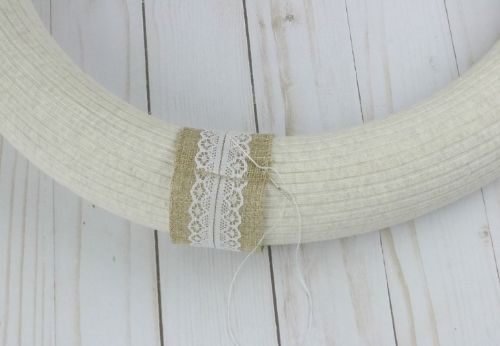
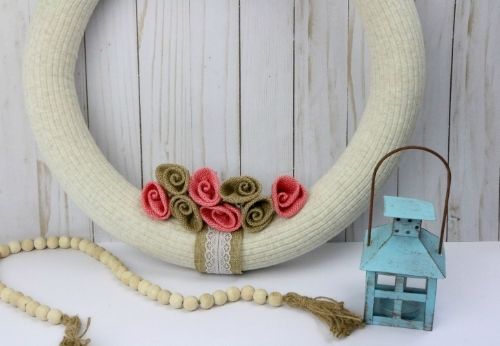
7. Wrap the stitched area with the burlap ribbon and sew it in place on the back. Make sure you make the back on the same side of the heel bumps so it will not be seen. You don’t need to sew into the noodle, just to the tights.
8. Cut the wires off of the flowers.
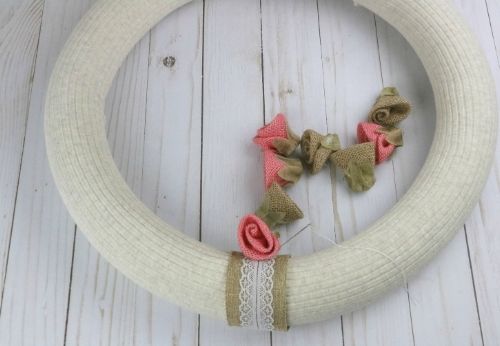
9. Figure out where you want your flowers to be. I placed mine over one of the burlap ribbons. After you know where you want them, start stitching them together and to the tights. After you have them all in place, the wreath is done!
What was the last DIY project you worked on?
You might also be interested in: DIY Rustic Planter Box
