Easy DIY Fall Fabric Pumpkins.
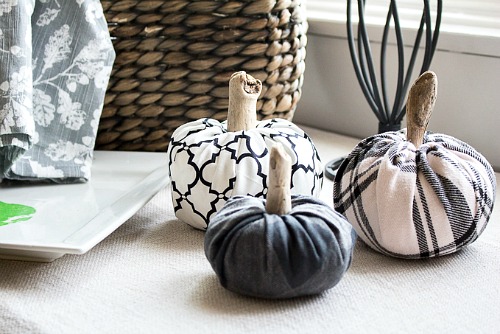
Fall time is pumpkin time! But not all pumpkins have to be real or plastic, and they definitely don’t have to be orange. This year I wanted to add a different kind of pumpkin to my home’s fall decor, so decided to do this fun DIY! These No-Sew DIY Fabric Pumpkins are easy to make, easy to customize, and look so cute!
Disclosure: This post may contain affiliate links to Amazon and/or Etsy, which means that I may earn a small commission from some of the links in this post. Please see our Disclosure Page for more information.
What’s great about these no-sew fabric pumpkins (aside from the fact that there’s no sewing required) is how easy it is to customize them to your tastes. I chose black, white, and gray colored fabrics for my pumpkins, but I could have just as easily made these with Halloween print fabric, or any other color or pattern. But I didn’t have any kind of fabric like that in my scrap fabric bag, and I liked what I did find.
Actually the only thing I had to buy for this project was the driftwood. We didn’t have any downed branches on hand, and besides, our trees didn’t have the smooth kind of texture I was looking for. But luckily Amazon had plenty of driftwood to choose from. So this was a nicely frugal DIY project (my favorite kind)!
No-Sew DIY Fabric Pumpkins
Makes 1 no-sew fabric pumpkin, 5” high (including stem) x 5” wide
Materials
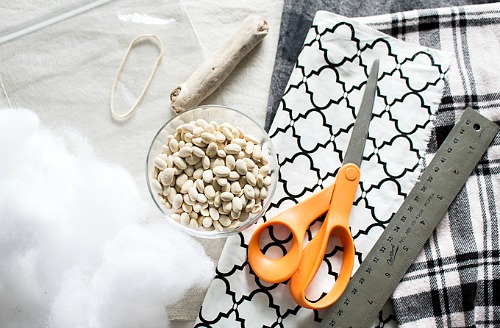
Scrap fabric, lightweight woven material such as cotton twill, broadcloth or flannel
Fabric scissors
Measuring tape or ruler
Plastic zipper sandwich bag, approximately 16.5cm x 14.9cm size
Navy beans, ½ cup (uncooked)
Polyester stuffing
Driftwood or tree branch, 4” long x 3” circumference
Rubber band
Instructions
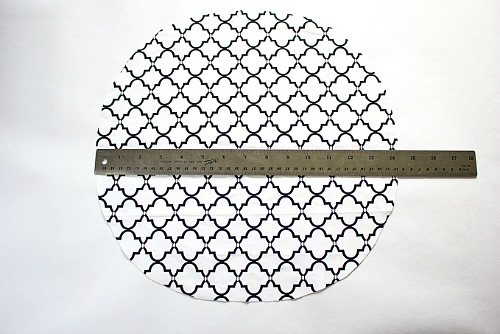
1. Iron fabric prior to starting to remove all creases and wrinkles.
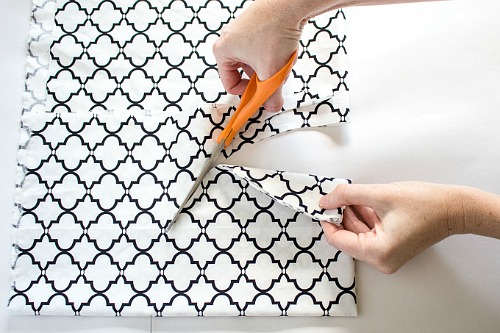
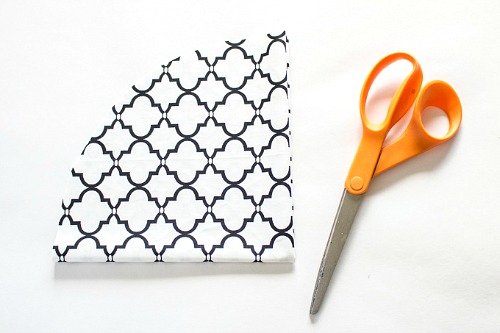
2. Using scissors, cut scrap fabric into a circle shape that measures 14” in diameter. Tip for cutting fabric into a circle: Fold the fabric in fours. Measure and mark 7” along each side length and at the center length on the 45 degree angle. Cut the fabric joining the marked points. Put circle aside.
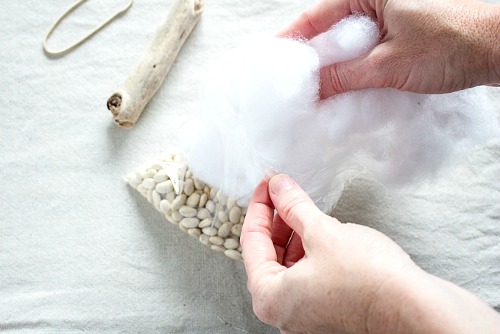
3. Fill plastic sandwich bag with ½ cup of uncooked navy beans.
4. Fill the rest of the bag with polyester stuffing. Place over top of the beans.
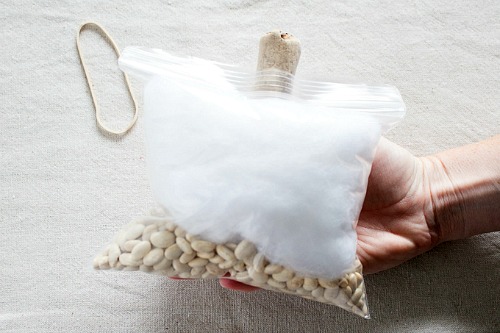
5. Insert the driftwood into the middle of the bag through the polyester stuffing with one end poking out of the bag in the center. Seal the bag closed on both sides of the driftwood.
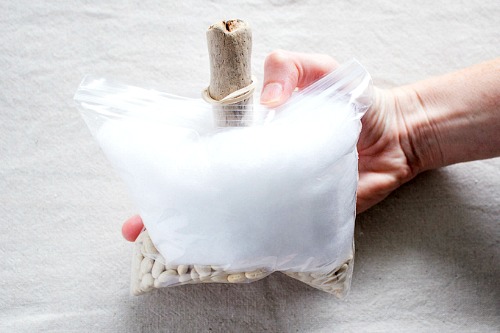
6. Loosely wrap an elastic band around the driftwood and let it fall to the top of the bag.
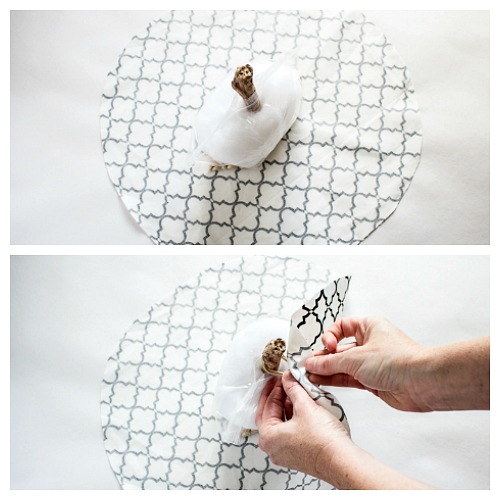
7. Lay the fabric circle with right side facing down and place the filled bag in the center.
8. Begin folding the fabric edges up and into the elastic band. If the driftwood lifts up and out as you fold in the fabric, simply push it down to where it needs to be and continue folding in the fabric.
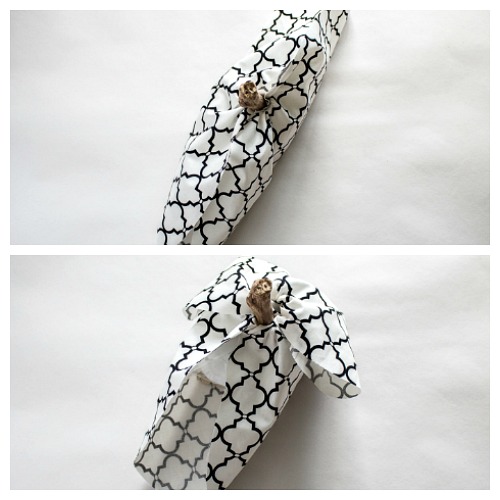
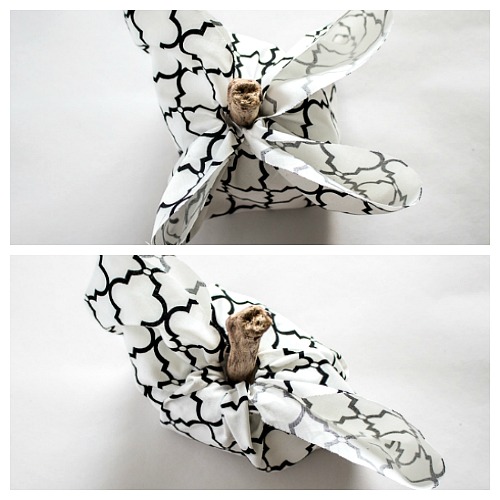
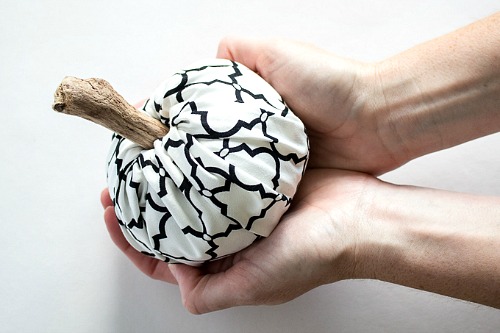
9. Work one side at a time until all fabric edges are folded in. Adjust as needed until the desired look is achieved. Then you’re finished making your DIY fabric pumpkin!
10. For the smaller sized pumpkin, cut the fabric into a circle that measures 10” in diameter and reduce the amount of beans and padding inside the bag. Use a shorter piece of driftwood and follow steps 4 to 10.
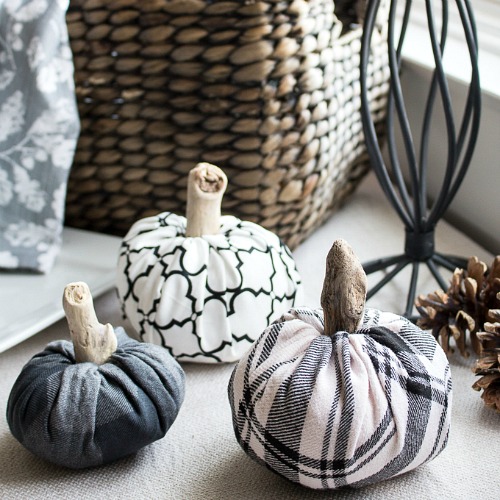
Then put your DIY fabric pumpkins on display! Your homemade pumpkins would be great additions to a fall centerpiece of mantel.
What fabric would you use for your DIY fabric pumpkins?
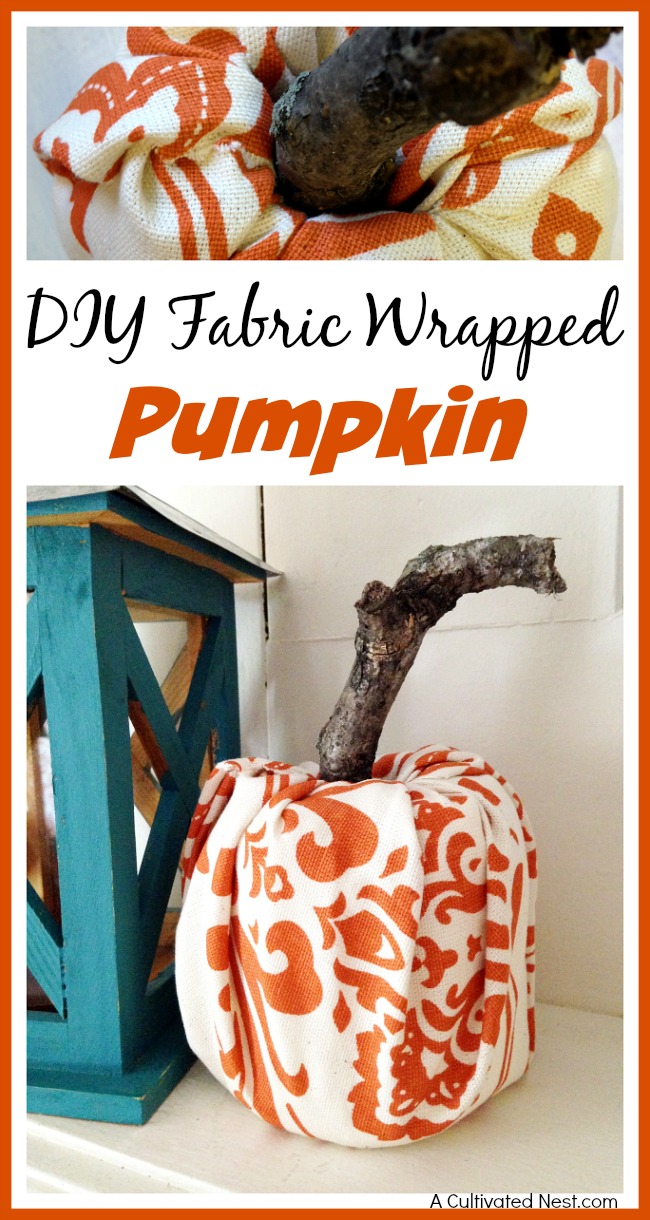
You might also be interested in: DIY Large Toilet Paper Roll Pumpkin
These are adorable DIY project!