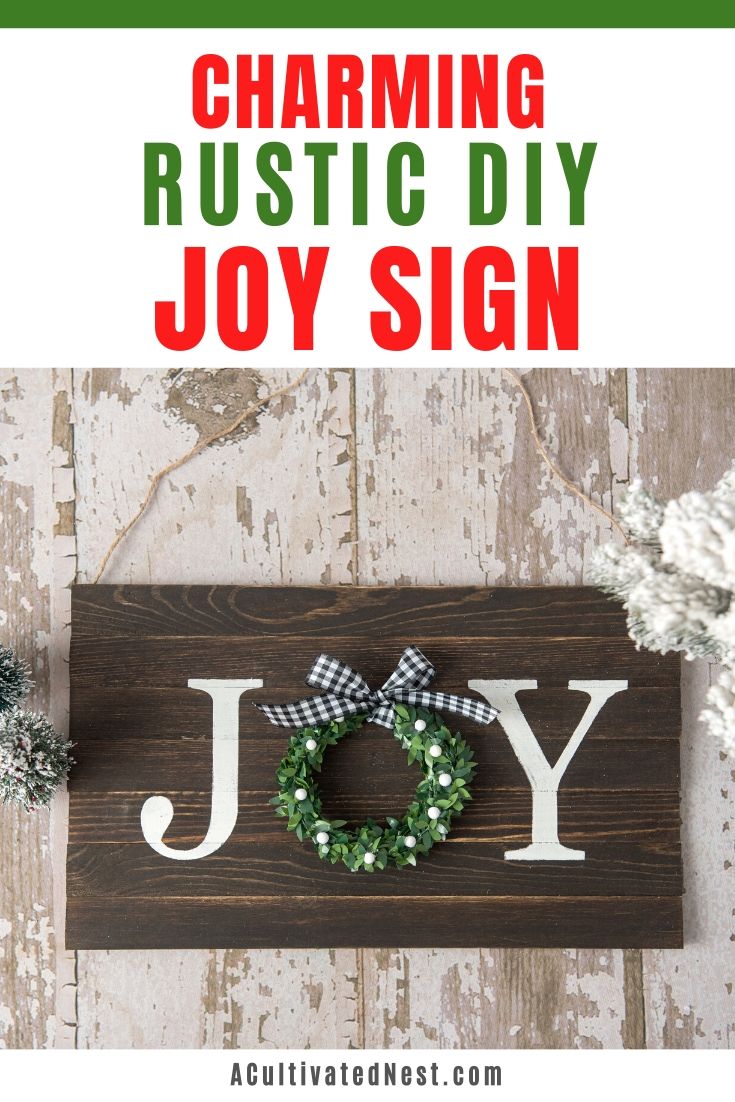
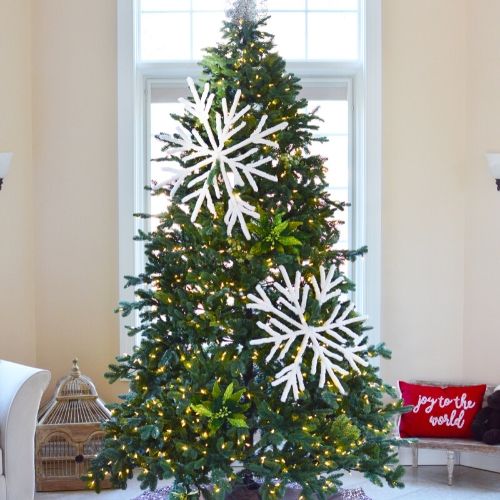
Elegant DIY Giant Snowflake Decor.
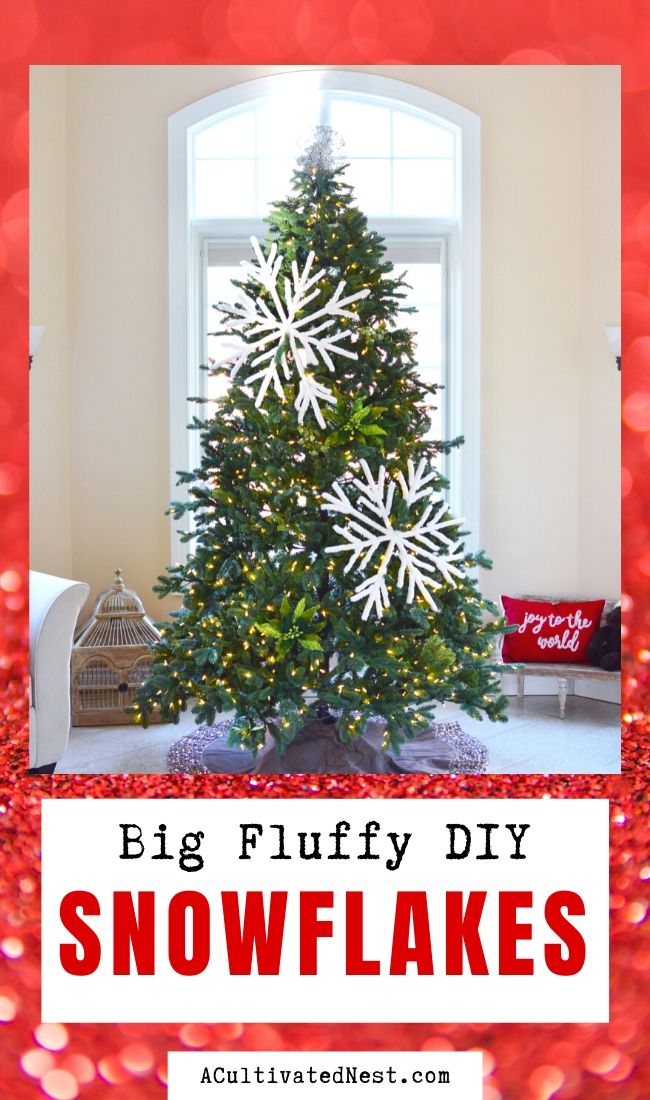
There are many things I love about the Christmas season. The lights, food, family gatherings, crafts, and music are just a few things I can think of off the top of my head. One of my all-time favorites is decorating the tree. Picking a theme of colors and ornaments each year is so much fun. Then when you are done and you turn on the lights, you get to see your masterpiece. This year I’m so excited to add my beautiful Big Fluffy DIY Snowflakes to my tree, and I think you will be too!
Disclosure: This post may contain affiliate links to Amazon and/or Etsy, which means that I may earn a small commission from some of the links in this post. Please see our Disclosure Page for more information.
Just like real snowflakes, you can literally make every one of them completely different. You can make large ones or small ones, and they will all look stunning. Adding a big fluffy snowflake to your tree is elegant and completely stylish. Plus, all your friends are going to be jealous and wanting you to make some for them too!
Fluffy Big DIY Snowflakes
Materials
19 larger craft sticks (about 6 inches long and wider)
26 standard-sized craft sticks (about 4.5 inches long)
Thick and fluffy yarn (You’ll need a couple of yards of yarn per snowflake on average.)
Hot glue + hot glue gun
Directions
1. I used a mix of craft stick sizes and started with the center point and worked my way out from there to build the design.
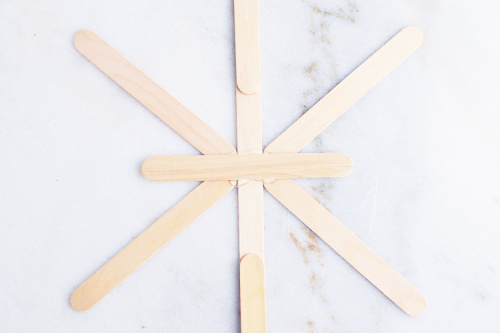
2. If you would like to create a similar shape to the ones shown here, simply focus first on the image that shows the large X with the vertical line down the middle.
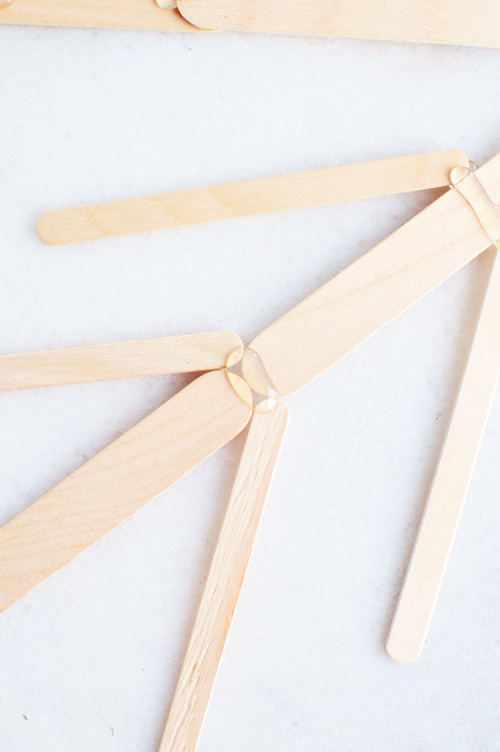
3. Layout each of your larger popsicle sticks that make up the cross frame first and then add the smaller sticks that create the detail.
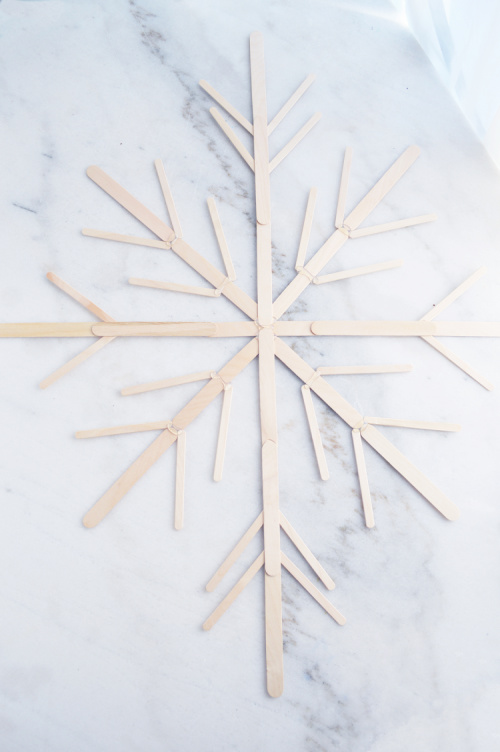
4. I made one snowflake slightly longer in one direction, and the other snowflake the same all the way around.
5. Once your design is set, you can start using your hot glue gun to connect everything together. Just like when making the design, you start gluing in the center, and work your way out to the ends of the larger frame pieces. Then glue the smaller sticks into place. You may find that your design has intersections with large and small sticks. You can glue those all together at the same time or go back and add the smaller ones on after. Aim for the hot glue to cover the entire connection point without spilling over the sides too much.
6. Let the snowflake sit for the glue to dry for a few minutes before picking it up or trying to move it. Once it is set, you can carefully flip it over and make sure all of the joints are fully glued on both sides.
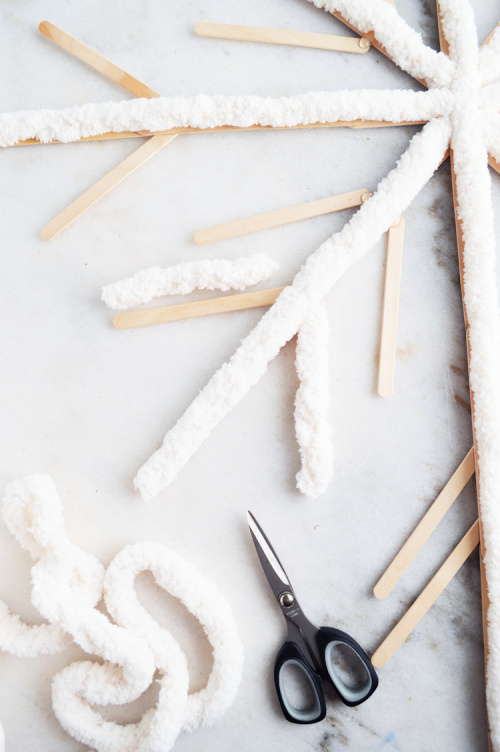
7. Use hot glue to attach the yarn to the craft sticks. You can measure and pre-cut each piece of yarn or cut the yarn as you go along. Go with whichever will be easier for you. Start by adding the longest pieces first, center cross-sections of the snowflake, and then work out from there. Make sure to add a bit more glue at each end of the section you are adding the yarn to and then carefully but firmly press the yarn into place.
8. When all of the yarn is attached, go back through and make sure the intersections of the yarn are tidy by trimming off any extra or little stray bits. Then your fluffy big DIY snowflakes are ready to display!
Tips
*Some of the glue might stick to the surface you’re working on, so aim for something solid that won’t be damaged by heat (avoid doing this on a rug, towels, tablecloths, paper, etc.). I had no problem doing this on a stone table.
*Reminder, hot glue guns work at different temperatures, I used the hotter setting on mine, and it helped to speed things along. But sometimes the glue can be too hot, so be careful with your skin and any little helpers you may have so no one gets hurt!
*Hot glue doesn’t hold well in cold temperatures, it can just fall off in solid pieces and crafts will crumble into a pile. With that in mind, aim for this to be an inside craft or use a wood glue instead of hot glue (and probably something other than yarn if it might get wet), and adjust the gluing method to follow the instructions on the bottle. You should get a really solid hold with the wood glue, but the curing time is quite a bit longer.
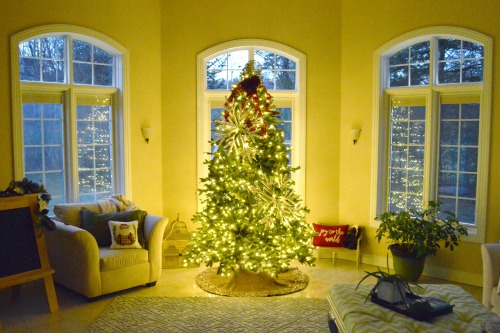
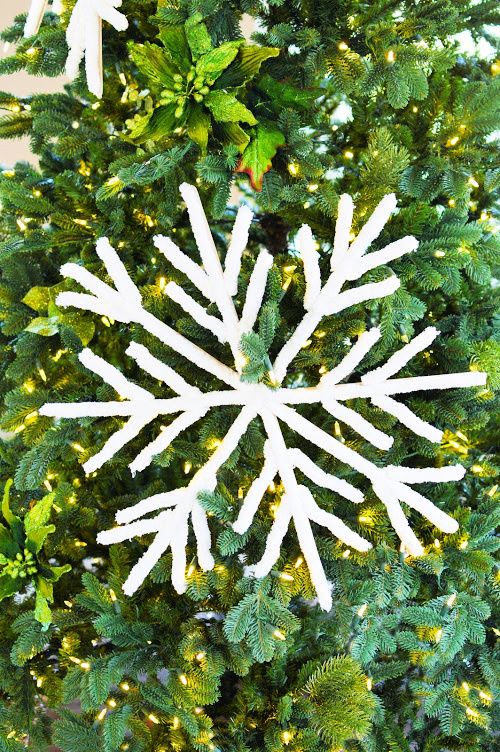
*I set these into our tree, but they could easily rest on your fireplace mantel or in windows as well. For windows, consider adding the yarn to both sides of the snowflake so it can be enjoyed from both inside and out.
What’s your favorite part of decorating for Christmas?
You might also be interested in: Charming Rustic DIY Joy Sign
