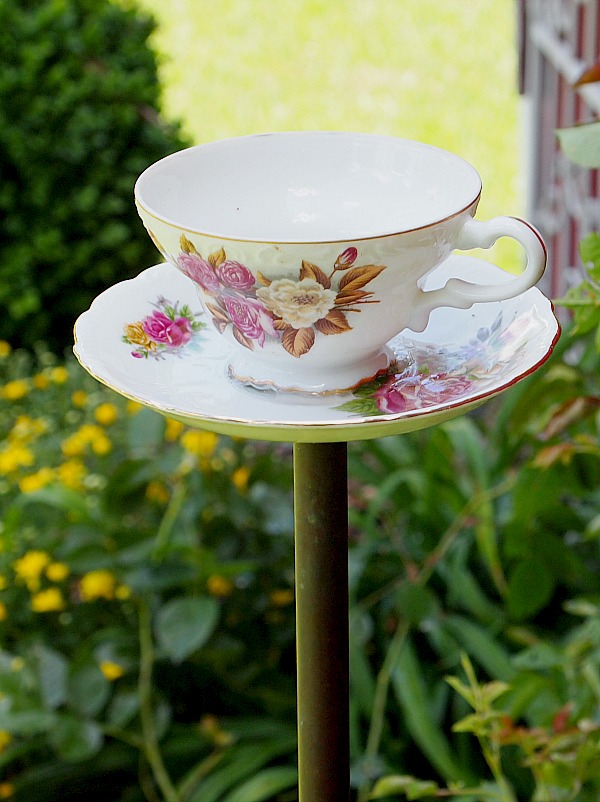
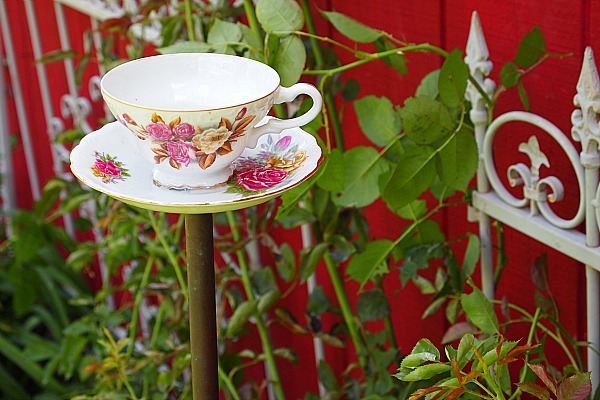
I started making a little cottage style garden along one side of my barn last year. You can see the before in this post. I had made a teacup birdfeeder before and thought another one would be the perfect addition for my new little garden area. This is my super easy way to make a teacup birdfeeder.
These teacup bird feeders are super cute as garden art! You can add birdseed to the cup, but be sure to check it often and dump the seed if it gets wet.
How To Make A Teacup Bird Feeder
Materials Needed:
Disclosure: This post may contain affiliate links to Amazon and/or Etsy, which means that I may earn a small commission from some of the links in this post. Please see our Disclosure Page for more information.
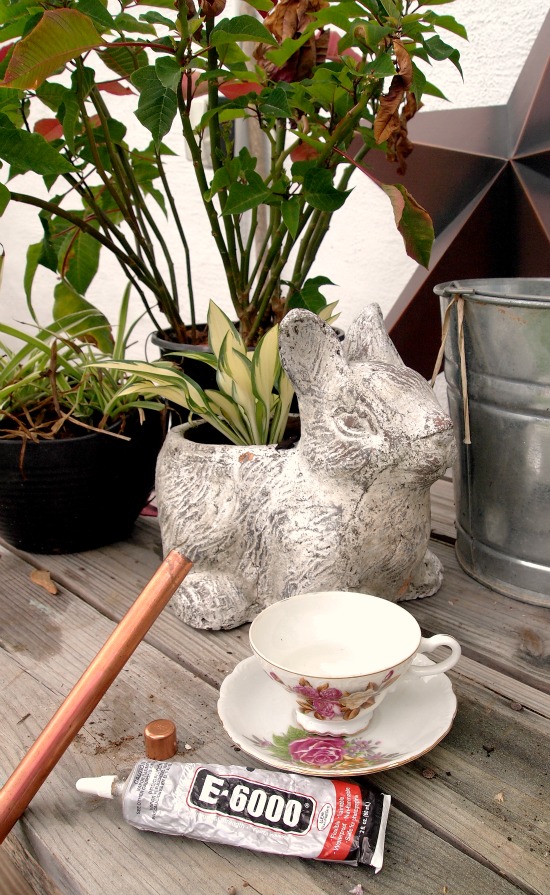
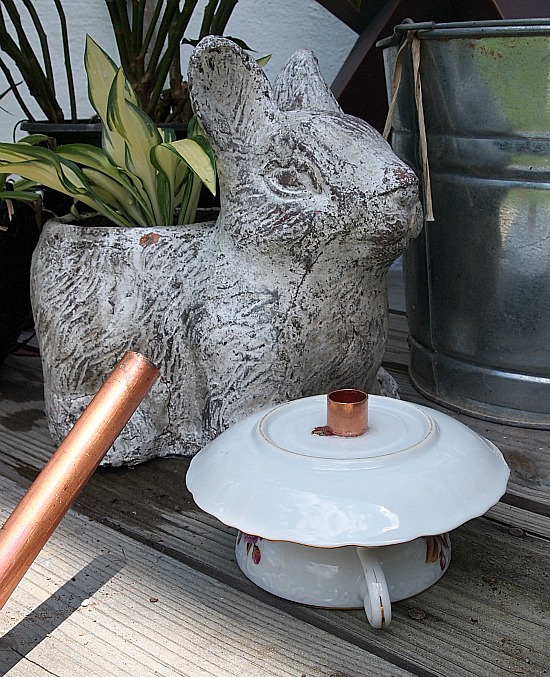
All you need is a teacup and saucer (I got these free from a neighbor’s garage sale since they didn’t sell), a 1/2 inch piece of copper pipe, a 1/2 in. copper cap that will sit on top of the pipe, some strong waterproof glue. I used E6000 but I’ve read that some people have used hot glue successfully. I guess it would depend on your climate.
Directions:
1. Glue your saucer onto your cup
2. Glue your copper cap onto the saucer (with the opening up)and let that sit for several hours to dry.
3. Slip the whole thing onto your copper pipe and you are done!
Your pipe can already by in the ground at the height that you want it just to make it quicker since all you have to do is slip the teacup birdfeeder on.
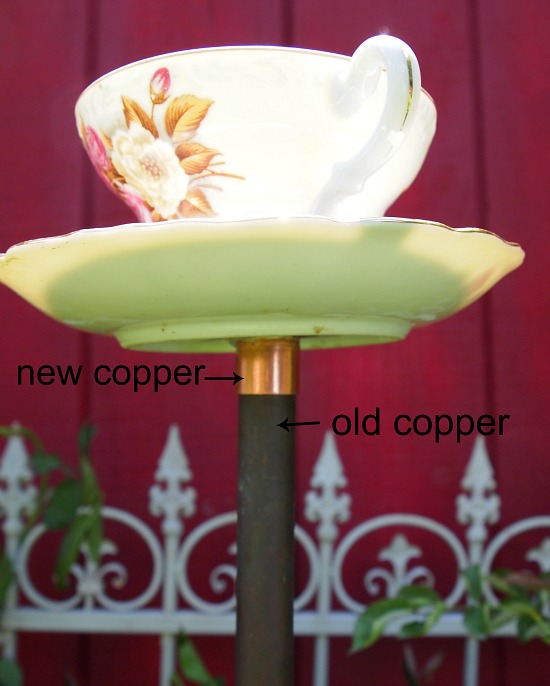
I wanted to show you how beautifully the copper ages. The cap is new copper and the pipe is from the other teacup birdfeeder I made which is a few years old. The other good thing about making one this way is you that you can easily take the teacup part off if you need to move your pipe and also to dump the water that will collect when it rains.
I don’t ever really use them as birdfeeders (I know other people do). I just use them as decoration in my garden.
Let me know if you try it the cup and saucer bird feeder!
I have made these before and just love them. I don’t put birdseed in either because it just gets wet and sours really quickly!
Yours are just darling. Thanks for the tutorial.
Judy
I cannot wait to have a yard so I can try this. What wonderful Christmas gifts, too! Could you put the bird feed on the saucer around the cup?
You could. The cup and saucer don’t have to match either. You could do a larger dessert plate with a cup or mug even.
But like I said, I don’t actually put birdseed in them. It would get wet when it rains and then you’d have a glumpy mess ( unless you live somewhere that’s pretty dry all the time).
Thanks for sharing the tutorial. Putting birdseed in one would not work here due to the other “wildlife”. Love the E6000 glue it is what I use in making jewelry and many other projects.
Have a great week.
Your teacup looks wonderful! I made one of those a few years back, but I used hot glue and it did not last. I must find some waterproof glue and make one the right way. I love the looks of that and it would look nice in my garden, I think.
Great Post, I have admired these on Pinterest. I see a few in my garden in the near future. Thanks, Kathy
I am going to try this, Manuela! I always wondered about the how-to of putting something like this together. I am putting together a list for Home Depot and copper pipe and a copper cap are going on that list! I like the bird feeder idea, but I could also see this holding a cute little plant.
I made several of these last year and I love them they just look so cute between the flowers. I just made one and glued the cup on its side and hand it by the handle looks really cute. I will blog about it soon.
Hi Manuela,
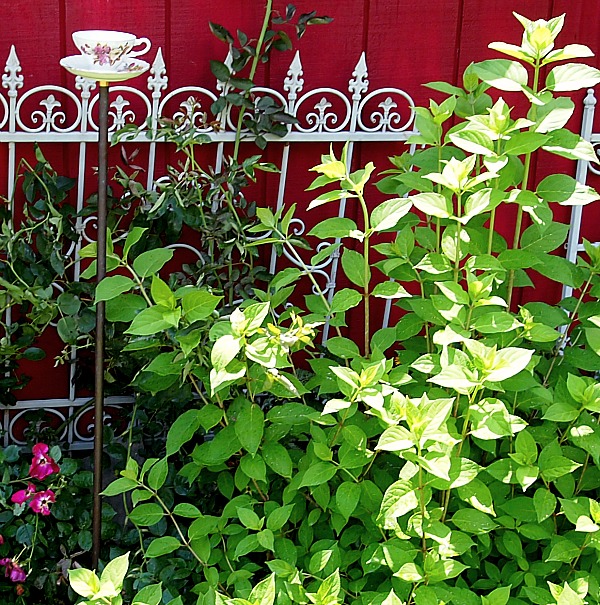
Your teacup bird feeder is charming and it looks perfect amid the cherry red wood and the white wrought iron fence! Our fence motifs are quite similar, have you noticed?!:) Simply lovely!
Poppy
Love this idea! I will try it, gotta shop for some cups:) Have a blessed day, HUGS!
That’s a great method! Thank you, Manuela.
it is absolutely charming! thanks for showing us how!
I’ve always wanted to make one of these but haven’t stopped long enough to do it! Now I think I should add it to my ‘to-do’ list. I’m thinking I could gather all the parts and pieces and take it with me next weekend when we go camping. I could put it all together while my sweetheart is fishing on the lake! Maybe I could feed the birds in the woods!
~Adrienne~
I now have about 12 sets of cups. I can’t quit buying them at Estate Sales, especially when they are only $4 or $5 & oh so pretty. I will be make these & putting them here & there around our Country House property in the years to come.
This so darling, I love it!
Cynthia
If you put seeds in it for the birds, other critters come at night and knock the whole thing over. They are pretty. Maybe fill with glass rocks to keep the rain from dirtying it up. Store in shed or house during the winter. Thanks for the pretty garden pictures.
That’s why I said that I don’t put seeds in mine and also it’s made to come off the pipe so you can empty the water that will accumulate.
Thanks for stopping by!
If you use marine silicone it will last much longer. I’ve been making lawn sculptures with flowered plates, vases, with a teapot on top. I used Daps marine silicone, and it’s easy to work with, and holds up well. I also take a larger plate and glue a cup on sideways so the bied seed pours out of the cup ibto the saucer. Just hang it up with a hook throufh the cup handle.
Hi Marjorie,
Thanks for the tip about the marine silicone. I did make one with the E5000 glue a few years ago and it’s held up through our Georgia summers and storms.
I’ve seen ones with the teacup on the side and they are so cute. I do plan on making one that way next time!