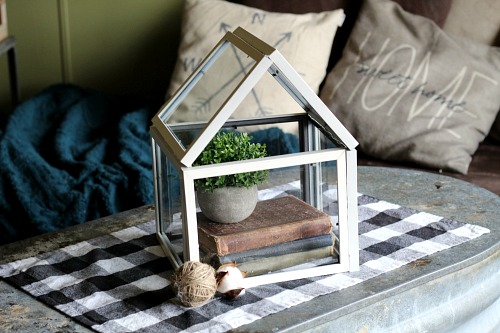
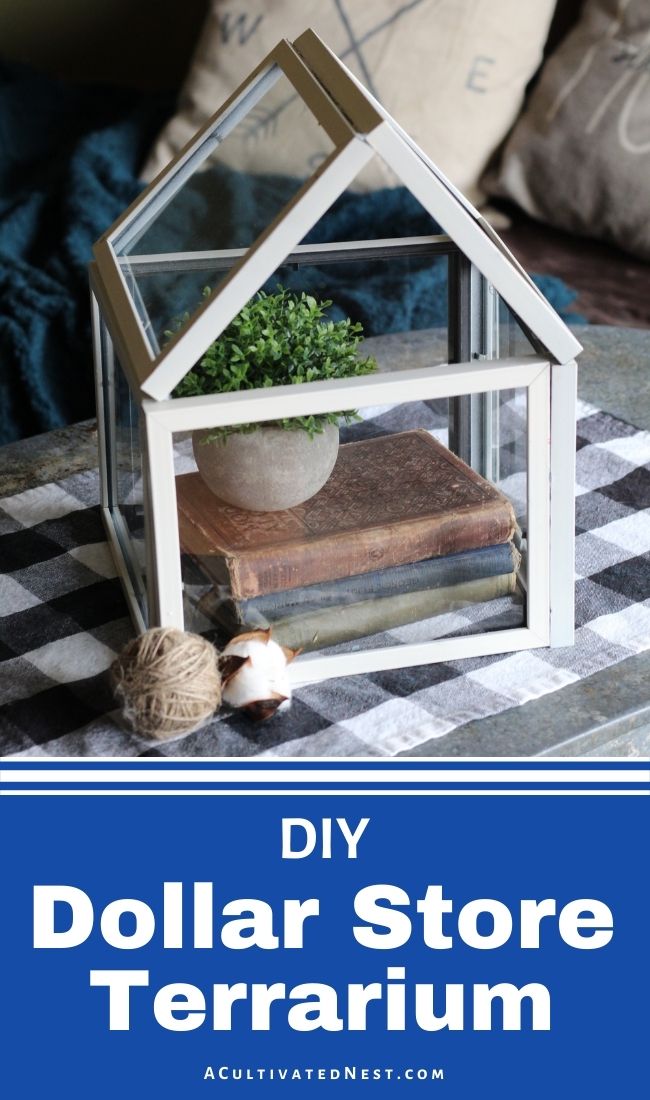
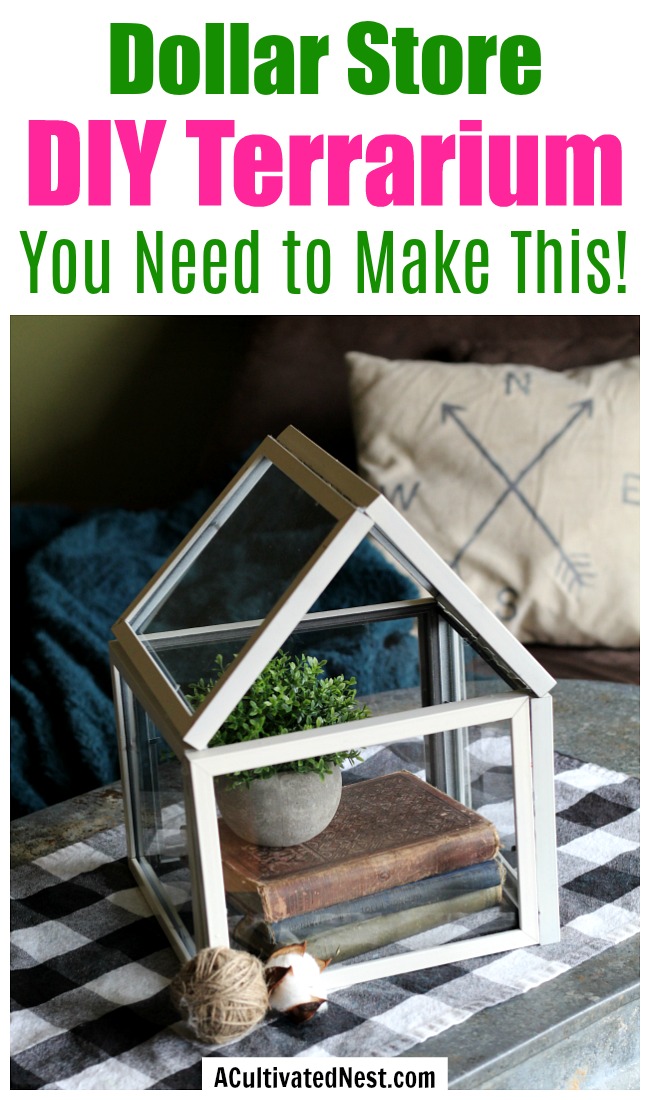
I love doing dollar store DIY projects! It’s so much fun to take inexpensive materials and end up with a finished product that looks like it came from a higher end store. And while this homemade terrarium cost me less than $10 to make, the end result is such a fun and beautiful way to put some decor on display. Here’s how you can make your own Dollar Store DIY Terrarium!
Disclosure: This post may contain affiliate links to Amazon and/or Etsy, which means that I may earn a small commission from some of the links in this post. Please see our Disclosure Page for more information.
This dollar store DIY terrarium is made out of $6 in Dollar Tree frames and some paint and hot glue that I already had on hand. Not too shabby for the big impact it makes right?
Dollar Store DIY Terrarium
Materials
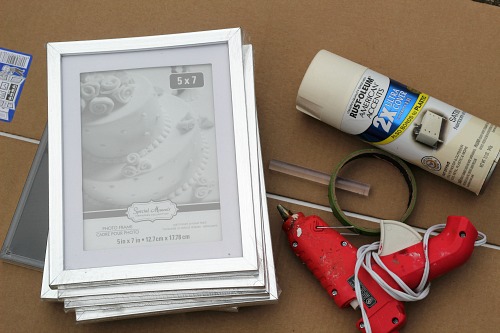
6- 4 x 6” or 5 x 7” frames
Cream or white spray paint (I used this one)
Hot glue gun and glue sticks
Rubbing alcohol (AKA ispopropyl alcohol)
Scrap cardboard/plastic
Directions
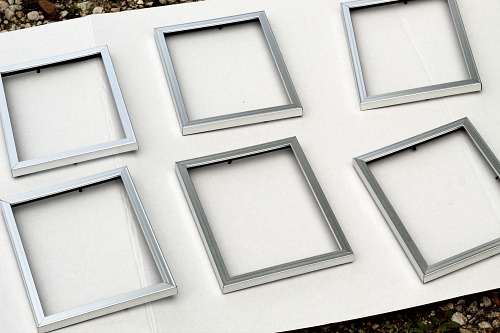
1. Remove the backing and glass from your frame. You can discard the backing but set the glass aside for later.
2. Wipe each of the frames down with alcohol to remove any adhesive, oil, or dirt. This will help your paint stick much better.
3. Take your frame outside so that you have good ventilation, use a large piece of cardboard or plastic to lay behind it and spray it with one good light coat all over. Allow to dry to the touch.
4. Repeat with a second and third coat as needed to completely cover your frames well. Let them dry completely, for at least several hours.
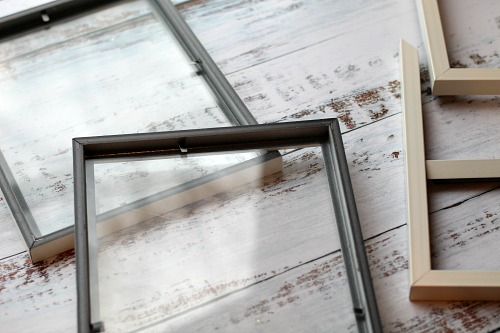
5. Place glass back in each frame and press the tabs into place to hold it securely.
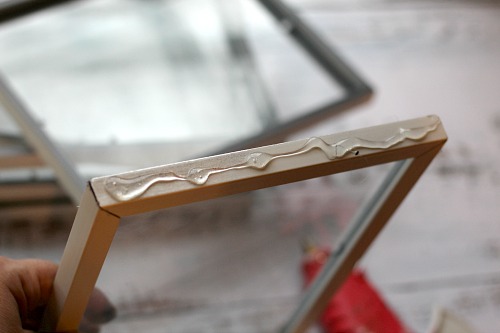
6. Place two frames at an angle to make the first corner. Run a generous amount of hot glue down the top edge of one frame and press the other into place. Hold it for a minute or two until the glue cools and sets, then move on the other 3 frames until you have a square. If you like, you can add a few pieces of painters tape to each corner as you move along to keep it in place. I just held mine at each corner until the were fully set.
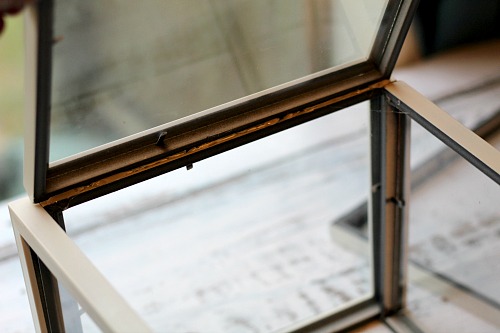
7. To make the “roof” of your dollar store DIY terrarium, run hot glue along the long side edge of one frame and lay it on the top of one of your walls at an angle. Hold it in place until set. Repeat on the other side.
8. Finally secure the top together to create a peak, and use a thick line of glue to join the frames. You can trim off any excess with a blade later.
9. Clean up excess glue and wipe down the glass with a glass cleaner (our DIY glass cleaner works well).
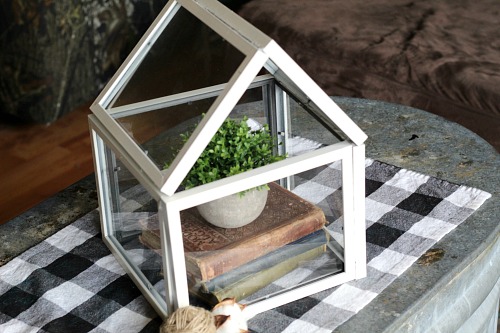
Pop your dollar store DIY terrarium over a stack of books, greenery, farmhouse beads, small figurines, or something else you want to highlight, and change it out as often as you like. This makes a great spot for seasonal displays too!
What’s your favorite dollar store DIY project you’ve done?
About Jody: I am a Florida girl through and through living the semi-country, small town life. I am making my way through it with my amazing hubby, 2 beautiful kids, 2 of the best Dachshunds to ever walk the face of the earth, massive amounts of coffee and a whole lot of Jesus. I homeschool, craft, cook, scrapbook, garden, raid the thrift shops, snap 1,000’s of photos, and read when I can grab a spare minute (which is rare). You can find me blogging at Simply Southern Sunshine.
You might also be interested in: DIY Dollar Store Home Decorating Projects

Jody, that is very creative and cute. Not to mention thrifty! I was thinking that another variation on the project might be to use an additional frame and make a bottom for the terrarium so you could actually plant in it. And you could make the top with just one frame and hinge it to one of the sides along one edge. What do you think? Would it work? I might try it with 5×7 inch frames–a mini terrarium!