Have you heard of wool dryer balls? They are fabulous. Put a bunch of these wooly wonders in your dryer and reap all the benefits. Wool dryer balls will take the static out of your clothes, taking the place of dryer sheets, and decrease the time it takes for your laundry to dry. Commercial wool dryer balls can cost you up to $10 each. If that’s more than you’re willing to spend then you can easily make your own for around $2.50 each using my easy tutorial for DIY Wool Dryer Balls!
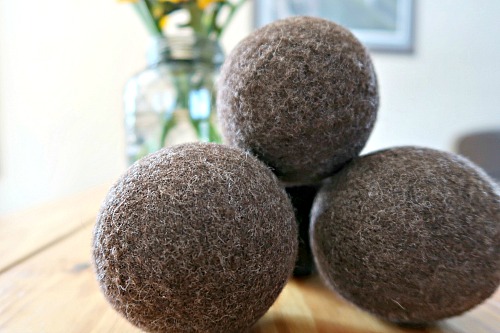
Disclosure: This post may contain affiliate links to Amazon and/or Etsy, which means that I may earn a small commission from some of the links in this post. Please see our Disclosure Page for more information.
If you like for your laundry to be scented you can put a few drops of your favorite essential oil right on the ball and toss it in with your drying clothes. Lavender or citrus oils might be good choices.
What I love most about these (aside from the fact that they take the place of chemical-filled dryer sheets), is how much money they save! Dryer sheets are one of those little expenses that build up over time. And if you’re trying to buy natural dryer sheets, they’re even more costly. But once you make these DIY wool dryer balls you’ll never need dryer sheets again!
Want to switch to these dryer balls now, but still have some dryer sheets left? Check out these handy uses for dryer sheets!
DIY Wool Dryer Balls
Materials
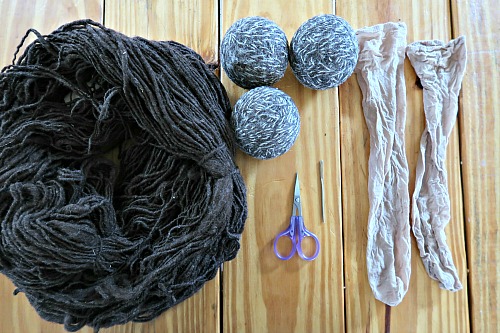
100% wool yarn (read the yarn’s description carefully, some yarns are marketed as “wool” but are actually wool blended with acrylic).
Scissors
Yarn needle
Nylon stockings
Washing machine
Laundry soap
Directions
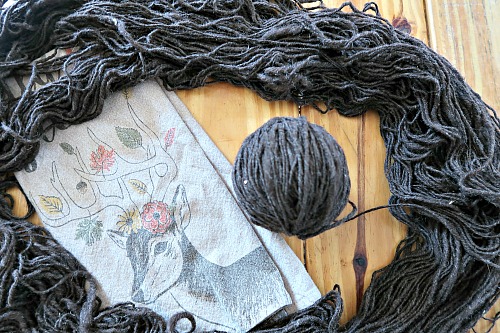 1. Loosely wind the yarn into large balls. It is very important to wind the balls loosely because that allows the fibers to felt more easily in the fourth step. The exact size of the ball is not important but you want to err on the large size because small wool balls can get lost in laundry much more easily than larger ones.
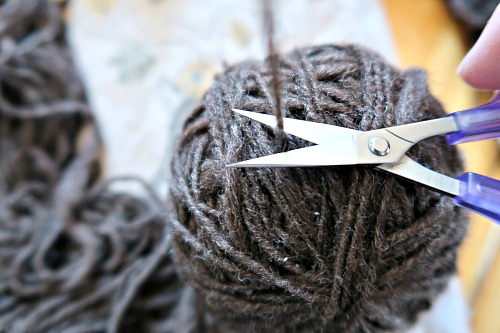 2. Once your yarn ball has reached a proper size, cut the yarn leaving a tail that is a few inches long. Thread that tail onto your yarn needle and weave the tail back through the ball several times to lock the end in place. Cut any remaining tail yarn flush with the ball.
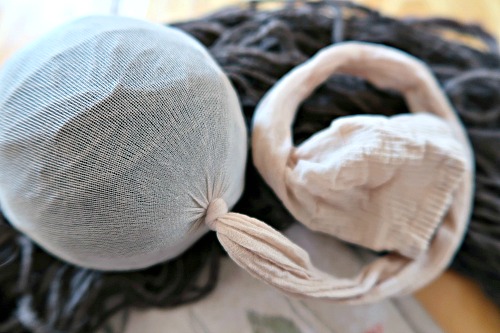
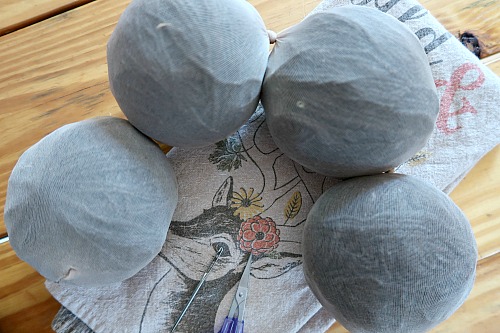 3. Slide the yarn ball all the way to the toe of the nylon stocking. Knot the stocking so that the first yarn ball is completely surrounded by stocking. Slide the next yarn ball in as far as it will go and tie another knot. Continue in this fashion until all yarn balls are in stocking cocoons.
4. Wash the worm of wool balls in very hot water with your regular laundry soap. You can wash the balls with your regular laundry so you’re not wasting water or electricity. Send the balls through several wash and dry cycles with your regular laundry for best results. The hot water and the soap will cause the wool to felt onto itself meaning that the yarn ball will not unravel.
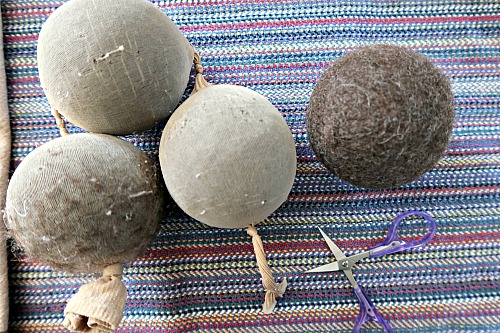 5. Cut the stocking away from the balls. If the wool doesn’t look completely felted simply tie the balls back into another stocking as in step 3 and repeat step 4. Once the wool balls are completely felted you can start using them in your dryer!
We find that 2 DIY wool dryer balls is enough to keep the static out of our laundry. You might need more depending on the size of the balls you make, and the size of your laundry loads. We’ve been using ours for several months now, and they’re still holding up perfectly!
Have you ever used a dryer sheet substitute?
You might also be interested in: How To Save Money On Laundry Products
I actually keep meaning to try to make these, so thanks for the great tutorial!
Hands down for this fabulous idea, very well written and easy to follow the guidelines. Thanks for sharing, i will subscribe to your blog for more posts like this in my inbox.