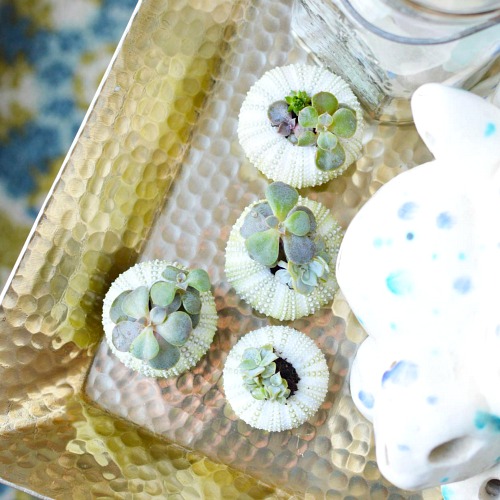
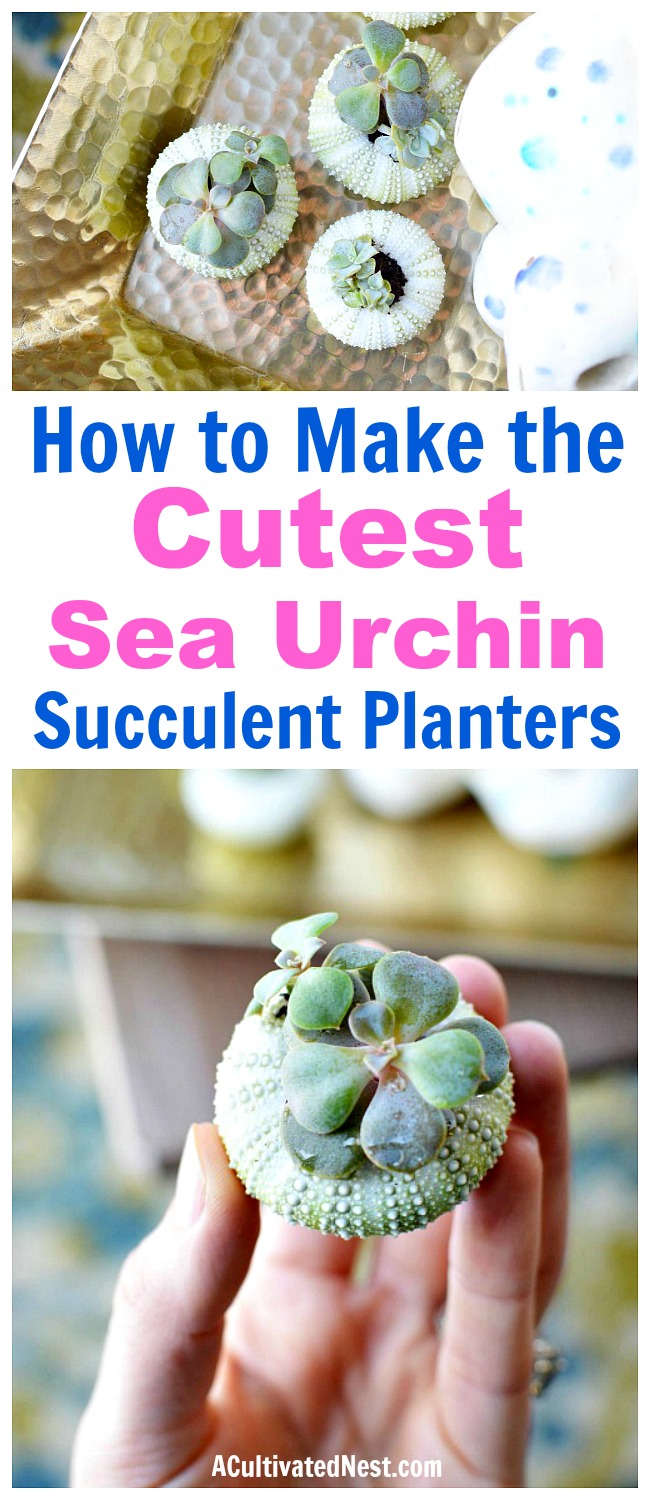
I’m so ready for spring and summer! I know the first day of spring was only a few days ago, but I’m tired of winter and all these cold days. As I wait for the weather to get warm and stay warm, I’m starting to decorate my home for spring/summer. And one of the best ways to do that (in my opinion), is with live plants and some subtle beach elements. Combine the two and what do you get? These cute DIY Succulent Planters made with sea urchins!
Disclosure: This post may contain affiliate links to Amazon and/or Etsy, which means that I may earn a small commission from some of the links in this post. Please see our Disclosure Page for more information.
What I love about these DIY sea urchin planters is that they’re not too heavy on the beach theme, which makes them perfect for spring as well as summer. Plus, they’re so easy to make!
DIY Succulent Planters
Succulents have been in style for a while, and it doesn’t look like they’re going anywhere. And why not? They’re easy to care for, have a variety of different looks, and come in a variety of sizes. They’re probably the most versatile indoor plant!
But enough about succulents. Everyone knows how awesome they are. What I want to talk about is sea urchins. Sea urchins are so crazy cute! At least they are when they’re on land. Apparently in the ocean some of them can be pretty spiky, and a few are even poisonous. But we’re on land, not in the ocean, so we don’t need to worry about any of that. The sea urchins used in crafts are smoother, much smaller, and obviously completely safe to handle. Actually, what you’ll use to make these DIY sea urchin succulent planters aren’t sea urchins any more, they’re sea urchin skeletons. But that sounds a little creepy, so we’ll just keep calling them sea urchins.
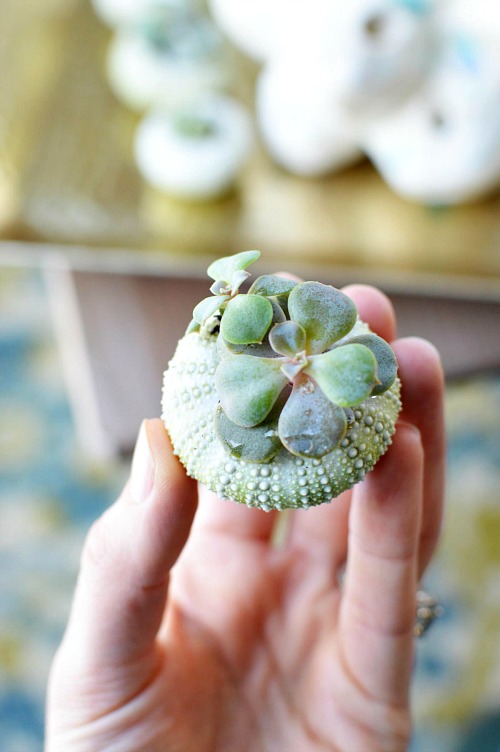
Sea urchins (and their empty shells) can be found around the world, with some of the highest prized sea urchins coming from off the coast of southern California. They’re so sought after for food that the state has to limit how many sea urchin diver licenses it gives out, in fear of wiping them all out in the area! But overall, there are tons of sea urchins in the world, so you don’t need to worry that making this sea urchin craft is contributing to the death of a species or anything like that. In fact, from what I’ve read in sea urchin shell product summaries, it sounds like the sea urchin shells sold for crafts are picked empty. Meaning the divers are specifically looking for empty shells to collect. So no sea urchins are being harmed so you can make your DIY succulent planters. If anything, you can think of this craft as a kind of all-natural upcycle!
Anyhow, enough about sea urchins. All you really need to know to make these DIY succulent sea urchin planters is that sea urchin shells are cute, and make perfect tiny planters for succulents. Here’s how to combine succulents and sea urchins to make these DIY sea urchin succulent planters!
And if you love the look of this DIY, but don’t have time to do the project, you can buy ready-made sea urchin planters on Amazon!
Materials
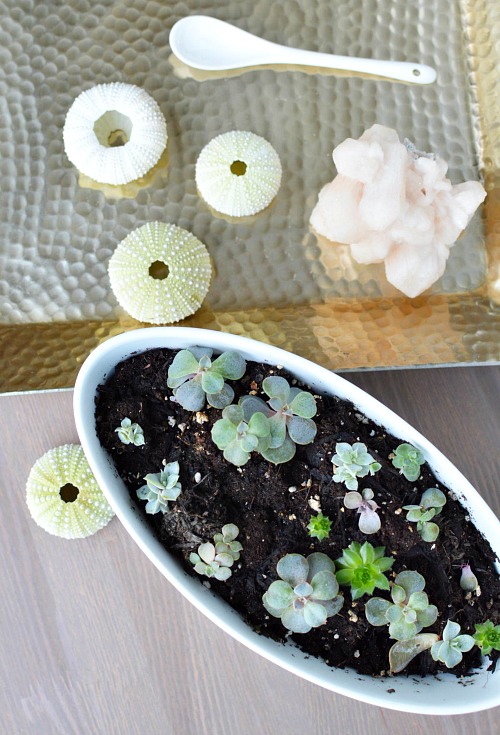
4 empty, clean and dry sea urchins
Hot glue and hot glue gun
About ½ cup or less of potting soil designed for succulents
Baby succulents (we grew these exact ones from cuttings, but you can find similar ones at nurseries and big box hardware stores).
Directions
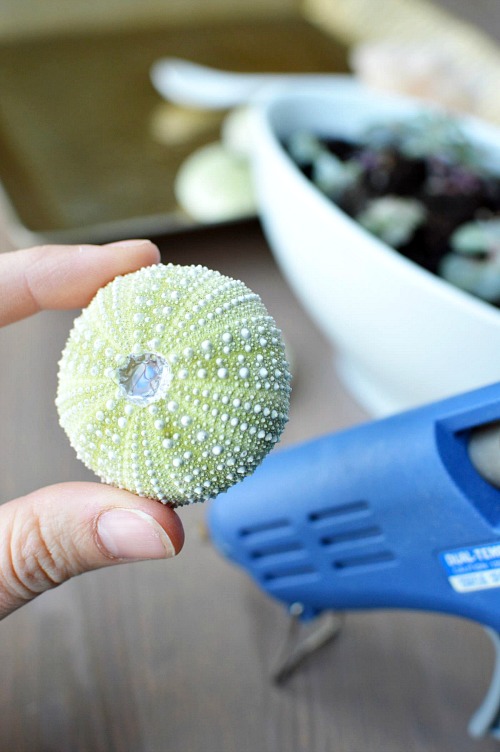
1. Turn on your hot glue gun. If it has multiple settings, set the heat to low. This will help you fill in the small holes faster and have the hot glue stay in place better in the process (the hotter the glue, the more flowy the glue is and it will run everywhere. When it’s cooler, it will move slower and set faster). You want to completely close the bottom of the sea urchin while trying to have a smooth surface on the outside. This will be what the sea urchin sits on, so making it level is ideal. Allow to cool and set upside down for a few minutes before moving forward.
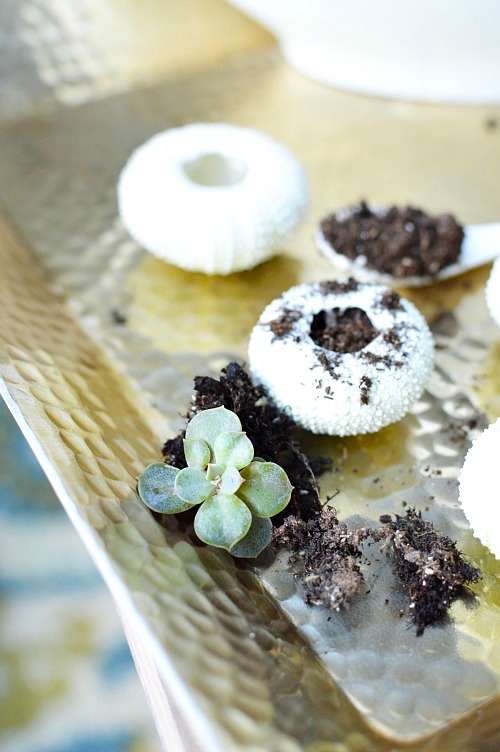
2. Fill about half of each sea urchin with the potting soil, gently pressing it down and to the sides a bit.
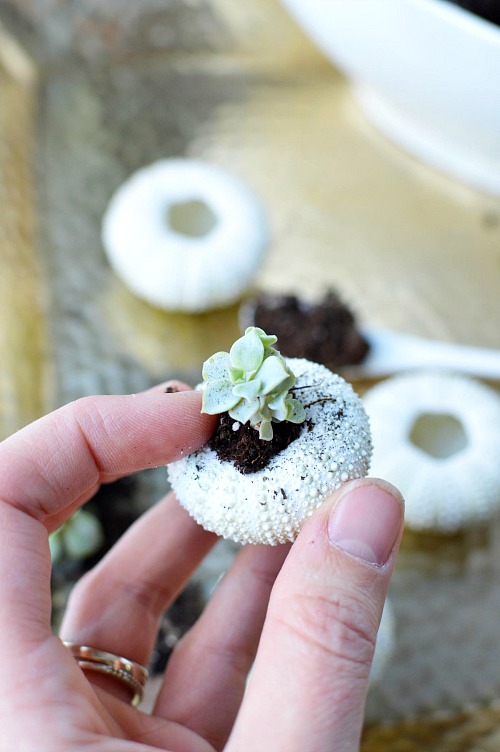
3. Select the succulents that you want to use and carefully remove them from the rest of the plant or original pot. Try to keep as much of the root intact as possible. Tuck the root in first, then gently press the succulent down into place. If putting multiple succulents in each sea urchin, repeat this process, or you can try to add them all at the same time.
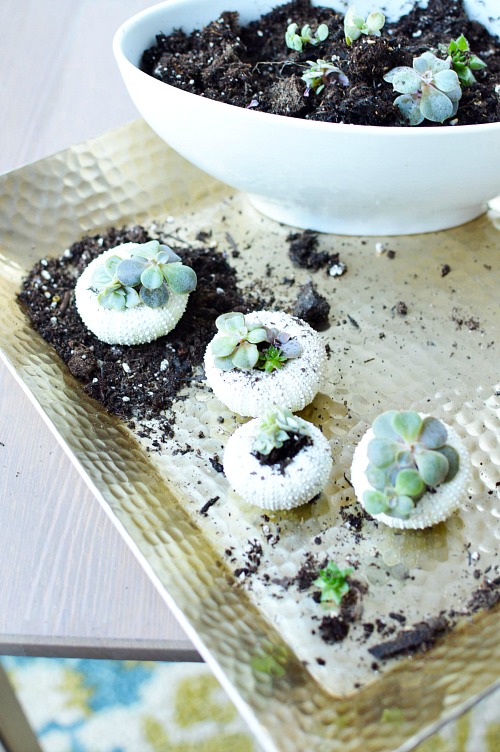
4. Set them in a sunny place and give each tiny planter just a drop or two of water once a week. Most succulents grow fairly slowly indoors, so you would likely be able to keep them in the sea urchins for quite some time before they get too big.
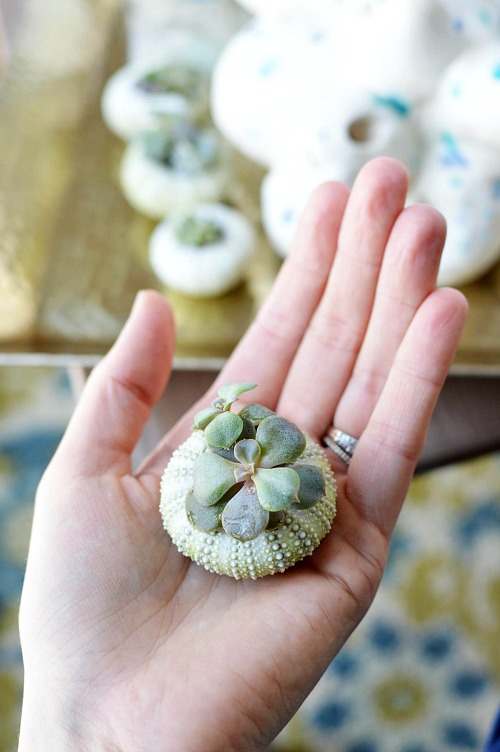
Enjoy your adorable sea urchin succulent planters!
Have you ever seen a sea urchin (live or empty) on the beach?
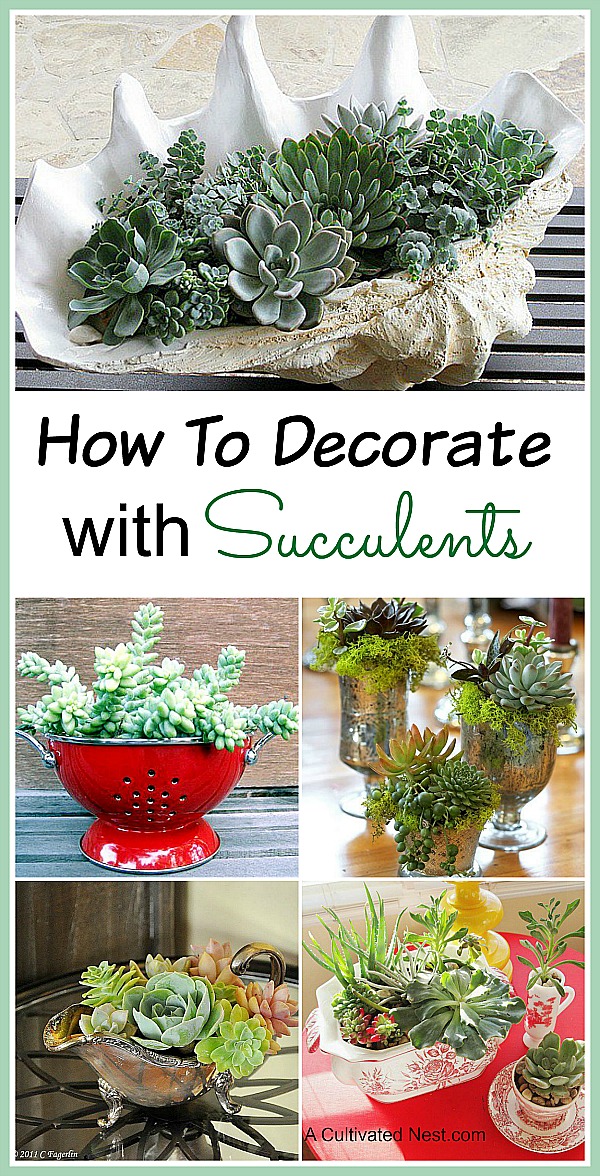
You might also be interested in: 10 Beautiful Ways to Decorate With Succulents
What a cute idea!