I love all things rustic. Pinterest is loaded with adorable centerpieces and wood creations that have that lovely rustic appearance that I crave. Often these images link to a store where you can buy the item or to a page that has no link, let alone a tutorial. I decided that with the extra wood my Dad had lying around I would convince him to assist me in making a DIY one. I was able to create one that was the perfect size and style that I wanted – FOR FREE. Yay! Then I decided to wing it and try to get the rustic look with the paint I had lying around and fortunately enough for me- it totally worked out. So I am going to share this with you today. Now you can create your own fabulous DIY Rustic Planter Box that fits your table for little to no money!
Disclosure: This post may contain affiliate links to Amazon and/or Etsy, which means that I may earn a small commission from some of the links in this post. Please see our Disclosure Page for more information.
This homemade planter box can be filled with whatever fits the current season/holiday! When the season changes, just change out the fillings! You can’t get a table centerpiece that’s easier or more frugal than that!
DIY Rustic Planter Box
How to Build the Planter Box
Materials
Wood- Use whatever you have lying around, it doesn’t have to look weathered, but if it does that’s great, too! I suggest making sure the width is fitting to your style but as far as length- just cut away!
Saw- We used a miter saw
Heavy duty staple gun, nail gun, or hammer and nails
Cut List
(The wood I used was 3.5 x 1 x 8)
3 pieces 14 inches long
2 pieces 5 inches long
Directions
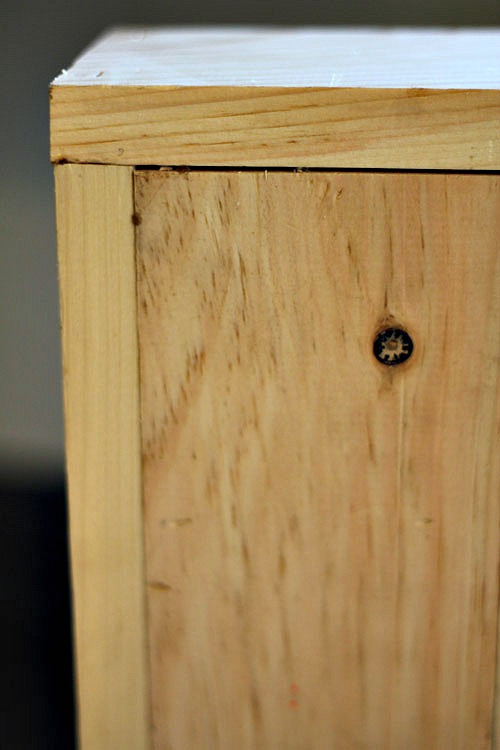
1. Take two of the 14 inch pieces and place them perpendicular to each other to make the bottom and side of the box. The side piece will not be on top of the bottom but next to the bottom piece.
2. Staple/nail these two pieces together at each end – the nails will go into the side piece and through to the bottom piece.
3. Add the second side on the opposite side of the bottom piece
4. Repeat Step #2 with the second side and the bottom piece.
5. Place a 5 inch piece on one end of the box- again placing the piece next to the bottom and not on the top.
6. Nail in the end at both the bottom and each of the sides.
7. Repeat steps 5 and 6 for the opposite end of the box
8. Get ready to paint your DIY rustic planter box!
Getting The Rustic Look with Paint
As I mentioned, I tried to get a rustic look, and the first time I tried this was what I got. I was very pleased! A lot of tutorials suggest you use fancy stains and paints but I knew better, so here is my little secret. Enjoy!!
Materials
Some of my paint was pretty “vintage” but it worked great- I suggest using up some of that old paint that I know you have lying around your house!
Brown paint- I just used acrylic
White/cream paint
Foam brush
Sand paper- electric palm sander or hand sander if available, but not necessary
Paper plate
Directions
1. Place some brown paint on a paper plate.
2. Wet your foam brush with some water and mix it with the paint (this will water it down)
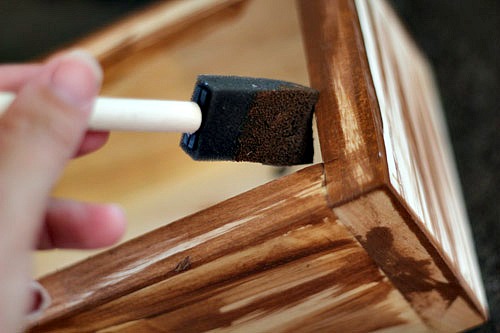 3. First paint all the edges of your DIY rustic planter box. Top, sides, corners etc. It should look more like a stain, it will show some of the wood grain through it.
4. Then paint the sides, inside and outside with random strokes (this should also have a stain like appearance). Don’t worry about covering every inch, but identify the parts you will be sanding down later and try to aim for those random rustic spots. Let it dry (to be honest I didn’t wait that long- maybe 10 minutes. Since you are just doing light stain-type painting it dries pretty quickly, but you want to be sure it is dry to the touch.)
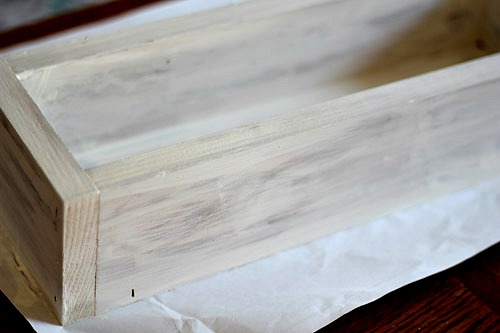 5. Paint the entire box with white paint- cover up all the brown and every inch of the box (except the bottom), inside and out.
6. Add a second or third coat as needed. Make sure the box is dry to the touch between coats.
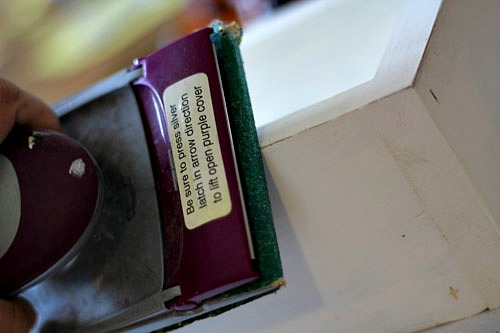
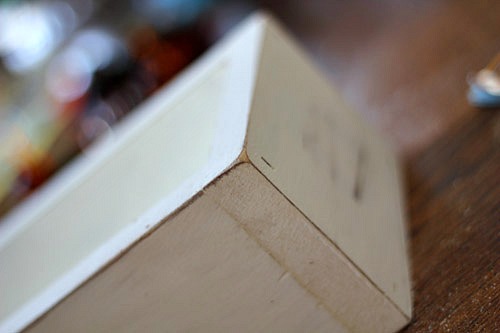 7. Once the box is completely dry- wait at least 30 minutes – start sanding. I sanded down the corners and edges first. Sand until you are pleased with the look- you will most likely be sanding enough to get a glimpse of the original wood underneath. The brown will show through and really improve that rustic look and add an edge to the white.
8. Once the edges are sanded, brush the sides lightly with the sandpaper.
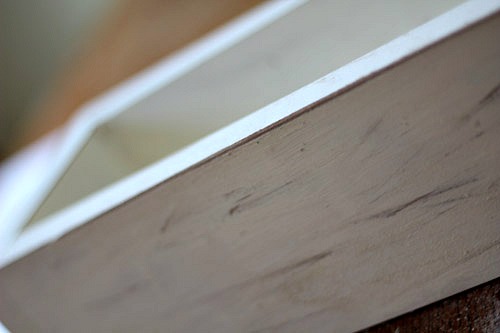 9. Next use a sharp folded corner of the sand paper or sander to make random “holes” in the paint. The more sanding- the more rustic it looks.
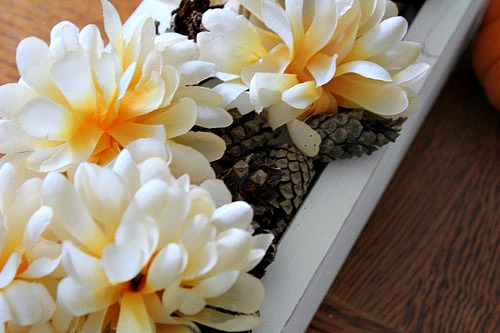 10. Fill your DIY rustic planter box with lovely fixins’ and enjoy!
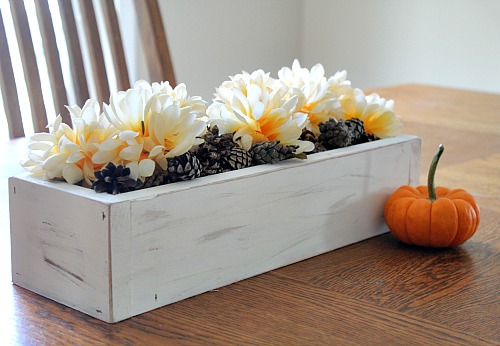
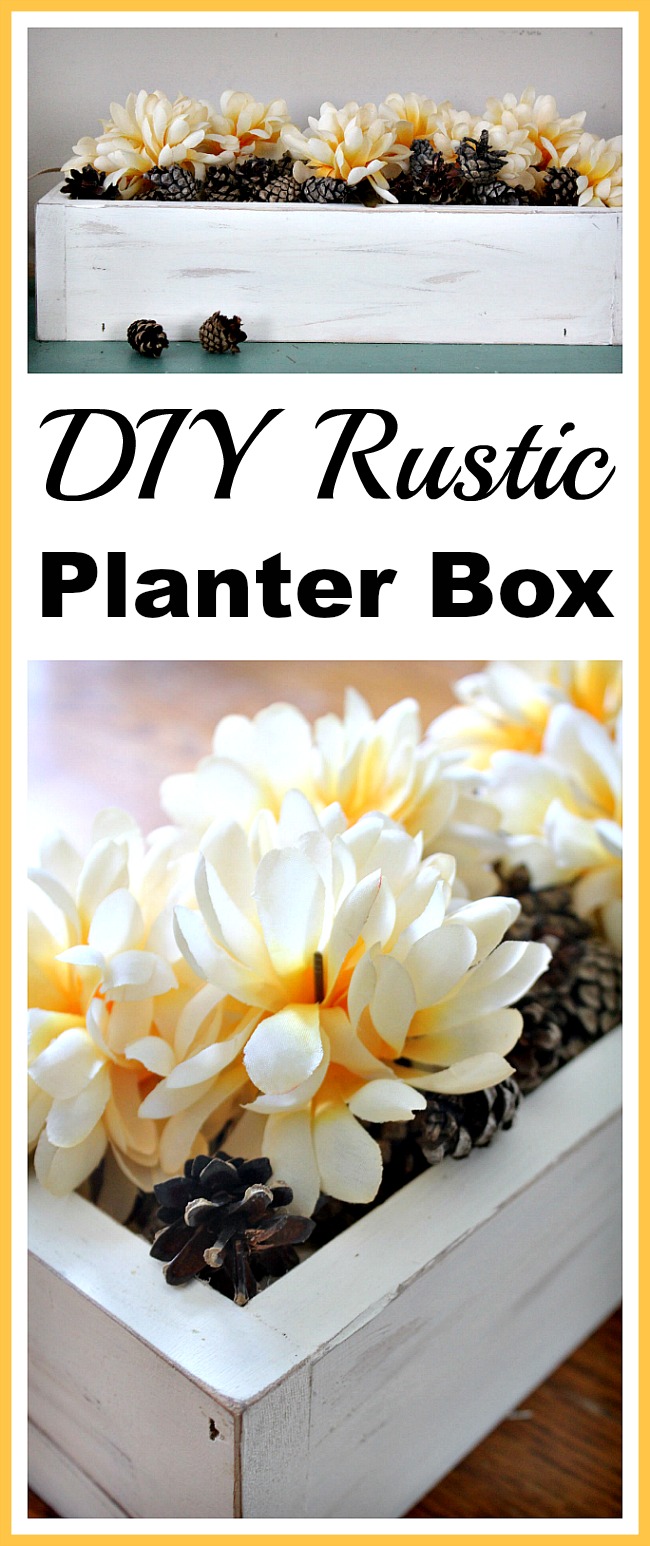
I love how this box looks on my table. It is classy and can be used for all seasons. I love that I can change out what is inside but keep that rustic farmhouse look throughout the year. I have filled it with little pumpkins or with flowers and pine cones (as seen in the image)*. So go create your own little rustic planter box, or three or four! It’s a fabulous and simple way to add a little class to your table! Happy building!
*To get the look I have in the photo, I just placed a few flower foams throughout the DIY rustic planter box and stuck the artificial flowers (from the Dollar Tree) in a staggered line throughout the box. Then I used paper towels to give a little height beneath the flowers and placed a lot of tiny pine cones (which I found on the ground, but you can buy at Walmart) throughout the box, mostly beneath the flowers. Cover up the paper towels and no one will even know they are there!
What would you fill your planter box with?
This post contains affiliate links to Amazon. Please see our Disclosure Page for more information.
You might also be interested in:
I love this box. It is really a beauty ♥
Thank you Summer!
I just ordered a planter box and was wondering how I could possibly get a rustic look for cheap. I really love this idea and pinning for when I need it in about a week! You’re awesome!
Kate | TheOrganizedDream.com