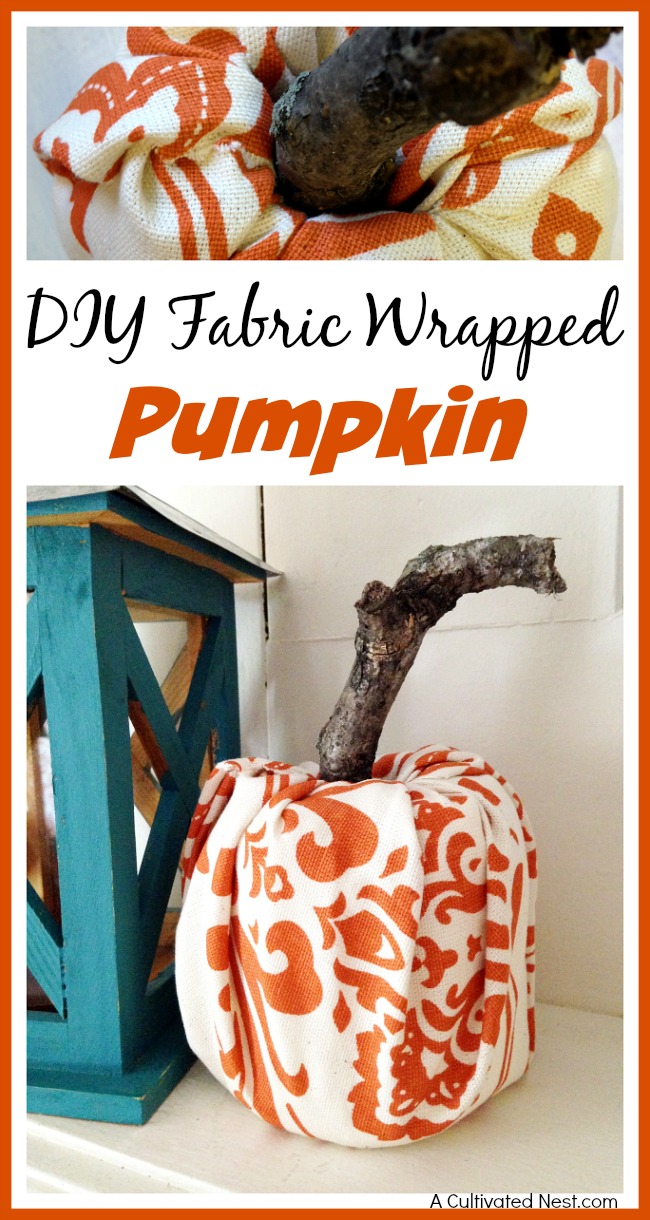
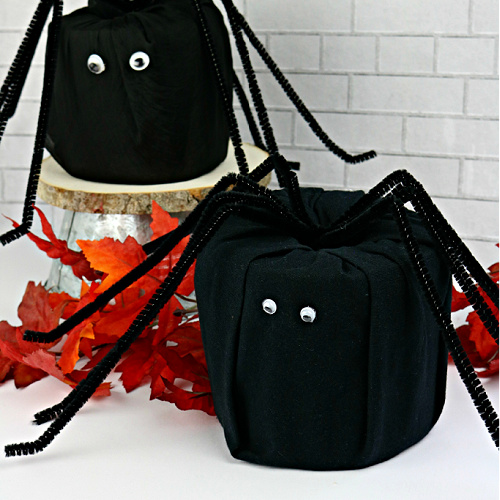
Adorable Halloween DIY Spider from Toilet Paper.
I love taking items from around the house and transforming them into cute and adorable home décor ideas for all holidays. It doesn’t matter if it’s something I would normally throw away or something that’s been sitting around for ages, I’m more than happy to turn it into something adorable and fun. This DIY Halloween Toilet Paper Spider is a darling and playful idea that is perfect for Halloween this year.
Disclosure: This post may contain affiliate links to Amazon and/or Etsy, which means that I may earn a small commission from some of the links in this post. Please see our Disclosure Page for more information.
This project is such a blast you can actually include your whole family. Kids love working on crafts and other things for the holidays. This is a project you will be happy to proudly display on your mantle, bookshelf, or even as a centerpiece on your dining room table. There’s no wrong way to decorate with this cute little spider. It goes with pretty much any theme that you can think of, and you won’t believe how easy it is to throw together.
You could potentially put these toilet paper spiders outside on your front porch, but make sure they’re in a place that’s protected from the elements. Their main component is toilet paper after all, so they won’t hold up well if they get wet!
DIY Halloween Toilet Paper Spider
Materials
8 black pipe cleaners
17 x 17″ piece of black fabric or napkin (I cut a piece from an old t-shirt)
2 small googly eyes
Hot glue gun and glue stick
Roll of toilet paper (regular size, not jumbo)
Directions
1. Lay fabric flat and place the roll of toilet paper in the center.
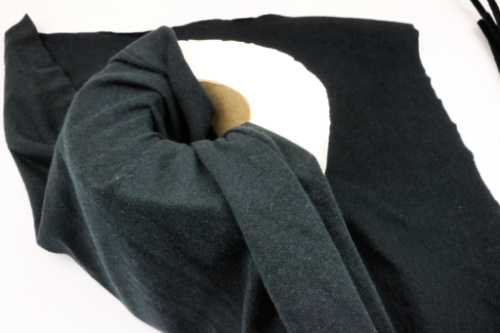
2. Start tucking the fabric into the center of the roll of toilet paper. As you go, try to make small pleats so that it is not all bunched in one area.
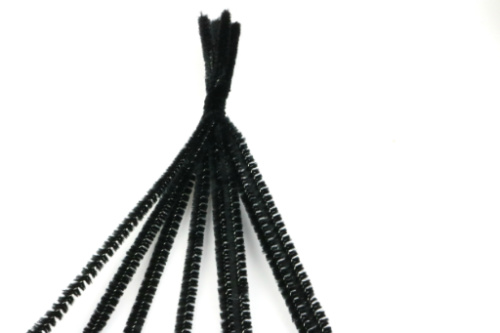
3. Gather the pipe cleaners and make sure all the ends are the same length. When you have them all together, twist them together about an inch and a half from the end.
4. Take that twisted end push it down into the toilet paper tube. Space them, so you have four pipe cleaners to each side.
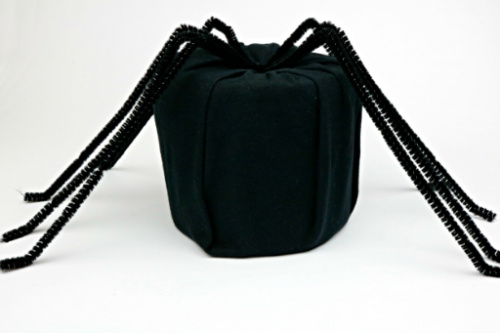
5. Just at the outer edge of the toilet paper roll, bend each of the pipe cleaners to start forming the legs. You may have to bend/move them around a little to get them spaced just right.
6. At the bottom of each pipe cleaner, give it about a half-inch bend to make a foot.
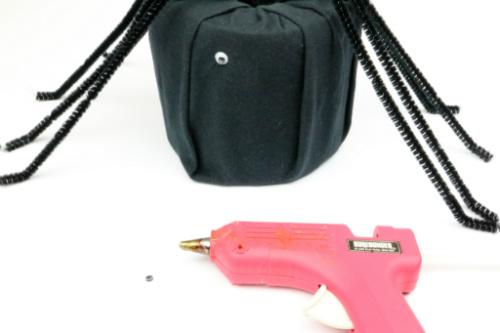
7. Using the hot glue gun, glue the eyes in place in the upper center of the front of the roll. You want the legs to be to each side.
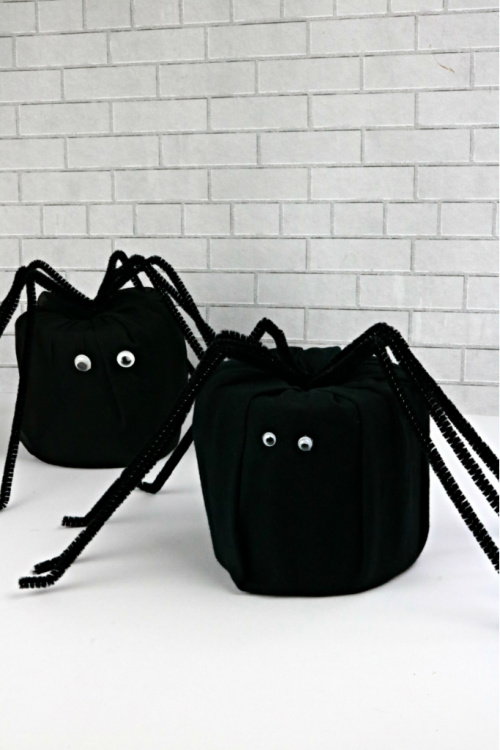
Then you’re finished and can put your DIY Halloween spiders on display!
Would you rather make your holiday décor or purchase it?
You might also be interested in: Easy DIY Fabric Wrapped Pumpkin
