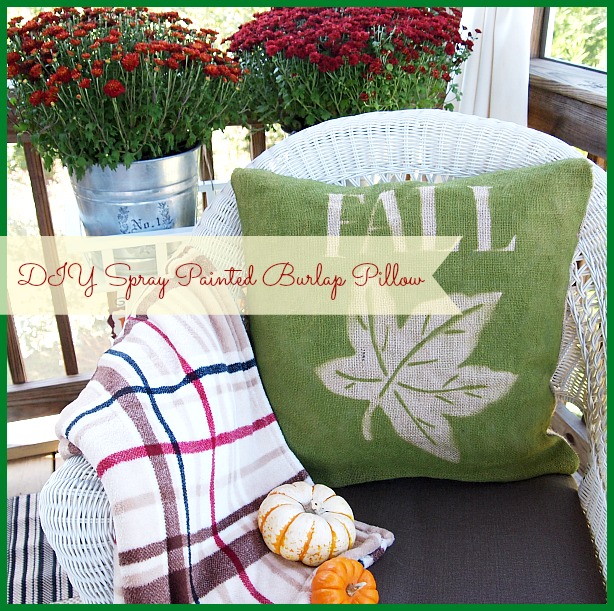
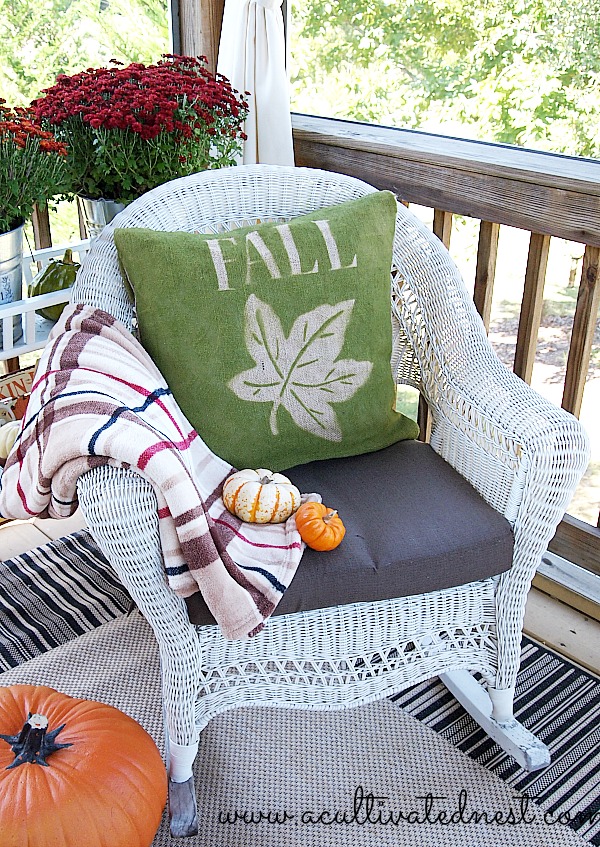
I’ve had quite a few people ask how I made the fall leaf burlap pillow out on my screened porch, so here’s a little tutorial. It’s really quick and really easy to make. All you need is burlap, spray paint, stick on letters and a leaf (or other shape) from Michael’s or the dollar store. Burlap is soooo inexpensive that it makes sense to always have a few yards of it because you can use it in all kinds of home decor projects. Here’s how to make this DIY spray painted burlap pillow! You won’t believe how easy it is to make
This is basically the same technique I used in this DIY Gratitude Wall Art I made last year. Even though this pillow is for fall you could apply this method to any other season or holiday.
DIY fall spray painted burlap pillow
About Burlap
Disclosure: This post may contain affiliate links to Amazon and/or Etsy, which means that I may earn a small commission from some of the links in this post. Please see our Disclosure Page for more information.
Some people wash their burlap and some don’t. I think burlap smells so I washed mine but it does make it kind of fuzzy when you wash it, but it also get’s softer. So it’s up to you. If the pillow is purely decorative you may want to skip washing. If you are really going to use the pillow (like I do) you may want to wash it first. Burlap is cheap try it both ways and see which you prefer. If you wash and put it in dryer you’ll have to steam iron it cause it’ll be wrinkly!
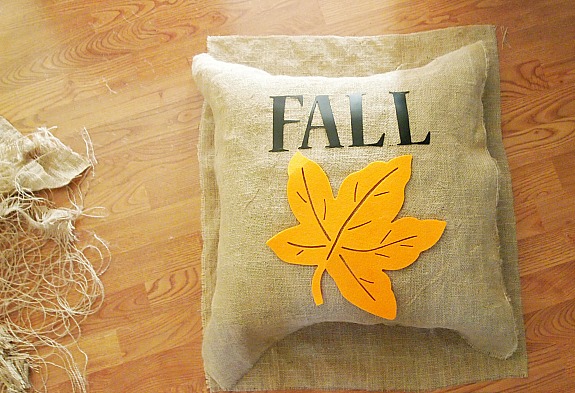
To cut a straight edge on burlap you pick a spot where you want to cut it and pull on one of the threads until you get one that goes all the way across. You pull that out and it leaves a visible line. That will give you a perfectly straight line to cut. That pile to the left is all the string I had to pull to get 8 straight edges.
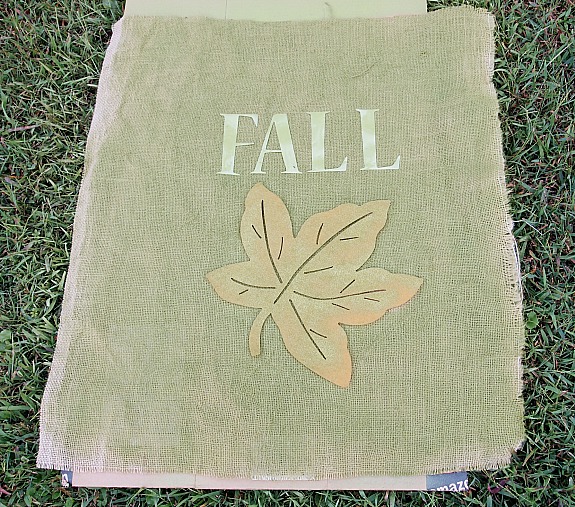
Lay out your leaf and your letters however you want and spray with several coats of spray paint. I used a satin.
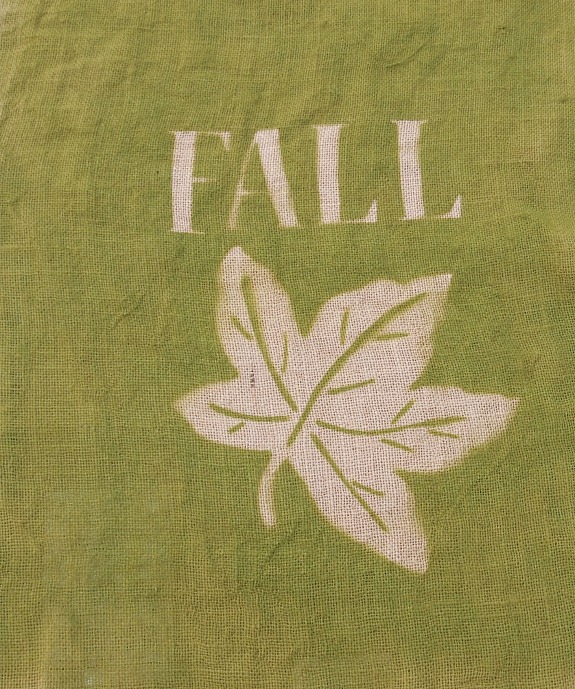
When you remove the letters and leaf you will have the shapes of whatever you put down.
Then all you have to do is sew up your pillow. I used a summer outdoor pillow in mine.
See isn’t that a super easy DIY project! The neat thing about this technique is that you can use it for other shapes so you don’t only have to make a leaf pillow!
You May Also Be Interested In:
That is so cute. I noticed your pillow when you showed us your screen porch and wondered where you got it. I love the green too. Have a great day!
Super easy and super cute!
Love it, Manuela!
I LOVE easy peasy:)
Love that green color too!
Have a wonderful day my friend!
Very Pretty! Thanks for the tutorial.
Seriously beautiful! Love it! Have a blessed day dear Manuela, HUGS!
Beautiful pillow. I use that method for a lot of projects. I call it a reverse stencil and have been wanting to make a few pillows using the method, but I have been playing rather than creating.
This is a really cute idea and I love that you used an outdoor pillow in it so it will fair well outside!
Love this, Manuela! It looks great. The fact that you used burlap gives the pillow a really interesting texture. Thanks for sharing such a good idea!
Oh my! Super cute! Not super easy when you can’t sew. I wonder if fabric glue would work. Worth a try!
Yep fabric glue or hot glue even. I just did a tea towel pillow and used hot glue and it was fine
Super easy and super cute!
What a fun fall project! I have quite a pillow addiction… I’ll be trying this for sure! Easy and very attractive!
Manuela,
I love your green pillow and noticed it during the post about your screened in porch. I would never have guessed that you painted it! Great easy/peasy tutorial. I also looked at your DIY wall art and love the quote! I’m a huge believer that Gratitude=Abundance (in all areas of my life) Whenever I think I’m lacking, I need to get to the place of gratitude even while life sometimes hands me lemons. It’s an opportunity for growth. I also love your about you page. Home should tell our own personal story and there are no decorating rules.
Easy. Peasie. Just what I like to see. I have already pinned this, and wouldn’t it be great at Christmas too? My wheels are turning…
Great tutorial!
I love easy projects with big impact! Cute!
I know it’s just a pillow, but wow! I’ve never seen one made like this…so cool! I’ll have to try this sometime! Thanks for sharing! Blessings to you.
xoxo,
Allie @ Framed by God
http://framedbygod.blogspot.com/
How clever and pretty is this. Love this idea. I would love for you to link up to my Inspire Me party that is ongoing – -http://www.astrollthrulife.net/2013/10/185th-inspire-me-tuesday.html. Hope to see you there. Hugs, Marty
Wow! Your pillow is gorgeous! I love that you spray painted the burlap! We’d love to have you link this up to our All Things Thursday Blog Hop that’s live right now. I’m also co-hosting an It’s Fall Y’all Link Party on Saturdays. Hope to see you there!
Blessings,
Nici
I love what you have done. We are having a party starting at 7pm CST at: http://obsessiveandcreative.blogspot.com/2013/10/craft-frenzy-friday-8.html
We would love for you to come and share your creativity!
Thanks, Craft Frenzy Friday
I love that pillow. It is the perfect addition to that seat. Thanks for sharing how you made it, I’m going to have to get to making a few of these, especially for Christmas. 🙂 Thank you for linking up to Thrifty Thursday.
I love this! I need easy, quick projects right now while I learn to balance work with blogging, and everything else, and this I could do! Everything looks great at your house 🙂