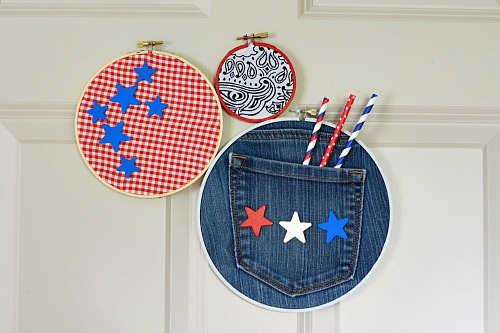
I’ve been wanting to make my own embroidery hoop wall art for a while! The last thing I made with an embroidery hoop was a pretty kite embroidery hoop craft, and before that I made a Christmas ornament. But the other day I felt like doing something bigger with embroidery hoops! Eventually I settled on a trio of hoops, and found some pretty, old scrap fabric in my closet. The end result is beautiful, and will make great door or wall decor! Here’s how to make your own DIY Embroidery Hoop Wall Hanging!
Disclosure: This post may contain affiliate links to Amazon and/or Etsy, which means that I may earn a small commission from some of the links in this post. Please see our Disclosure Page for more information.
The great thing about June is that it’s right between Memorial Day and the Fourth of July. Which means that red, white, and blue color schemes are still seasonal (though truly, you could keep red, white, and blue stuff up year round and it’d be fine). But what I like about crafts like this is that its really easy to change out the fabric and create a new color scheme in minutes! Consider citrus colors (yellows, oranges, reds, and even bright green) for summer, earth colors and reds for Thanksgiving, and red and green for Christmas! This DIY embroidery hoop wall hanging is a very versatile piece of decor!
I was lucky enough to find an old pair of jeans in my scrap fabric basket, so I was able to use a jean pocket in this wall hanging. If you don’t want to use your old jeans in this project, consider using them in one of these fun denim upcycles!
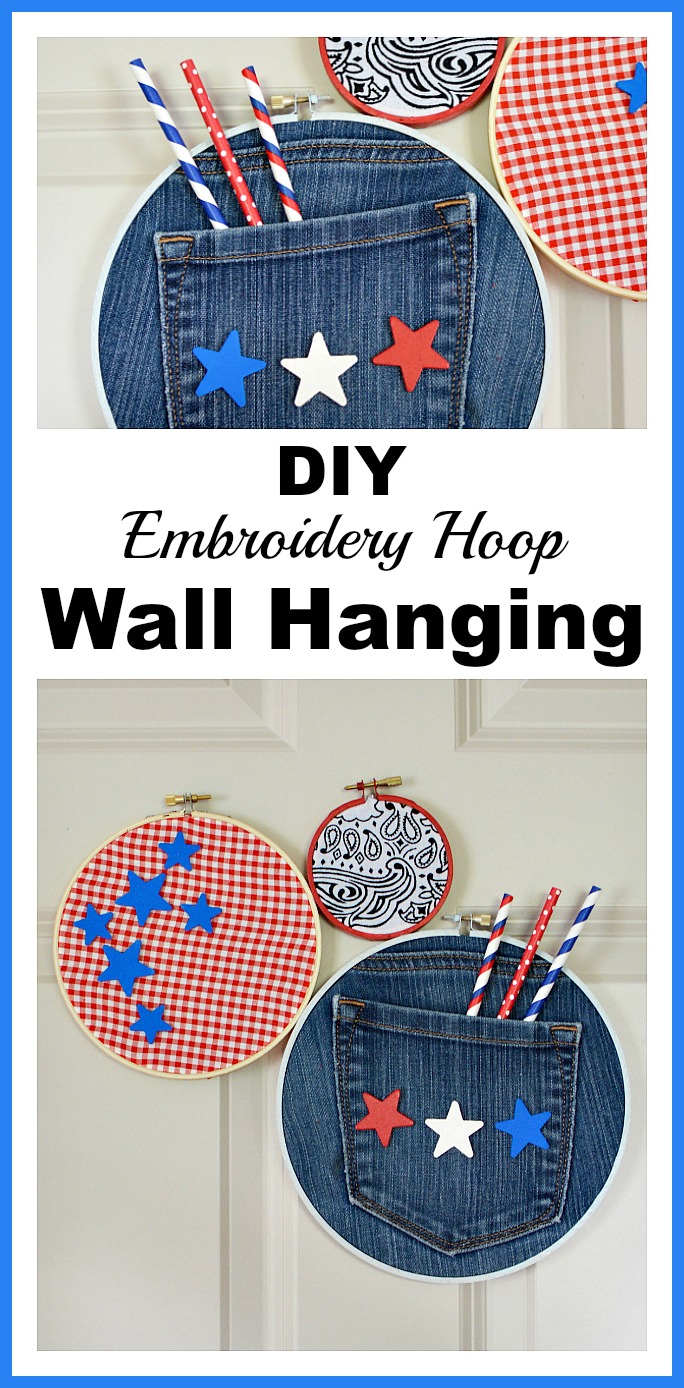
DIY Embroidery Hoop Wall Hanging
Materials
3 different size embroidery hoops (mine are 3″, 6″, and 8″)
scrap fabric, old bandannas, old denim/jeans
wood stars
red, white and blue acrylic paint
paint brush
hot glue
scissors
3 paper straws
Directions
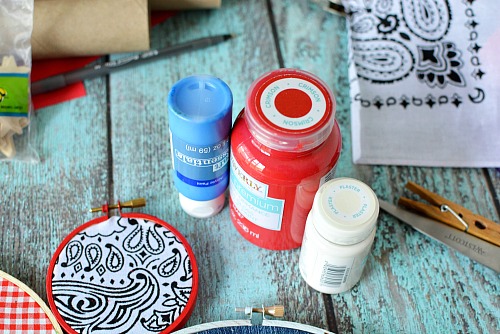
1. Paint each embroidery hoop if desired. Let dry completely.
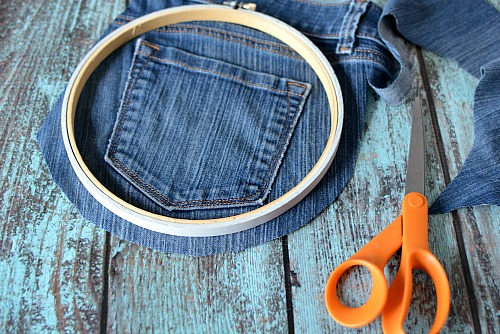
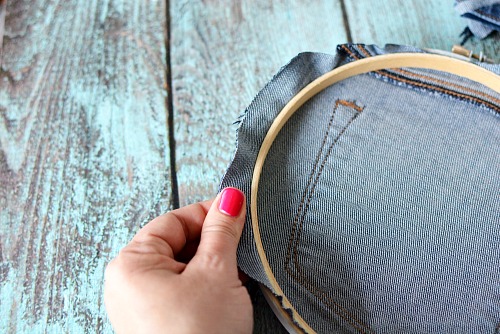
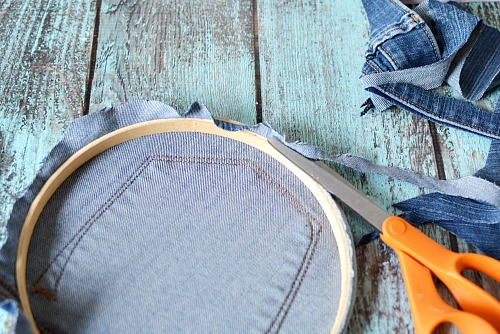 2. Place embroidery hoop onto the fabric to make sure it will fit. You’ll need a 1″ overhang. Open the hoop and place the fabric in the hoop. Tighten the screw so the hoop is firm. Flip over the hoop and pull the fabric around the edges from the back so it’s taut. Use scissors to trim the fabric.
3. Repeat until you have all of your embroidery hoops filled with fabric.
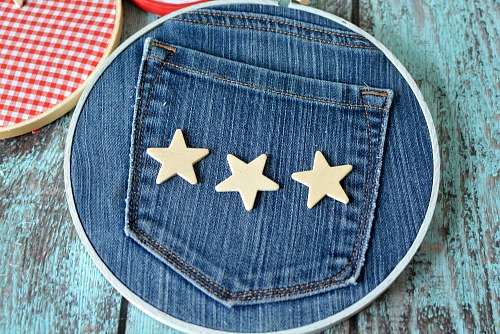
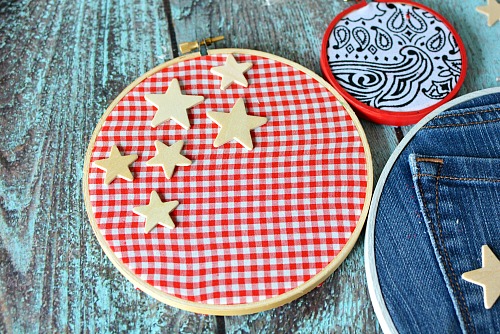
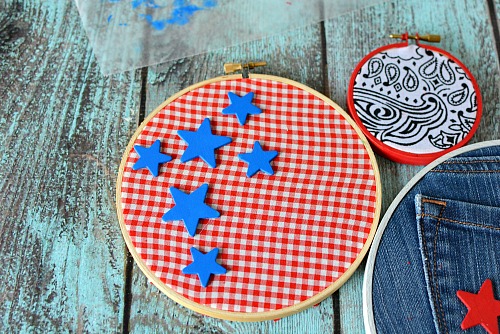 4. Lay your hoops on a flat surface and place wood stars on top of the fabric in a design that’s desirable to you. I went with 3 stars on the pocket and a handful of stars on the red fabric. Paint the stars as desired with acrylic paint. You’ll probably need 2 coats. Let dry completely.
5. Affix the stars to the hoop with hot glue. Attach the hoops together with a dab of hot glue in between the hoops that touch. Let set and then flip the project over and add additional hot glue on the back where the hoops touch.
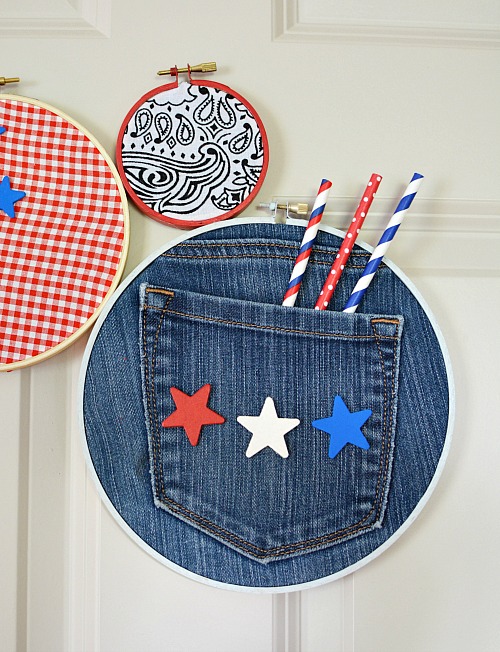 6. If you used a jean pocket like me, place 3 fun paper straws in the pocket. Then your DIY embroidery hoop wall hanging is ready to be hung up and displayed on a door or wall!
Have you ever made your own DIY embroidery hoop wall art?
This post contains affiliate links to Amazon. Please see our Disclosure Page for more information, and thanks for supporting this site!
You might also be interested in:
I love embroidery hoop art and yours are very cute!
Aww this is so cute! I especially love the jeans pocket; you could leave it up all year long!
I just wanted to let you know that you were featured as a Rockstar at last week’s Creativity Unleashed party! Voting is now open for MEGA Rockstar, so stop by and vote, and good luck! http://www.practicallyfunctional.com/creativity-unleashed-178-stencil-stop-giveaway/