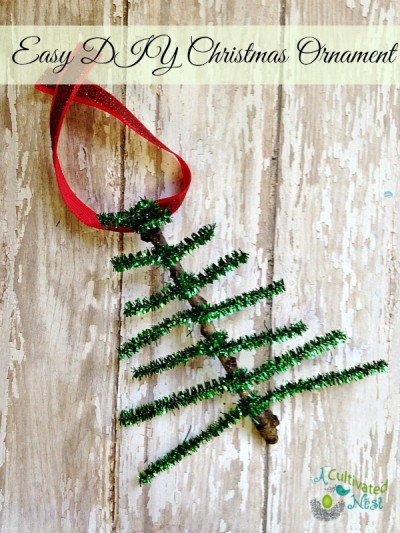
Easy DIY Christmas Ornament.
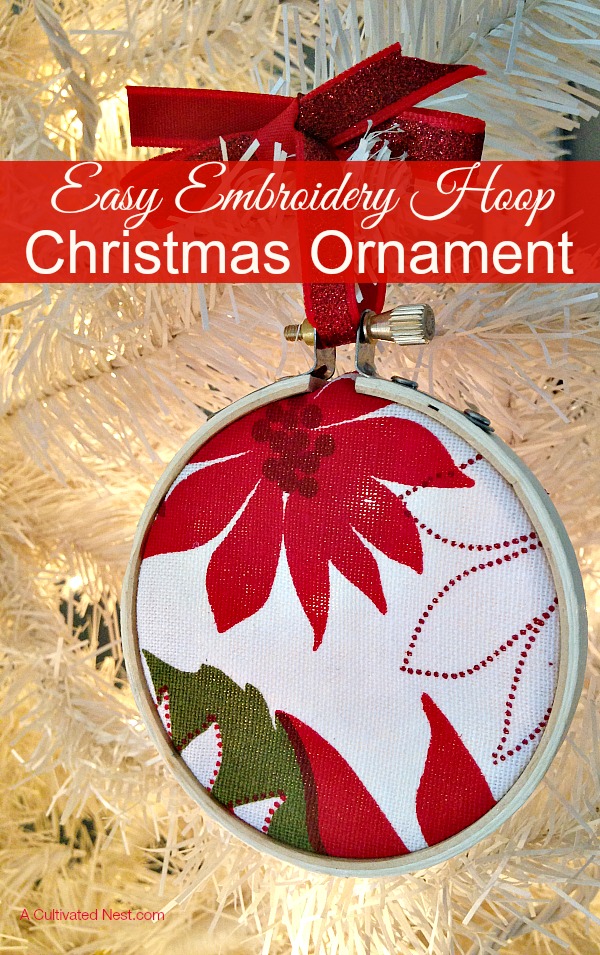
I love handmade ornaments. When we used to have more than one Christmas tree, one would be all handmade ornaments! So I’m excited to share with you a sweet and simple DIY ornament today. Embroidery hoops are fantastic for embroidery projects of course and decorating your walls, but did you know they’re also great for your holiday crafting? You can make your own easy DIY embroidery hoop Christmas ornament in just minutes, perfect for decorating your tree!
Disclosure: This post may contain affiliate links to Amazon and/or Etsy, which means that I may earn a small commission from some of the links in this post. Please see our Disclosure Page for more information.
Making your own only takes a few minutes, and you can use supplies you already have on hand. Here is how you can get started!
DIY Embroidery Hoop Christmas Tree Ornament
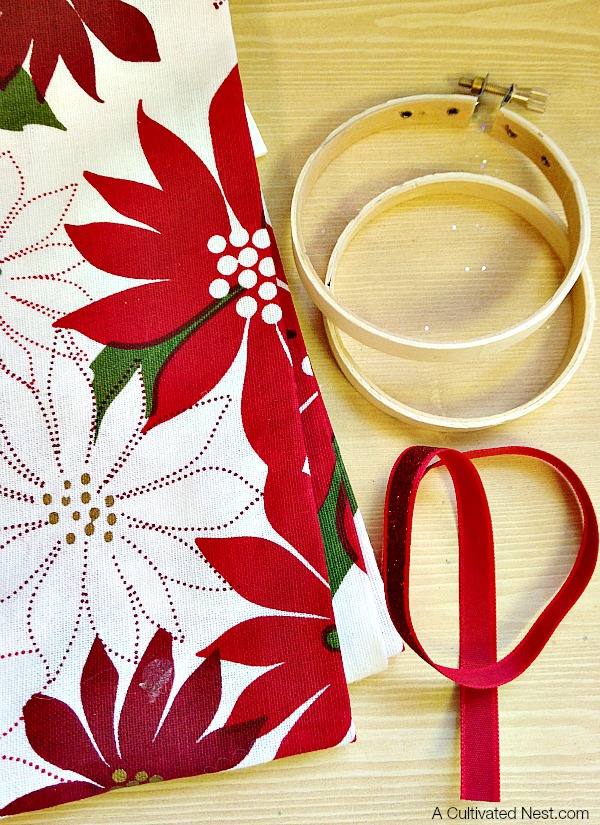
Supplies needed:
Small Embroidery hoop (3-4″)
Holiday themed fabric of your choice
Ribbon of choice
Scissors
If you don’t have an embroidery hoop, you can find one for just a dollar or so at your local craft store. For fabric, use whatever it is you have on hand or even repurpose and old sweater.
Directions:
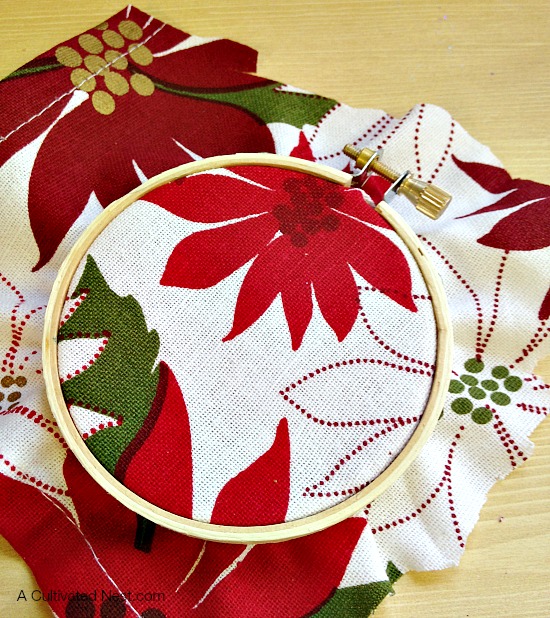
1. Begin by cutting the scrap fabric into a large square. Press the fabric between the two pieces (loops) of the embroidery loop. You want the fabric to be pulled nice and tight.
2. Use your scissors to trim away any extra fabric. You want to take off all of the excess that is hanging over the edges of the loop.
3. Once your edges are clean, add a piece of ribbon for hanging. Use a ribbon of your choice and simply run it through the loop. Tie it into a bow for hanging. Add some bells or bits of greenery for fun (optional)
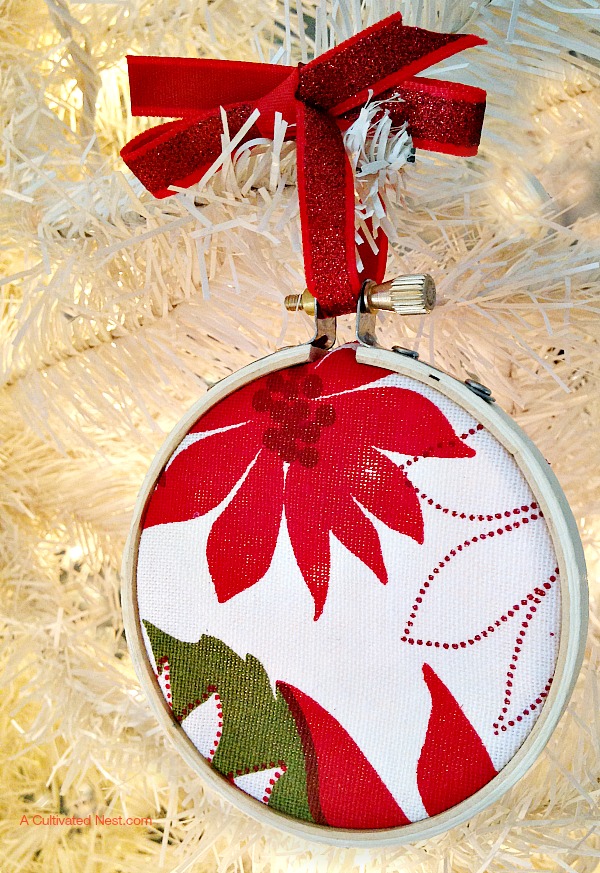
Your easy embroidery hoop holiday ornament is now ready to be displayed. Hang it on your tree or attach it to gifts for some extra detail.
Either way, this is a simple holiday craft that the whole family will enjoy!
Here’s another Sweet & Simple Christmas Ornament:
Wonderful DIY ornaments