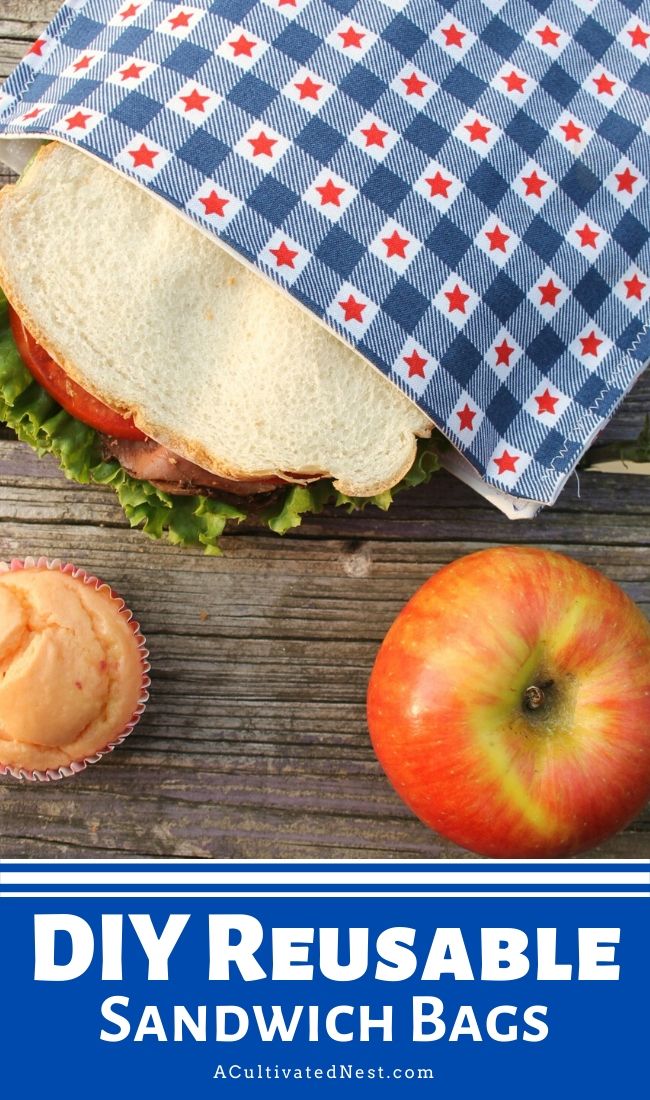
DIY Reusable Sandwich Bags that are Perfect for School Lunch.
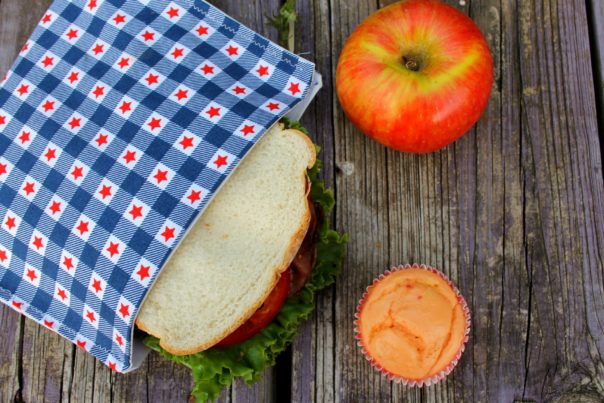
I can’t tell you how much I’m in love with these reusable bags. For me, it’s so disheartening to send kiddos off to school with their food and snacks in plastic bags. All that ends up happening is that plastic gets thrown in the trash, causing even more pollution issues to our Earth. This year, I’m sharing with you how simple it can be to make a change. You can easily make this DIY Reusable Sandwich Bags and eliminate the need or worry of plastic.
Disclosure: This post may contain affiliate links to Amazon and/or Etsy, which means that I may earn a small commission from some of the links in this post. Please see our Disclosure Page for more information.
The great part about these reusable sandwich bags is that not only are they easy to make, but they’re also super simple to keep clean and wash as well. It’s literally as simple as throwing them in the wash and pulling them out of the dryer. And if you can make a few of these at one time, you’ll easily have all you need for your child to have their sandwiches in a bag for an entire week of school lunches.
DIY Reusable Sandwich Bags
All you’ll need are a few simple supplies to get started and you’ll be creating your own reusable sandwich bags in no time!
Materials
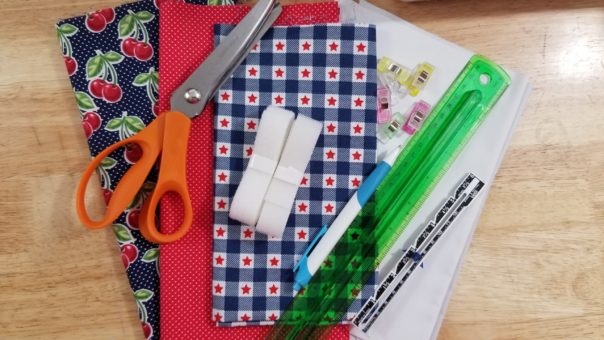
1/2 yard of your main cotton or oilcloth fabric (there’s a lot to choose from on Amazon)
1/2 yard of your complimentary cotton or oilcloth fabric
1 yard of waterproof fabric (if using cotton fabric)- I used this one
Scissors (I prefer pinking shears)
All-purpose thread
1 package of sew-on hook and loop Velcro strips
Sewing machine (I use this one that I got from Amazon)
Directions
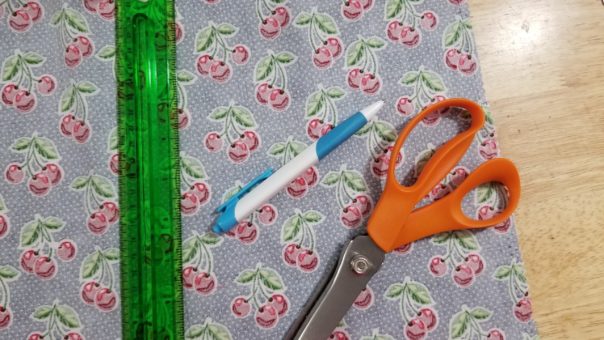
1. Measure, mark and cut 1 piece of your main and 1 piece of your complimentary fabric 8 inches long by 8 inches wide OR 1 piece of fabric 16” long and 8” wide.
2. Cut one piece of waterproof fabric 16” long and 8” wide. If you are using oilcloth, you don’t need the waterproof fabric. Skip that part of any of the steps that mention the waterproof fabric.
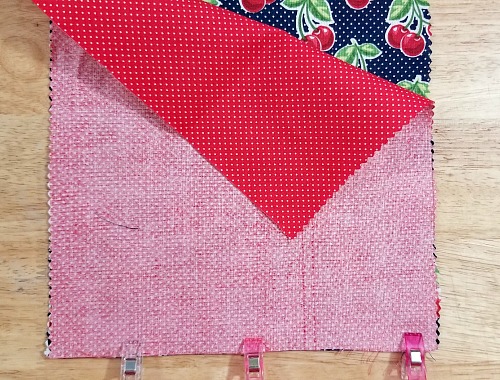
3. If using two pieces of fabric, with right sides facing each other, clip or pin along the bottom and sew with a 1/2” seam allowance. Iron your seams open.
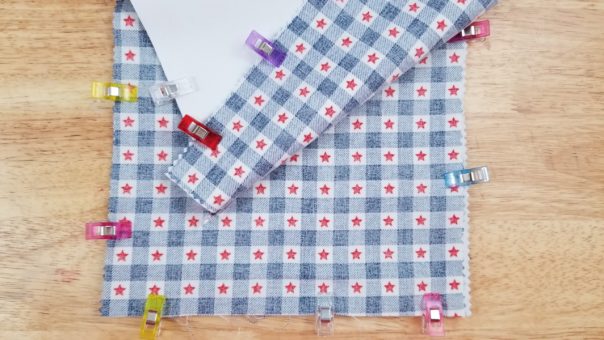
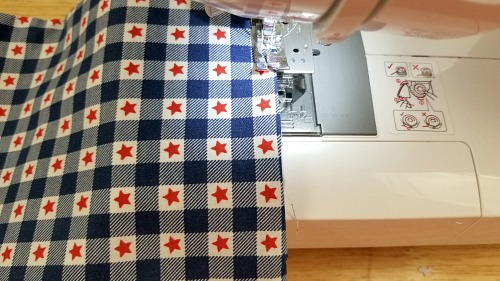
4. With the right side of your fabrics and the shiny side of your waterproof fabric facing each other, clip or pin all four sides and sew with a 1/2” seam allowance all the way around, leaving a 3” opening to turn the fabric. Be sure to reinforce each end of this gap. Turn fabric and close the opening.
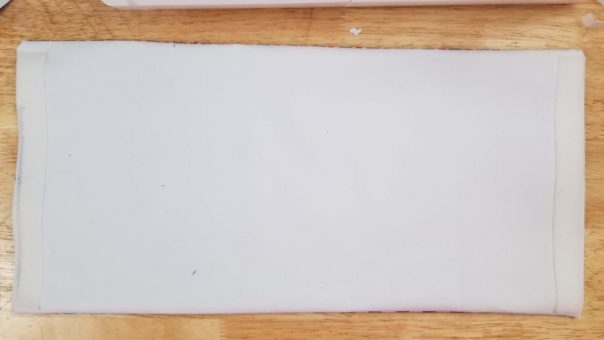
5. Measure two 6” pieces of the hook and loop Velcro. With a 1/4″ allowance from the top of the bag and 1/2” allowance on each side, with a 1/2” seam allowance, attach the Velcro on each end of the bag.
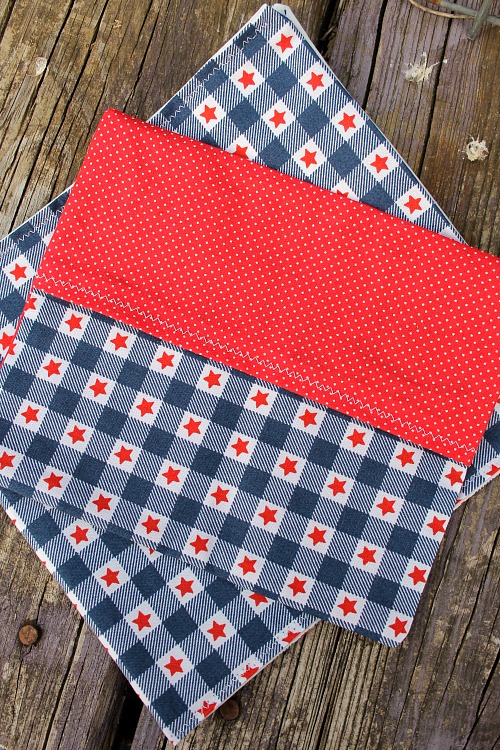
6. Fold the fabric in half, with waterproof side together, so Velcro is pressed together. Sew with a 1/4” seam allowance along the sides and across the bottom, reinforcing from where the bottom of the Velcro starts to the top, so about 1”.
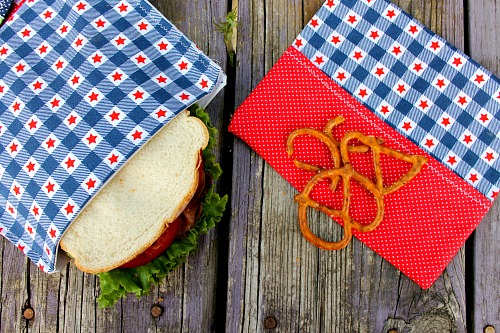
See how simple these DIY reusable sandwich bags are? They’re a great way to cut out the excessive use of plastic and give your sandwich a nice, cozy, clean place to stay. And once they need a good wash, just toss them in the washing machine and they’ll look good as new!
What other disposable products have you replaced with reusable ones?
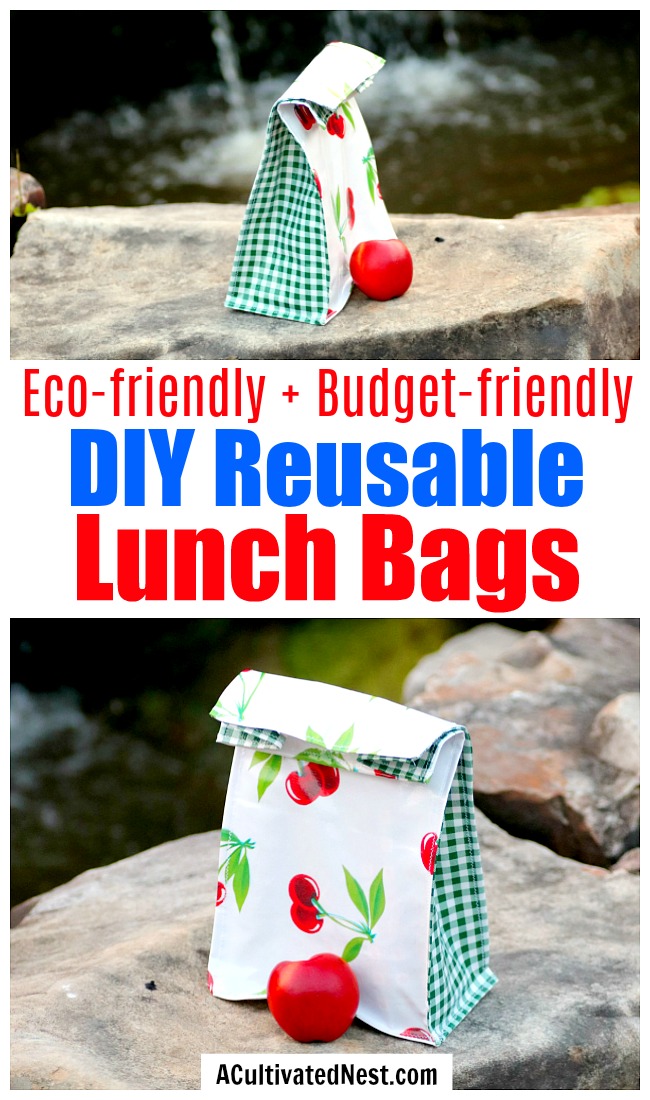
You might also be interested in: DIY Reusable Lunch Bags
Please don’t use what is commonly called “oilcloth”. It is vinyl laminated fabric that contains lead. Lead should not be touching your food. Washington state went as far as banning children’s vinyl lunchboxes because of the lead in food stored in them. Oilcloth is actually cotton or linen cloth infused with linseed oil. It is not generally made anymore. I remember having it as a child, used as a tablecloth when doing art projects. This information on vinyl is common. I’m not sure why people are still recommending using it with food.