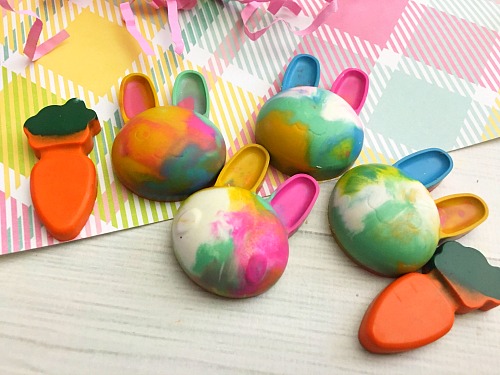
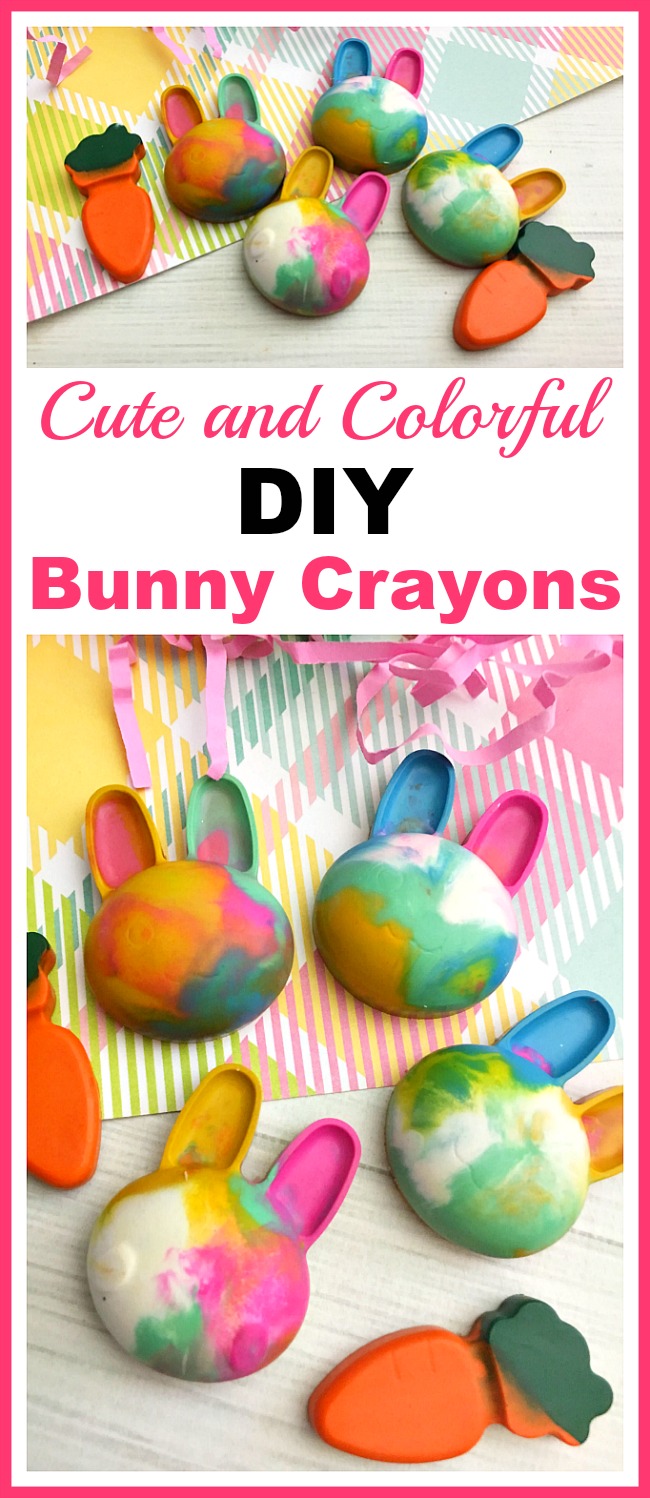
Coloring is something that most kids (and adults!) think is fun. But why have your kids color with boring normal crayons, when they can draw with fun, custom-shaped crayons instead! Not only are shaped crayons fun to look at, but they also make the coloring experience more entertaining. With mixed color ones like these, every stroke has the possibility to be any random swirl of colors! Here’s how to make your own Cute and Colorful DIY Bunny Crayons! These make a great Easter craft, and I’m sure would be a welcome find in any kid’s Easter basket!
Disclosure: This post may contain affiliate links to Amazon and/or Etsy, which means that I may earn a small commission from some of the links in this post. Please see our Disclosure Page for more information.
While I chose to make my DIY bunny crayons a swirl of different colors, you could make your crayons a solid color by only putting crayon pieces of the same color in each mold. Or you can make it so the left side of each bunny is one color, and the right side is a different color. Or maybe the ears are one color and the face is another. You could also make one bunny be only primary colors, another bunny be only Easter colors, and so on. Be creative with your DIY rabbit crayons! And don’t forget about the carrot crayons (I made the top of mine green and the bottoms orange, like real carrots)! When your crayons are done, print out some of these 20 free printable coloring pages for kids and let your kids have fun!
Cute and Colorful DIY Bunny Crayons
Materials
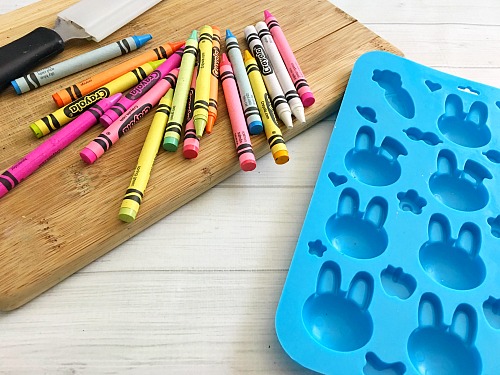
Crayons
Bunny shaped silicone mold
Sharp knife
Baking sheet
Directions
1. Preheat oven to 300 degrees.
2. Remove the wrappers from your crayons by carefully scoring the crayon wrapper from top to bottom. You should be able to peel the wrapper right off (or use already peeled and broken crayons).
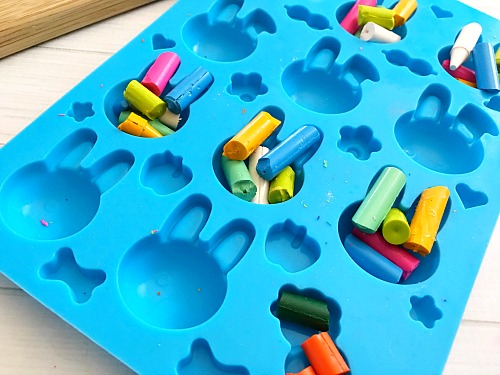 3. Break each crayon into about 4 small pieces and place them in each mold, mixing up the colors.
4. Place your mold on a baking sheet and into the oven for around 8 minutes or until your crayons are completely melted.
5. Carefully take your tray of Easter crayons out of the oven. Set the mold on a flat surface in your freezer for around 20 minutes or until your crayons have completely cooled. Try not to stick the warm mold too close to any of your frozen foods (you wouldn’t want them to partially defrost, then refreeze with freezer burn!).
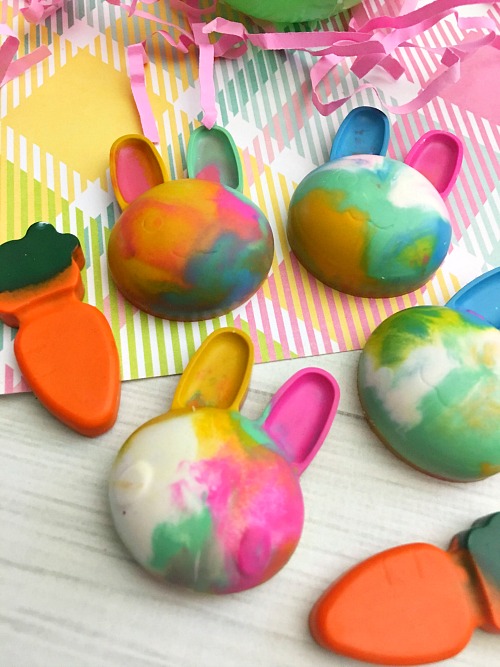 6. Carefully pop the DIY Easter crayons out of your molds and they are ready to use!
Have you ever made custom crayons before?
This post contains affiliate links to Amazon, which means that I may earn a small commission from some of the links in this post. Please see our Disclosure Page for more information.
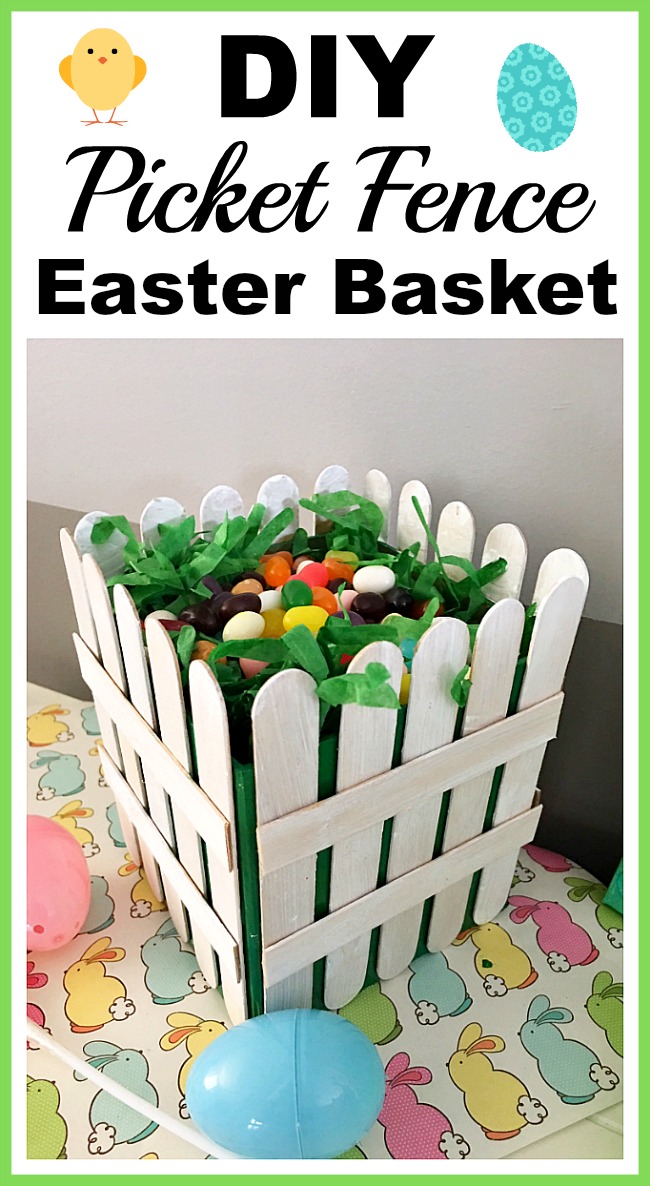
You might also be interested in: DIY Picket Fence Easter Basket
These are so much fun! They are the perfect DIY gift for Easter baskets. Thanks for sharing your tutorial with us at Merry Monday this week!
My kids would have so much fun with these! Love it. Pinning!
PS I found you via the Motivate Me Monday link-up. I recently started a link-up of my own, I’d love it if you stopped by and shared with us there, too! http://www.mybusybeehives.com/2017/03/spring-at-bee-party-6.html
This is not only a great idea for old crayons but these are so dang cute! Thank you so much for sharing your creativity at Project Inspire{d}. Have an awesome week.
This is such a great idea! I love it! Thank you for sharing this with us at Funtastic Friday link party.