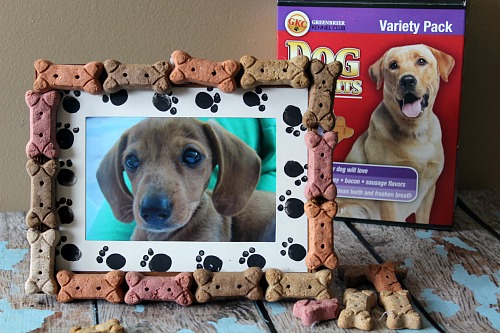
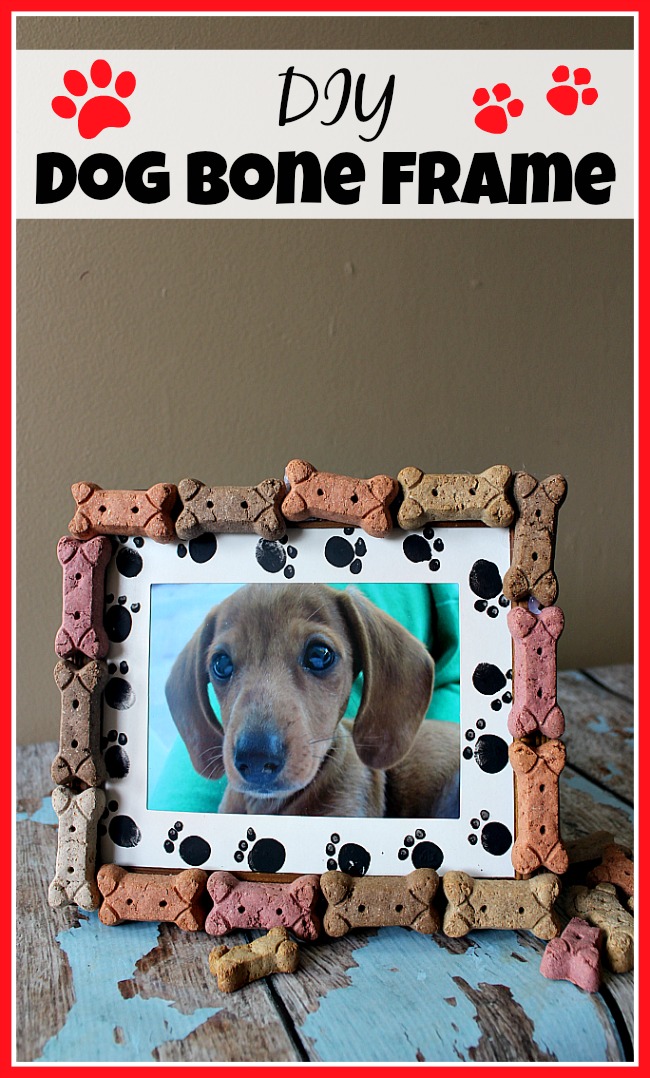
Do you have a sweet pet that you treasure and want to give their picture a place of honor? You don’t have to run out and buy an expensive frame at a home decor store or pet boutique when you can make this adorable one at home for just $2! This is a really fun project for kids (or adults) to create and is great to keep or give away to another dog lover in your life! Follow my easy tutorial to make this DIY Dog Bone Frame!
Disclosure: This post may contain affiliate links to Amazon and/or Etsy, which means that I may earn a small commission from some of the links in this post. Please see our Disclosure Page for more information.
Unfortunately many of the healthier brands of dog treats (Blue Buffalo, Organix, etc.) don’t make treats in this classic dog bone shape, so depending on what you feed your dog, you may not have dog bone-shaped treats already. Luckily I was able to easily find a box of dog bone treats (and a simple frame) at my local Dollar Tree. The treat box was small and inexpensive, so it doesn’t feel like such a waste that I won’t be feeding these to my dogs. And by getting my main supplies at the dollar store, I was able to keep this DIY dog bone frame project frugal! Besides, I can always use the leftover treats in another cute dog craft later!
DIY Dog Bone Frame
Supplies
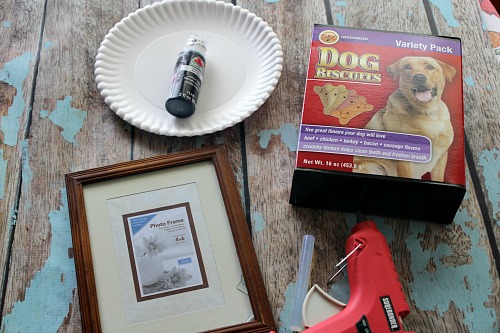
Dry bone-shaped dog biscuits
Frame
Craft paint
Cotton swab
Hot glue/gun
Clear spray
Directions
1. Go ahead and plug in your hot glue gun and let it heat up while you start with the painting portion of this project.
2. Remove backing, matte, and glass from frame and set aside. I chose a frame that had a paper matte inside, if you don’t find one like that, you can make one by cutting the center out of cardstock. Or you can skip the painting step, it will still come out cute!
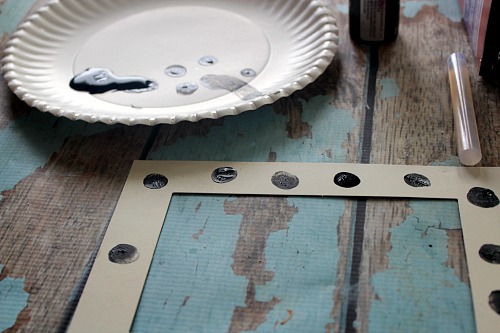 3. To make dog paws on the matte press your finger into paint, then dab your finger all the way around the matte frame to make the main dog paw oval.
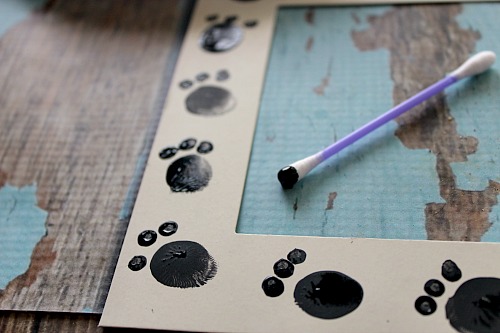 4. Finish off the paws by making 3-4 “toes” with the paint using your cotton swab. Allow to dry completely.
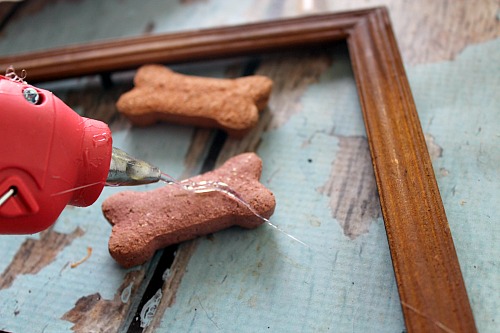
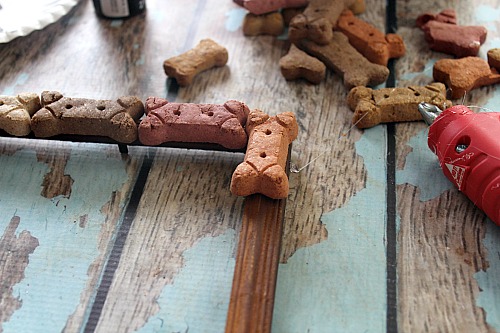 5. For the frame, flip over a dog bone and apply a generous amount of hot glue to the back center. Press firmly onto the frame and hold for 10-15 seconds while the glue cools and sets. Repeat and continue all the way around the frame until covered.
6. Take the frame outdoors and spray well with with 2-3 coats of clear coat spray on both sides, covering bones well. This will make your frame last longer and help keep bugs away from the treats.
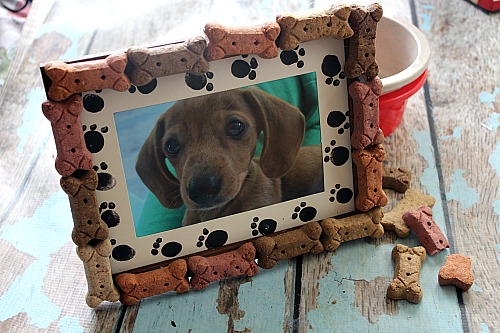 7. Assemble your DIY dog bone frame with a picture of your pet and it’s ready to put on display on the shelf!
Make sure to put your frame up somewhere where your clever pets can’t get to it! While the clear spray will keep bugs away, silly dogs (and maybe even cats) could still try to eat the treats. And since they’ve been sprayed, they’re no longer safe to eat.
Do you have a dog?
This post contains affiliate links to Amazon. Please see our Disclosure Page for more information.
About Jody: I am a Florida girl through and through living the semi-country, small town life. I am making my way through it with my amazing hubby, 2 beautiful kids, 2 of the best Dachshunds to ever walk the face of the earth, massive amounts of coffee and a whole lot of Jesus. I homeschool, craft, cook, scrapbook, garden, raid the thrift shops, snap 1,000’s of photos, and read when I can grab a spare minute (which is rare). You can find me blogging at Simply Southern Sunshine.
You might also be interested in:

Super cute and I love the idea of using real dog treats for the frame.
What a c ute idea !Thank you for sharing this with us at Thoughts of Home.