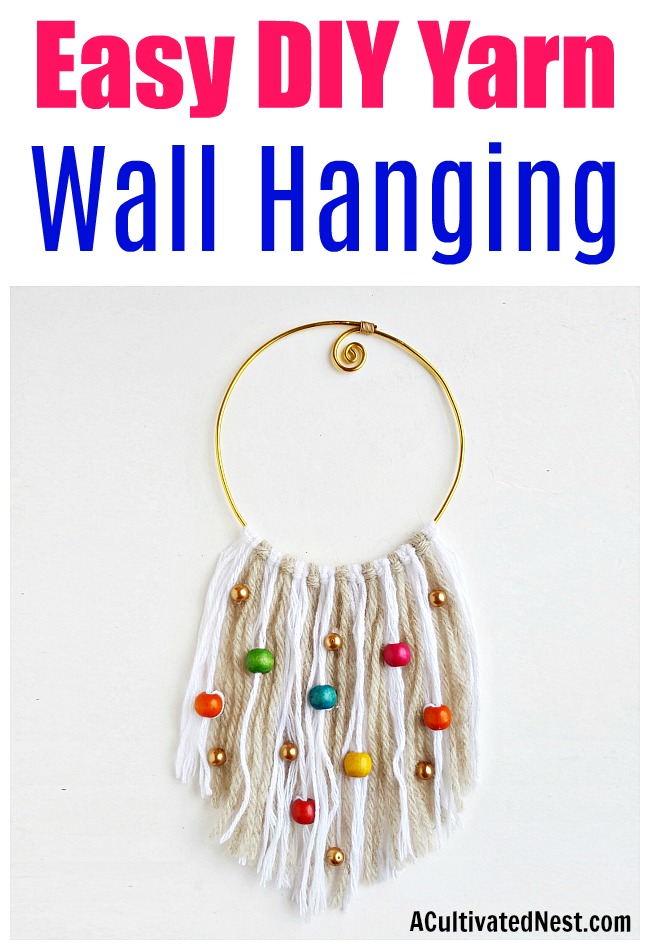
Easy DIY dreamcatcher with DIY paper flowers.
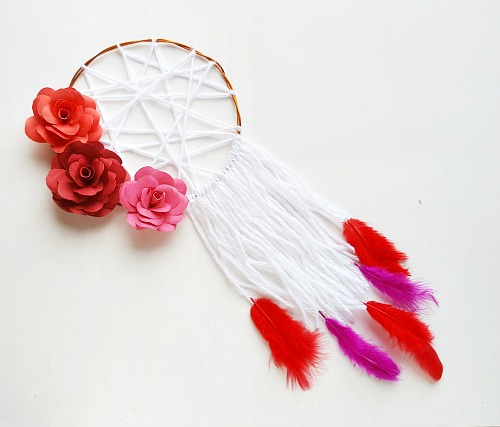
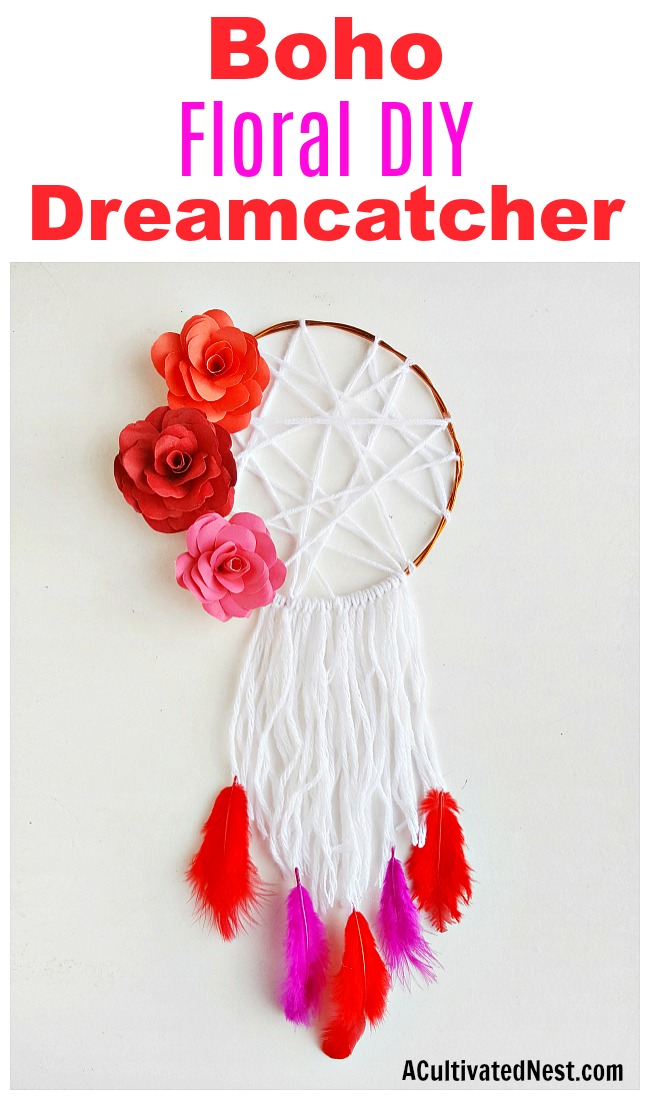
A lot of really cute boho decor accessories have been all over the Internet and stores recently. I’ve been particularly interested in the dreamcatchers I’ve seen, but while I love their designs, I’m not a fan of their prices. As with any “trendy” thing, commercial dreamcatchers seem to be priced higher than they really need to be. Luckily, making your own homemade dreamcatcher is an easy and inexpensive thing to do! So create the dreamcatcher you want for less than $15 with my Floral DIY Dreamcatcher tutorial! The tutorial also explains how to make the pretty DIY paper flowers!
Disclosure: This post may contain affiliate links to Amazon and/or Etsy, which means that I may earn a small commission from some of the links in this post. Please see our Disclosure Page for more information.
With just a few inexpensive materials and some basic DIY skills, you can make the perfect DIY dreamcatcher for your home! These look great in bedrooms (both adult and kids’ bedrooms), or as part of a gallery wall elsewhere in the house. And don’t forget, it’s easy to be creative and adjust this homemade dreamcatcher to perfectly fit your decor!
If you don’t have time to make the DIY paper flowers, consider buying some pre-made paper flowers to use instead!
Floral DIY Dreamcatcher
Materials
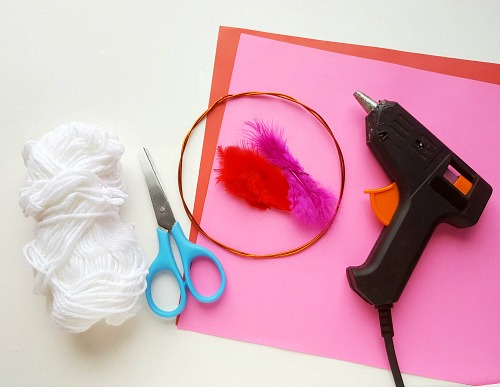
Yarn
Scissors
Colored cardstock paper
Colored faux feathers
Round wire frame or craft wire – 26 gauge
Hot glue gun
Instructions
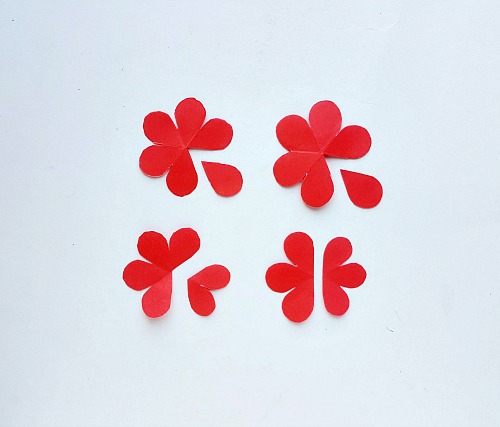
1. Select colored cardstock papers for the flowers and trace the patterns as shown.
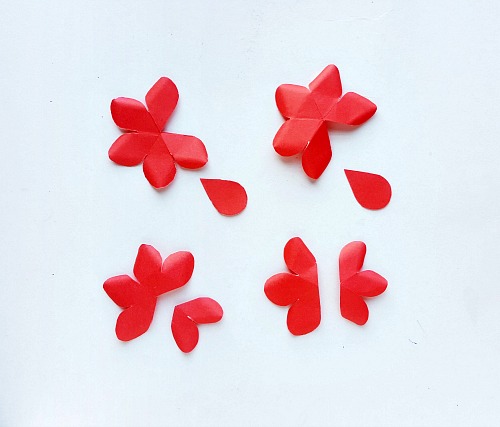
2. Use a small round object to create curves on the top sides of the cut-out petal patterns.
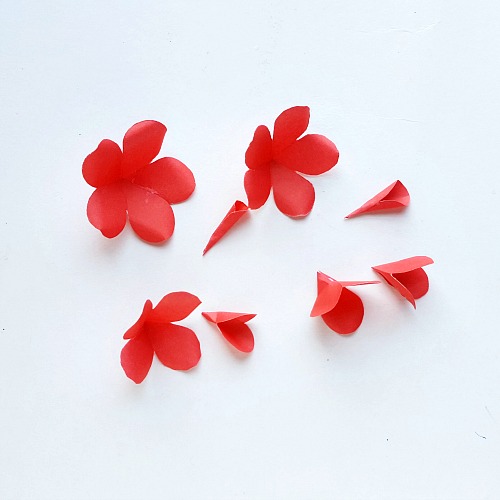
3. Now take the curved petals one by one and glue the sides to give them a 3 dimensional look. Apply glue on one open side of each petal patterns and join it with the other open side of it.
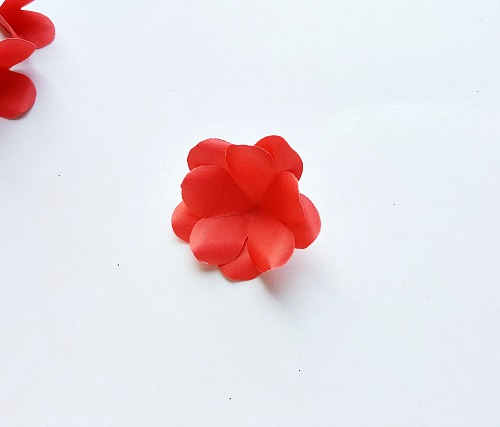
4. Now start to join the petal pattern together by gluing one on the top of another one. First glue the two 5 petaled patterns together.
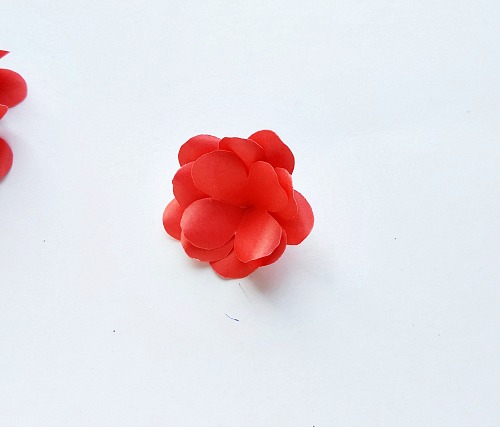
5. Now glue the pattern with 4 petals.
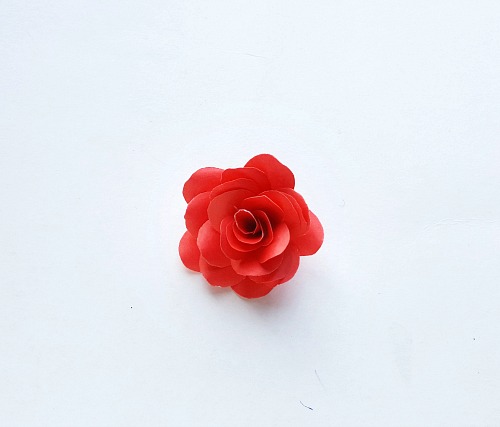
6. One by one glue the large pattern with 3 petals, small pattern with 3 petals, pattern with 2 petals and finally the pattern with 1 petal.
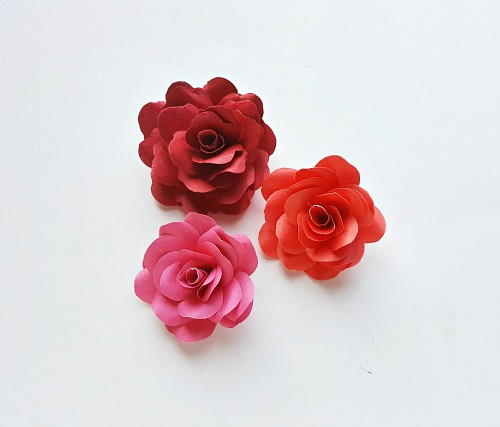
7. Similarly create 2 or 3 more cardstock roses.
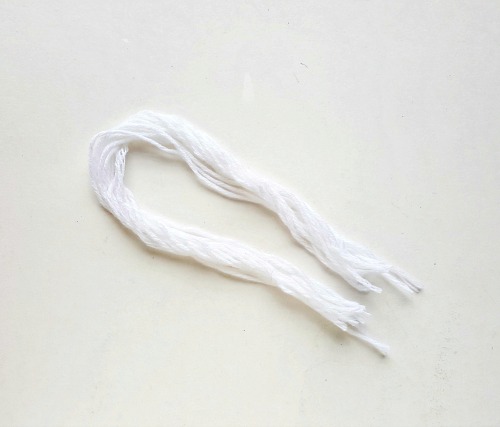
8. Determine how long you want your DIY dream catcher to be. Determine, measure and cut out yarn strands, as many strands as you want.
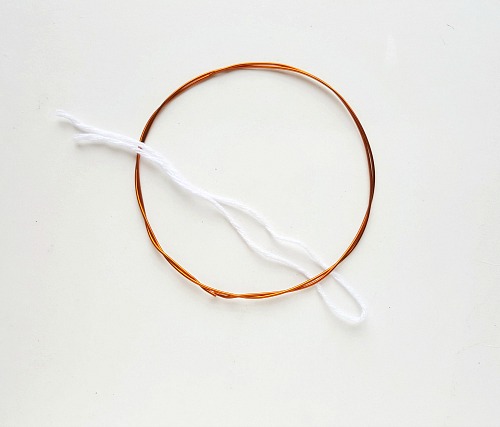
9. Take the round wire frame and a yarn strand. Fold the yarn strand into half and draw its closed end under the base frame, drawing it outside the frame and keeping the open ends inside the frame.
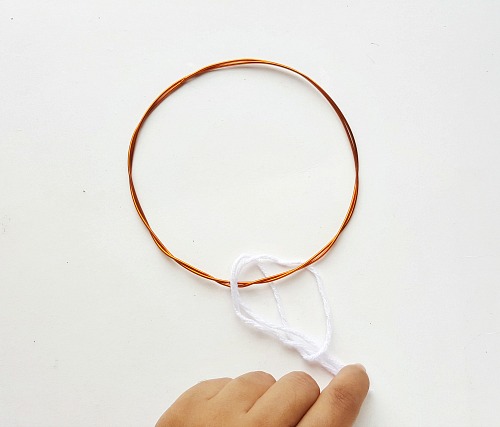
10. Take the open ends of the yarn and draw it over the base frame and then through the closed end of the yarn.
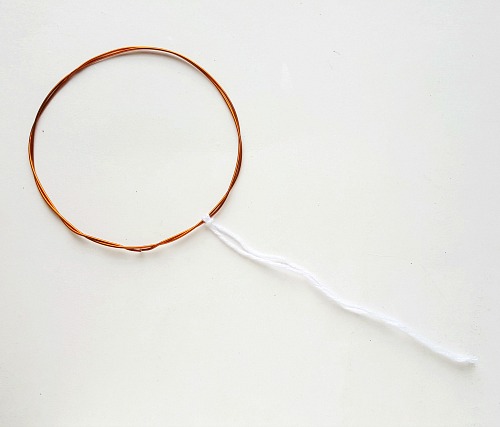
11. Pull the open ends of the yarn to tighten it.
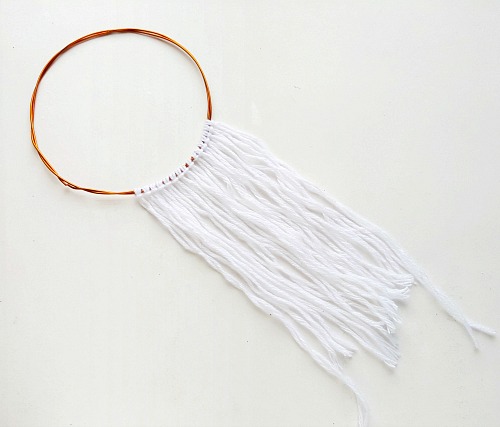
12. Similarly attach the rest of the cut out yarn strands.
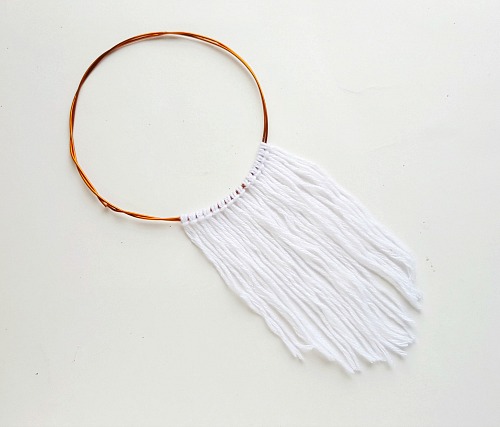
13. You can keep the bottom open ends of the attached yarns uneven or you may trim them into any pattern you want. Lay the attached yarns flat and use scissors to trim their ends.
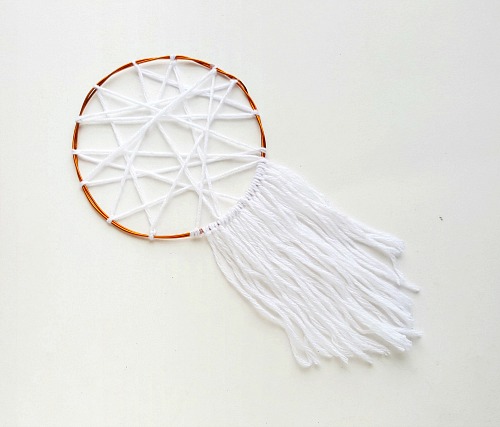
14. Tie a long piece of yarn to the base frame and wrap it inside the frame randomly to create a web pattern inside the base frame. Once you’re satisfied with the random web pattern inside the frame, you can draw the remaining yarn near or between the attached yarn strands from the previous step. Tie 1 or 2 knots on the frame to secure it. Trim the open end of this yarn strand to level it with the rest of the yarn strands.
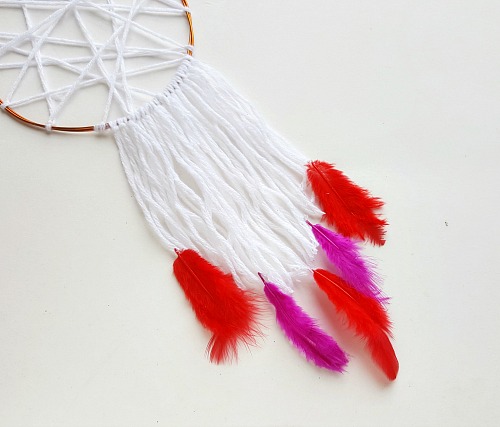
15. Take the colored faux feathers and attach them to the yarn hanging, at the bottom open ends. Use a hot glue gun to attach the feathers to the yarn.
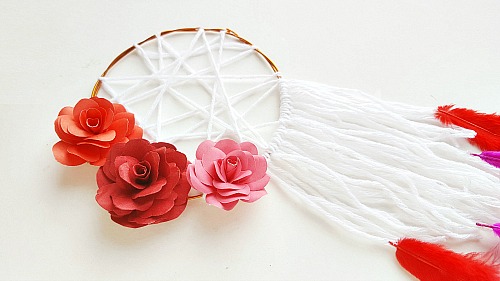
16. And last but not least, attach the flowers on the base frame by using hot glue.
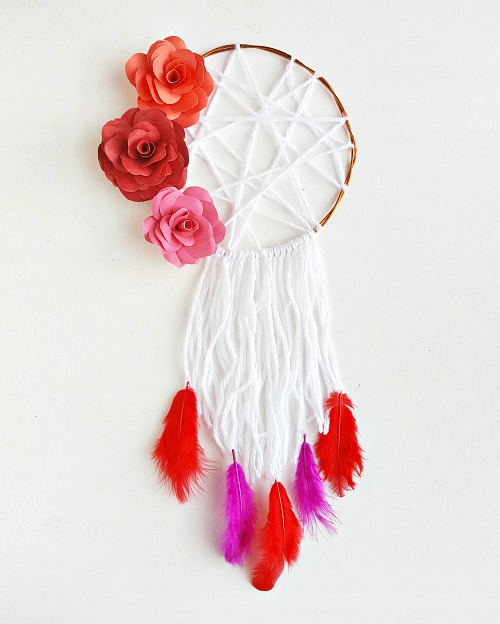
Then you’re ready to hang and enjoy your DIY dreamcatcher! You can add more details if you want to, but there’s no need to get too detailed with it. I think some of the prettiest dreamcatchers have relatively simple designs!
Have you ever owned a dreamcatcher?
You might also be interested in: DIY Boho Yarn Wall Hanging
