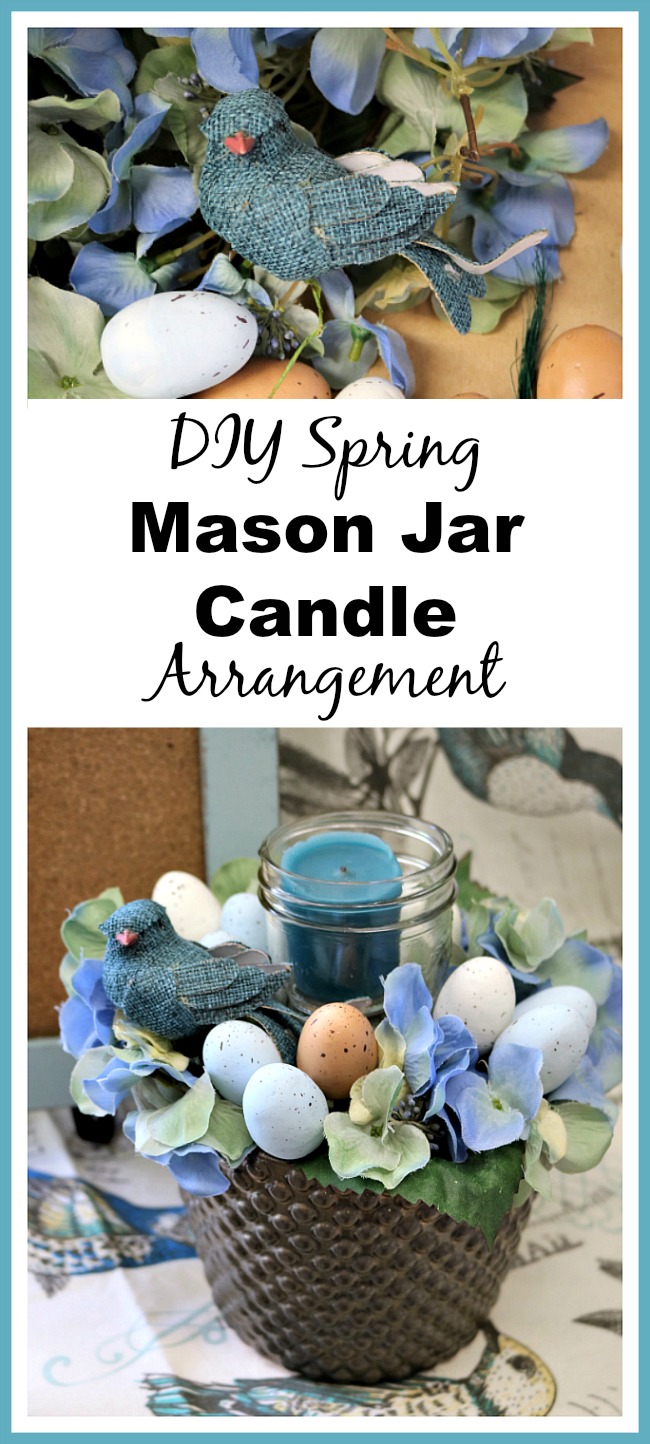
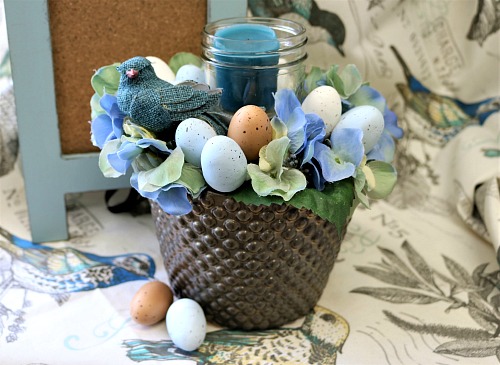
Spring time typically means doing some around the house improvements, from cleaning to redecorating. Out with the Winter & in with the Spring! Making a pretty springtime arrangement for your table or another featured spot in your home is an easy way to update your decor. You can easily create a beautiful (and inexpensive!) DIY Spring Mason Jar Candle Arrangement by following my tutorial!
Disclosure: This post may contain affiliate links to Amazon and/or Etsy, which means that I may earn a small commission from some of the links in this post. Please see our Disclosure Page for more information.
If you use accessories along with the flowers, such as the eggs in this one, it can double as a holiday arrangement, too. And if you like to get more bang for your buck, buy a second set of accessories like ribbons or butterflies, and switch them out for the eggs when Easter is over. (TIP – If you intend to do this, just remember not to glue in the eggs, so you can easily remove them when it comes time.)
To make this spring Mason jar candle arrangement, I used a flower pot that had been given to me with a plant at Christmas time. It was a flashy gold finish that I didn’t like, so I just spray painted it with the pewter, more antiqued finish to suit my needs. Don’t hesitate to utilize spray paint for upcycling things. Even using a larger Mason jar and spraying the inside of it in a nice color works great!
DIY Spring Mason Jar Candle Arrangement
Materials:
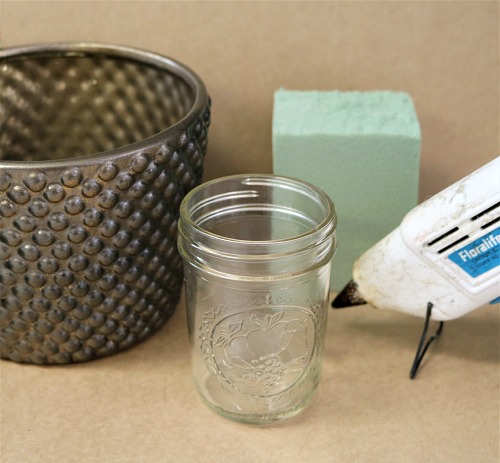
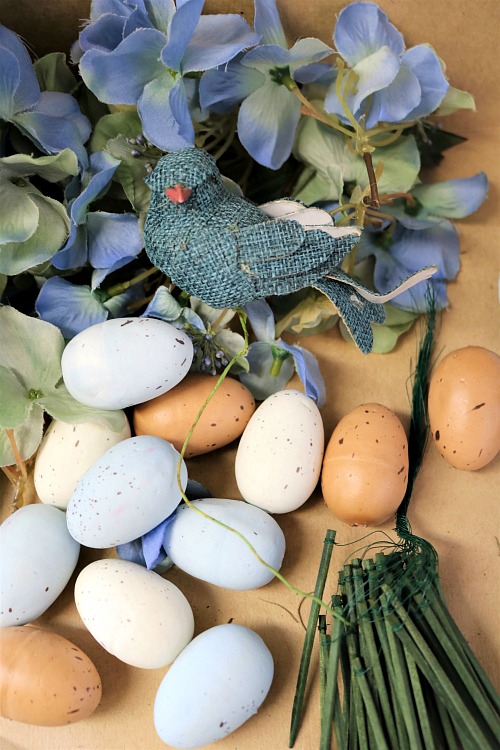
Mason jar – smaller than the container, so it looks balanced
Flower pot or other container for the base
Floral dry foam
Knife & wire cutters
Glue gun and sticks
Your choice of silk flowers – It doesn’t take a lot: I used about 1 and a half hydrangea stems and just broke them down into little clumps, instead of using them as one large flower.
Moss
Floral tape and wired small picks
Ribbon of choice or twine if desired
Bird eggs and a bird, or butterflies if you’d rather those
Directions:
1.Plug in the glue gun to start so it heats up for you right away.
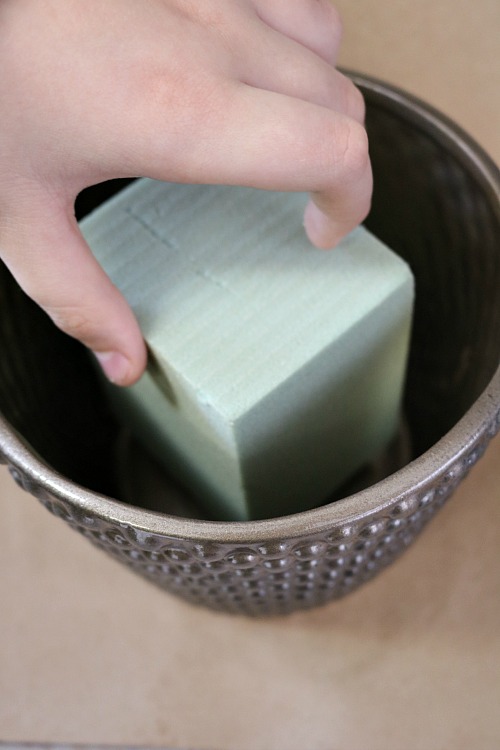
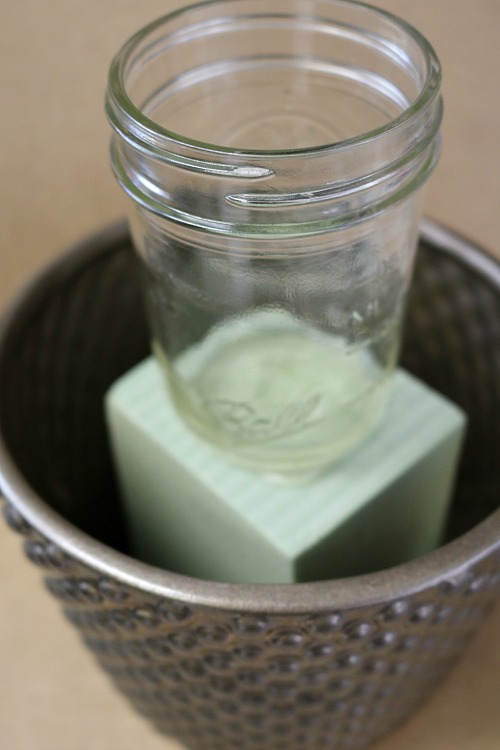 2. The first thing you will need to do before starting the arrangement part is to place your foam and Mason jar in the center, so that you know right where it needs to go, and then you don’t over-use the flowers and waste them. So, trim down the foam to fit into the base container, and let it be just below or just above the container’s top edge. The candle and jar part should look like it’s nestled in the flowers, so you don’t want the foam up above the container, or you’ll see it. It needs to be left as square and flat as possible, so that the jar sits flat on top of it.
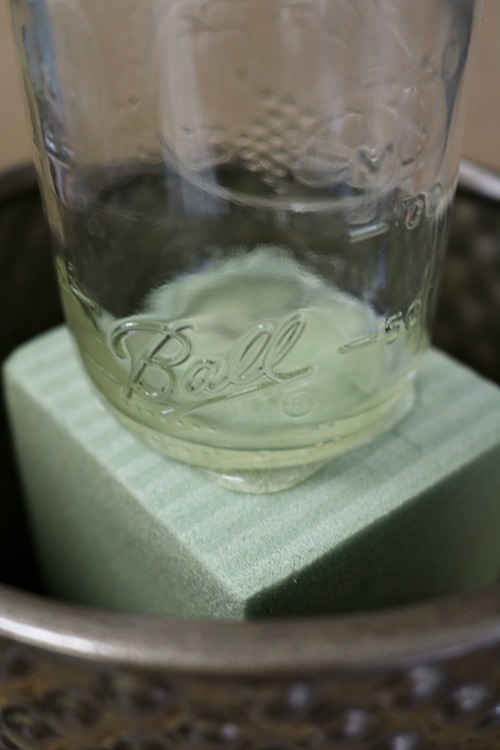 3. Glue the foam in well and then glue your Mason jar in the center of it. If you have a favorite side to the base container, (sometimes they are not the exact same all the way around), then find which side is the “front” and then center the mason jar there, choosing which side of the jar you also want to be facing front before you glue it down.
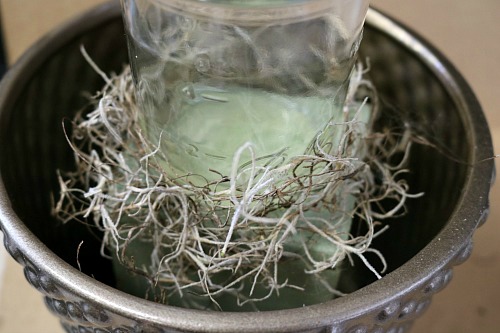 4. Now it’s time to add the moss over the foam, so that any of the foam that may show through the flowers is camouflaged. Just cover it lightly around the jar.
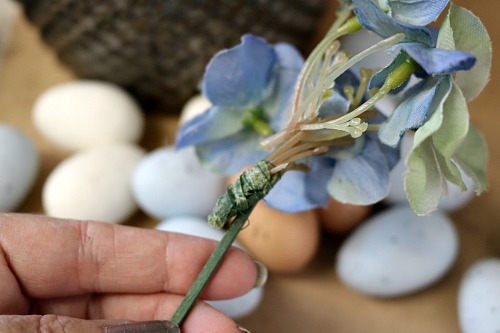
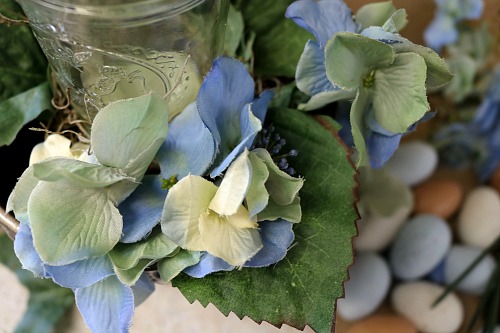 5. Next, you will need to decide which flowers you want where, making a balanced ring of them going around the jar. If you are dividing up a larger flower like I did, just cut each section with wire cutters and add it to a wooden pick, taping the stem up with floral tape before putting into the foam.
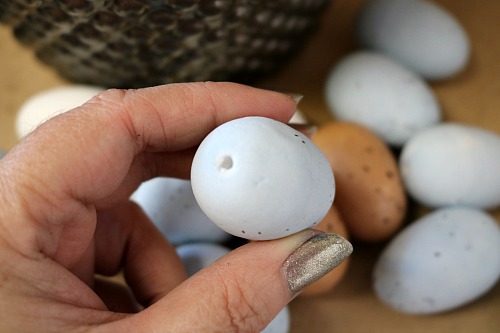
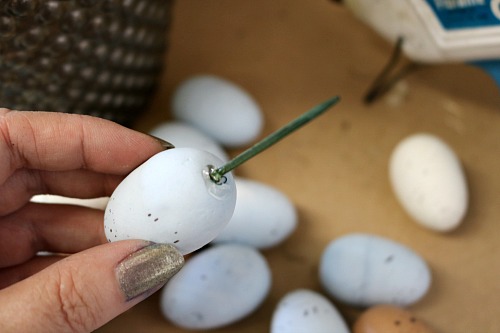
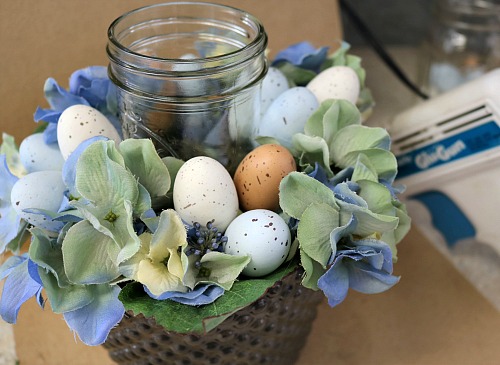
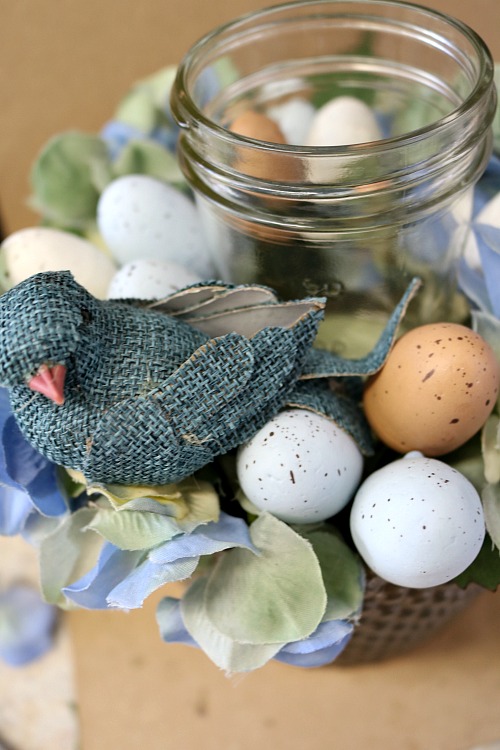
6. Choose odd numbers for your accessories, for example, for my eggs, I chose 3 different ones per each clump of them. Odd numbers look balanced, whereas, even ones don’t. Your eyes tend to keep looking back and forth between the 2 or 4. Go ahead and fill in the flowers and accessories until the whole ring is full and no foam is showing through if possible. You may need to add picks to your eggs, bird, or other accessories, and the wooden picks are for that purpose. It’s a good thing to also add a dab of hot glue to the pick to keep it secured as well.
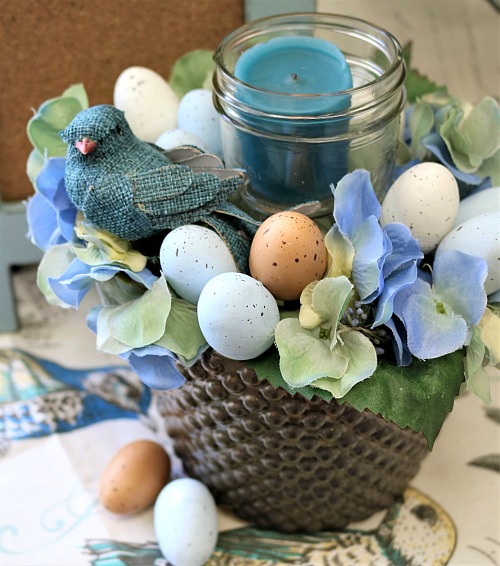
7. Once you feel good about how your spring Mason jar candle arrangement looks, all you need to do is secure any loose pieces of flowers or accessories with a drop of hot glue. If you feel you have gaps you don’t like, ribbon is a good way to fill in.
8. As far as the candle goes, be sure the candle fits down in the jar well if you plan to actually burn it, so that it doesn’t catch the flowers on fire!
Enjoy this fun DIY & Happy Spring!
Do you often use a seasonal centerpiece as part of your decor?
This post contains affiliate links to Amazon. Please see our Disclosure Page for more information.
You might also be interested in:
