Handy Parsley Growing Tips.
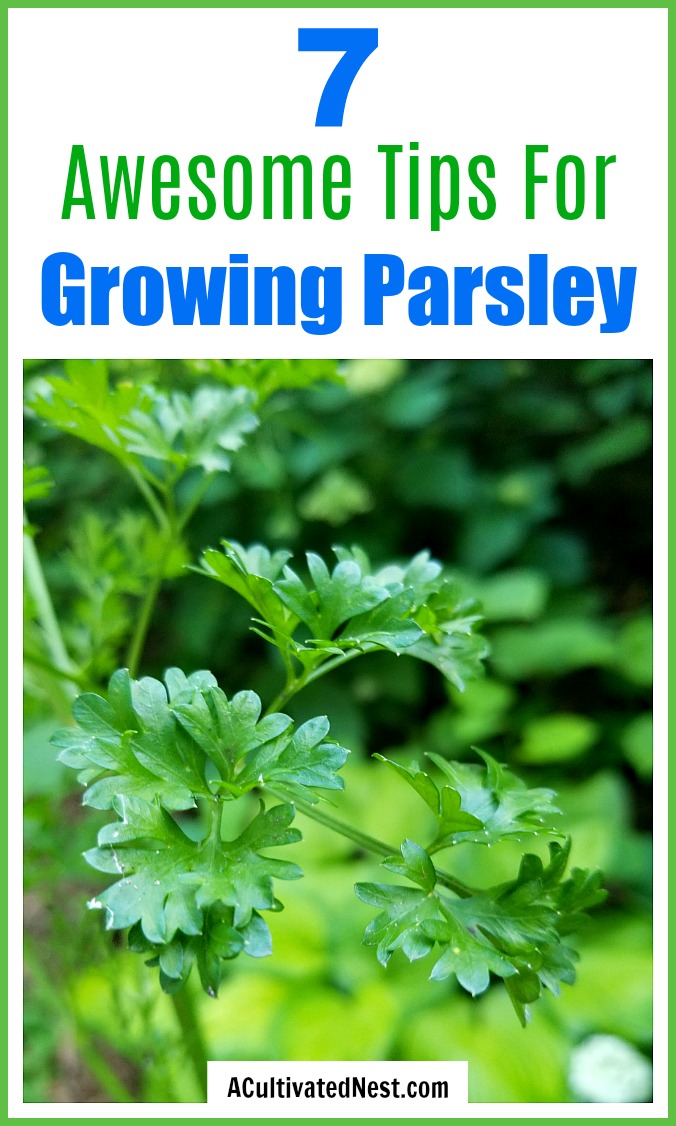
If you are trying to decide which herbs to grow this summer, you should definitely put parsley on your list. Not only is parsley excellent for using as garnish, but it can be added for flavor to numerous recipes, and can even be used as pest prevention! Look below at my 7 Tips for Growing Parsley, and see why parsley is such a fantastic herb to grow and have on hand!
Disclosure: This post may contain affiliate links to Amazon and/or Etsy, which means that I may earn a small commission from some of the links in this post. Please see our Disclosure Page for more information.
I love Italian food, so parsley is a staple in my pantry. While I prefer to use it fresh, it’s impossible for me to use all the parsley I grow before it would naturally go bad, so I tend to dry a lot of it. I like to use the oven drying technique, which I cover in tip 7.
7 Tips for Growing Parsley
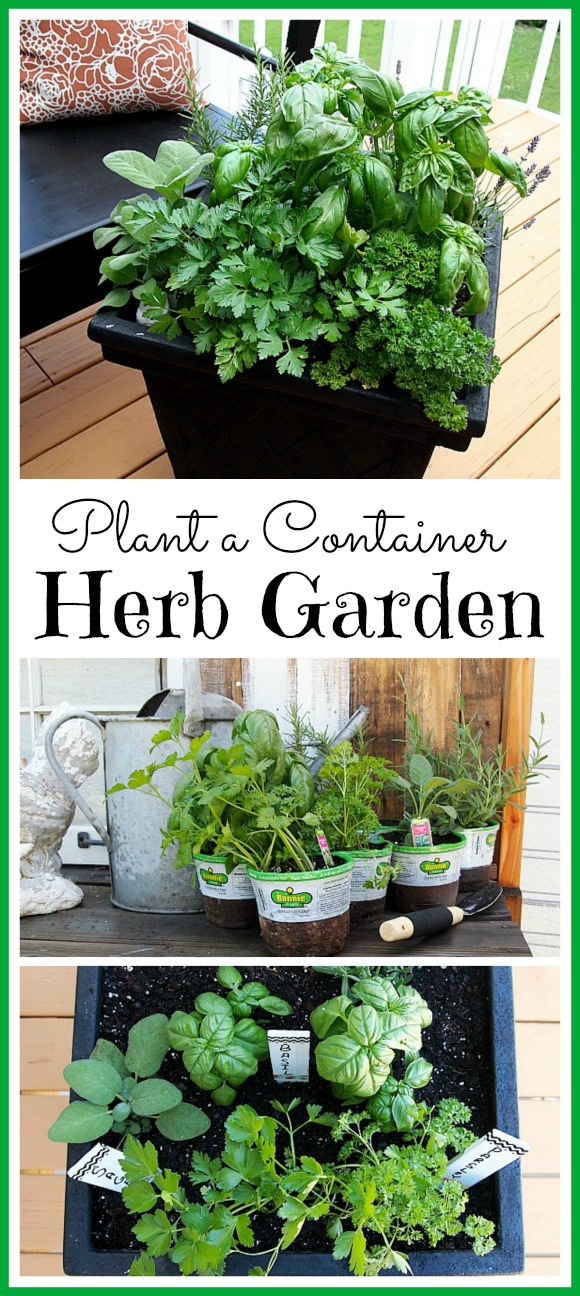
You can grow parsley outside in your garden beds, in a container garden, or near a window inside. I like to grow mine in a container with other herbs that I also like to cook with.
1. Opt for Seedlings
Parsley is a slow starter, so while you can grow it from seeds, growing from seedlings is ideal. Should you grow from seed you will need to start the parsley indoors about 10 weeks before planting season begins. However if you opt for seedlings you can plant them as soon as the threat of frost has passed.
2. Choose Soil Wisely
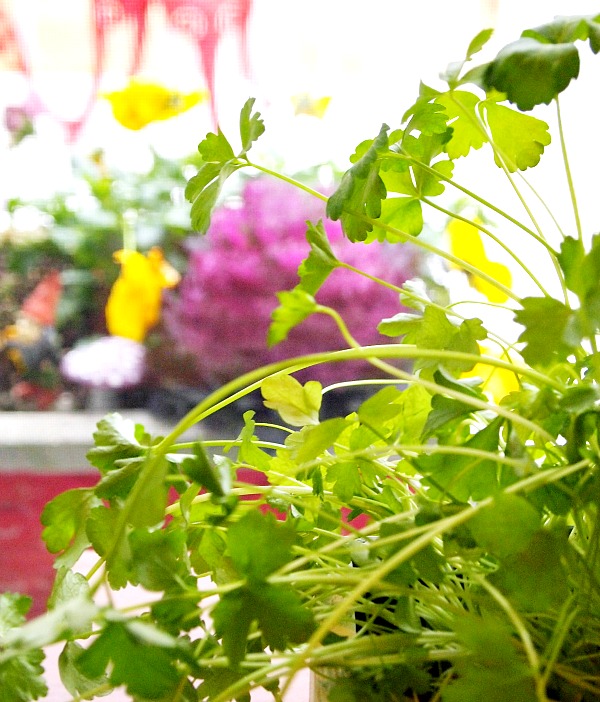
When growing parsley, you’ll want to be careful with what soil you use. Parsley is a tad particular when it comes to soil. It does like soil to be warmer, so you should not plant before the soil is at least 70 degrees. You also want to use soil that is nutrient rich, lose and not compacted, and that drains well.
3. Be Mindful of Spacing
When planting your parsley seedlings, you want to be sure you give them room to spread out. Otherwise, you could stunt their growth. Plant seedlings at least 6 inches apart. If your seedlings are especially full and mature, you can opt for 8 inches.
4. Water Evenly
You need to be sure you apply water directly to the base of the plant. Otherwise, the plant may not absorb water evenly and could suffer. Always apply water (about 2 inches per week) at the base of the plant so it can go directly to the roots. From my own experience, 2 inches of water seems to be approximately 10 ounces of water (around 300 mL). If you wanted to be very exact with your watering you could use a plastic squeeze watering can with measurements.

5. Feel Free to Feed
If you really want your parsley to flourish, use a liquid plant food every 4 weeks. A liquid plant food is advised as it will help feed the plant evenly. Do not overfeed as you could cause the plant to turn yellow and burn.
6. Know When to Harvest
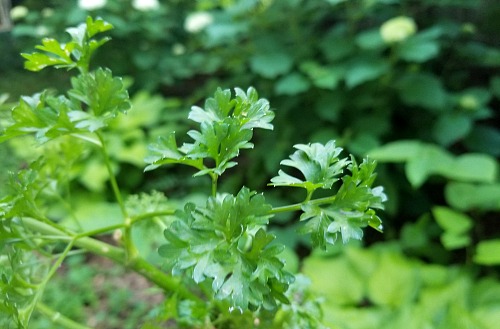
One of the most important things to know about growing parsley is knowing when to stop letting it grow and to start harvesting! Once the ends of the plant’s foliage break into three segments, your parsley is ready to be harvested. Simply snip the segments off to harvest. Do not snip from the bottom of the plant or snip foliage before the 3 way split occurs. Otherwise you may stunt the growth and the plant will not taste its best.
7. Store Appropriately
If you want to only use your parsley while it’s fresh, you’ll want to try to use it within a day or two of picking. But storing the excess is much easier than trying to use it all up right away. There are a few ways to store the parsley once you harvest it. You can either wrap it in a bundle and hang it to air dry, dry it in the oven after blanching, place it in an airtight baggie and freeze it, or just place it in a vase of water to keep it fresh until you are ready to enjoy it. I personally like to dry my parsley in the oven, then keep it in a big glass jar. I scoop some dried parsley out of that jar and put it in a old spice jar I kept so I can shake it out when I’m cooking (like you can do with crushed dried parsley you buy at the grocery store).
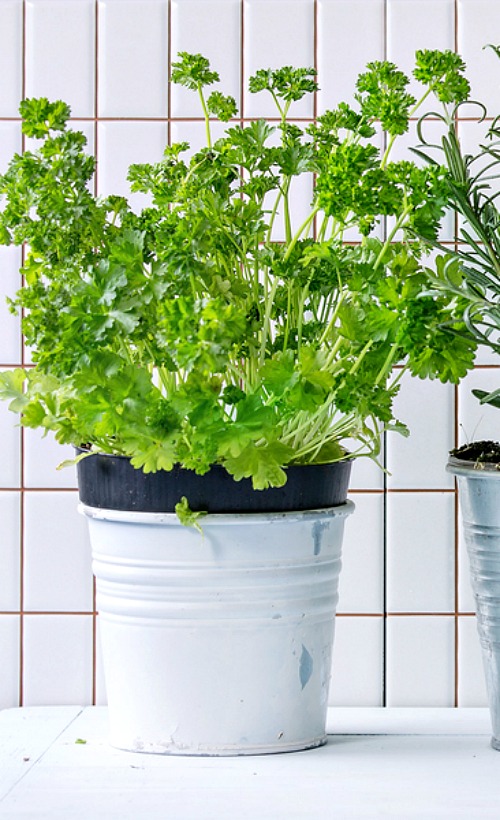
How to dry parsley in the oven- Wash your parsley in cold water. Remove any discolored parts or stiff, woody stem/stalk pieces (you really just want the parsley leaves). Using scissors or a knife, chop up your parsley until it’s in approximately 1/4 inch pieces. Then blanch it by putting it in boiling water for about half a minute. Carefully remove it from the boiling water and dry it, either by spinning it in a salad spinner or by patting dry with towels. Then preheat your oven to the lowest temperature possible (usually 170-200 °F is the lowest an oven will let you set it). Place parchment paper on a baking sheet and lay your parsley on top of it, spaced out with no crowding. Leave it in the oven for around 2-4 hours, checking on it occasionally so it doesn’t go from dried to burned. It’ll be ready to take out of the oven when it crumbles pretty easily when touched. Once the parsley is out of the oven, crush it further, either by hand or with a mortar and pestle. Pick out any more stem pieces you might come across. Then just put your parsley in an airtight container and keep it it in a cool, dark, dry place (I keep my jar in my pantry). You could also freeze your dried parsley. Try to use it within 6 months, as by around 4-6 months after drying it’ll be losing flavor.
Parsley can be used in soups, stews, homemade marinades, dressings, and can even be used as garnish. Parsley can also help with digestive issues and upset stomachs, so it is an excellent herb to add to your diet.
Consider these tips for growing parsley, and see what an easy and practical plant this is to grow!
Do you use a lot of parsley?
You might also be interested in: Tips For Planting A One Pot Container Herb Garden
