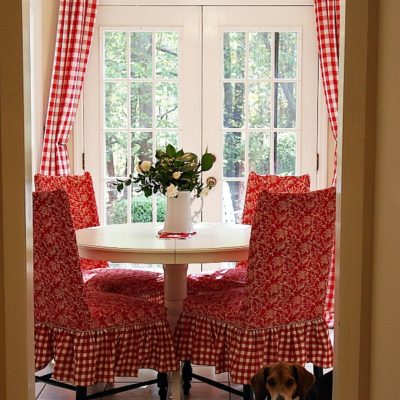
Hi everyone! I had to sell my dining room table from my other house ( it was too big for…
Read More
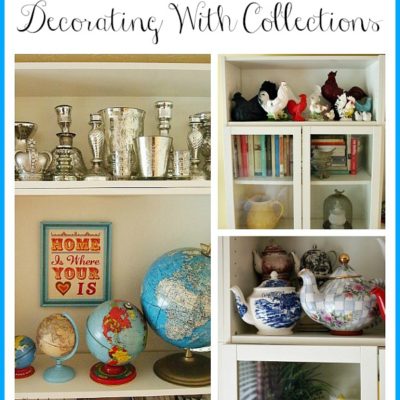
Some Different Things That I Collect
I wanted to share some photos of different things that I collect that are part of my decor before I…
Read More
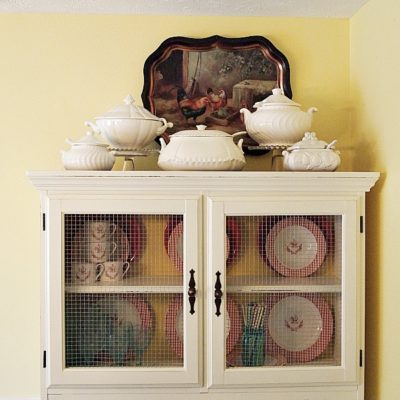
Dining Room China Cabinet Makeover
I tweaked a lot of rooms in my home for an agent’s open house so I thought I’d share what…
Read More
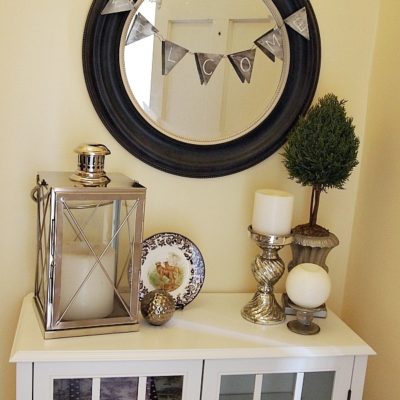
My Entryway Makeover
Our house will be on the market next week (I’m exhuasted!) so I can start to show you some of…
Read More
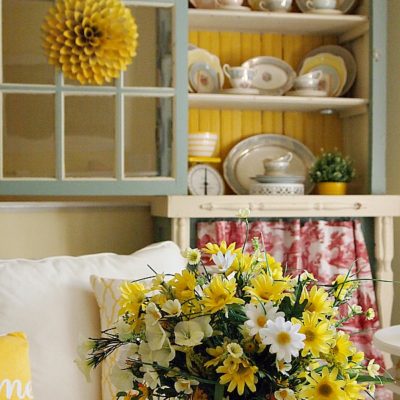
Happy Yellow Living Room Decor
Most of you know that I love decorating with yellow ! So I wanted to share with you some yellow…
Read More
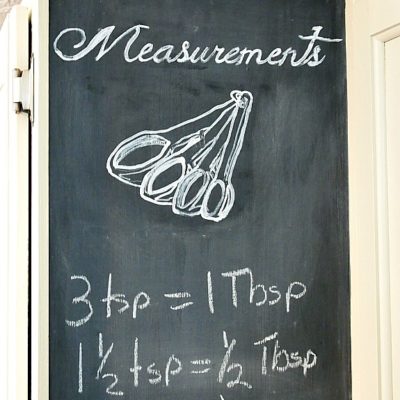
My Chalkboard Kitchen Wall & Some Kitchen Organization
I wanted to show you guys my new chalkboard kitchen wall and a few little changes in the kitchen! My…
Read More
- « Previous Page
- 1
- 2
- 3
- 4
- …
- 26
- Next Page »