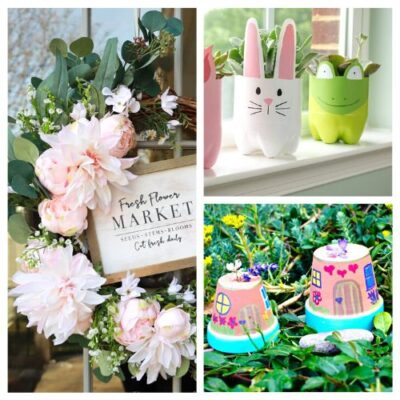
Fun Spring Crafts for Kids and Adults. Get ready to welcome the season of renewal with some fun seasonal DIYs!…
Read More

16 Beautiful DIY Easter Tablescape Ideas
Gorgeous Ways to Decorate Your Table for Easter. Easter is coming quickly. Do you have an idea of how you…
Read More
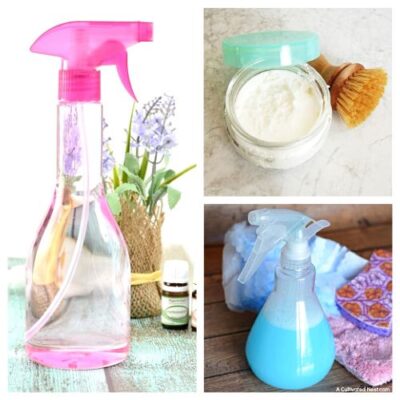
20 DIY Cleaning Caddy Products
Homemade Cleaning Products for Your Cleaning Caddy. Transform your cleaning routine with these eco-friendly DIY cleaning caddy products. These recipes…
Read More
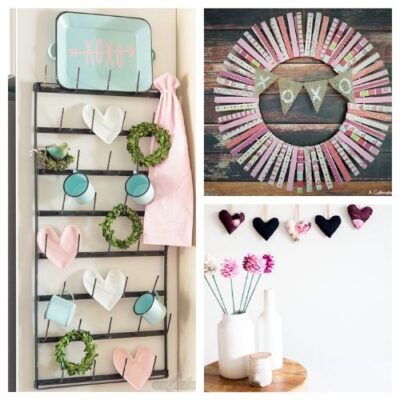
20 Fantastic Valentine’s Day DIY Decor Ideas
20 Valentine’s Day Decor Crafts You Must Make. Everyone who knows me knows that I am addicted to decorating and…
Read More
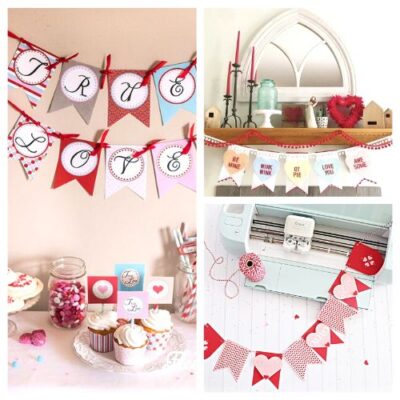
16 Lovely DIY Valentine’s Day Banners
Easy DIY Banners for Valentine’s Day. Is your mantel begging for a festive makeover? With Valentine’s Day just around the…
Read More
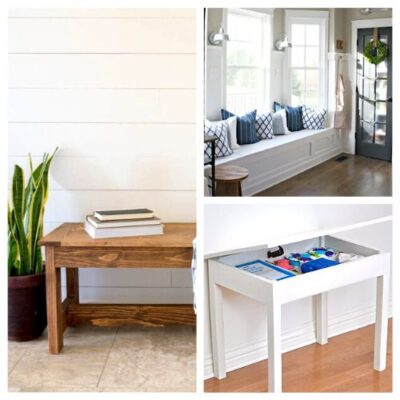
16 Easy Furniture DIYs for Storage
DIY Furniture to Expand Your Home’s Storage. If you are like me, you are always searching to find more storage…
Read More
- « Previous Page
- 1
- 2
- 3
- 4
- 5
- …
- 106
- Next Page »